

How to Create a Cool Vintage Collage Design in Adobe Photoshop CS5
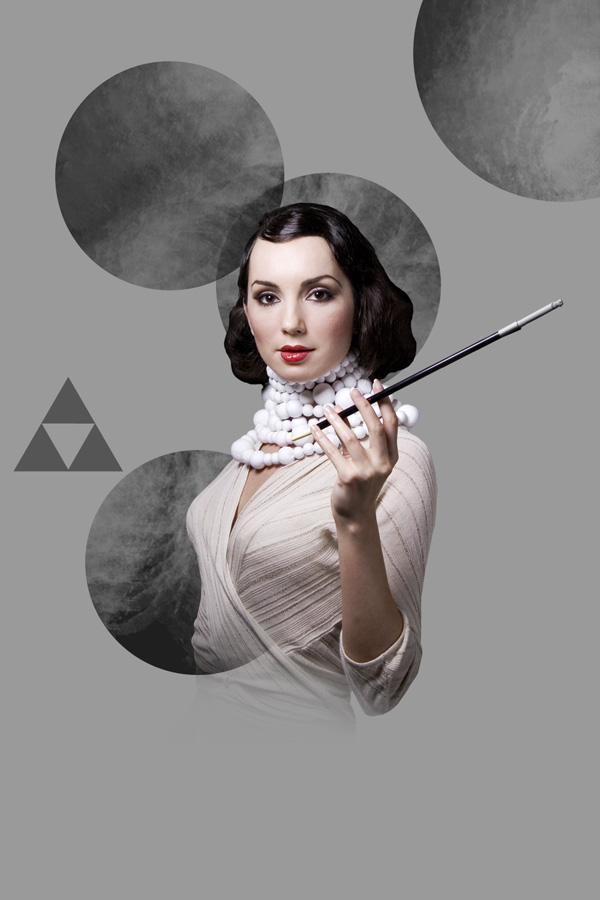
Next we’ll represent a triangle, select the Custom Shape Tool (U) in the Tools bar, in the Options bar click the Shape to open the selection menu. Find Triangle at the bottom of the menu, and then double-click a shape thumbnail to select it.

Click and drag to draw the triangle. Firstly we’ll represent one of bigger size and then hold Alt button while drawing the next triangle to cut the middle part, applying a triangle of smaller size. Place the layer under the model’s one.

Set Fill to 45% for this layer.

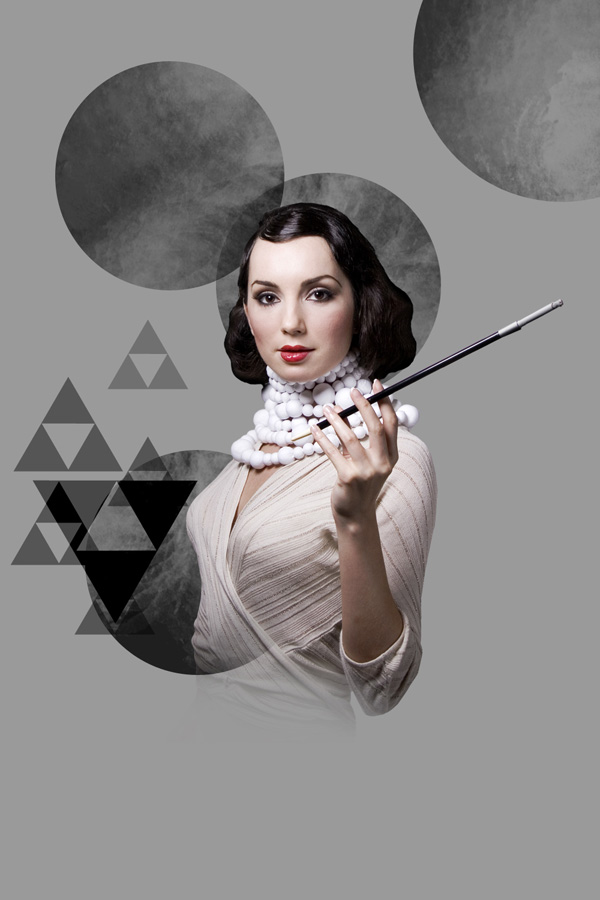
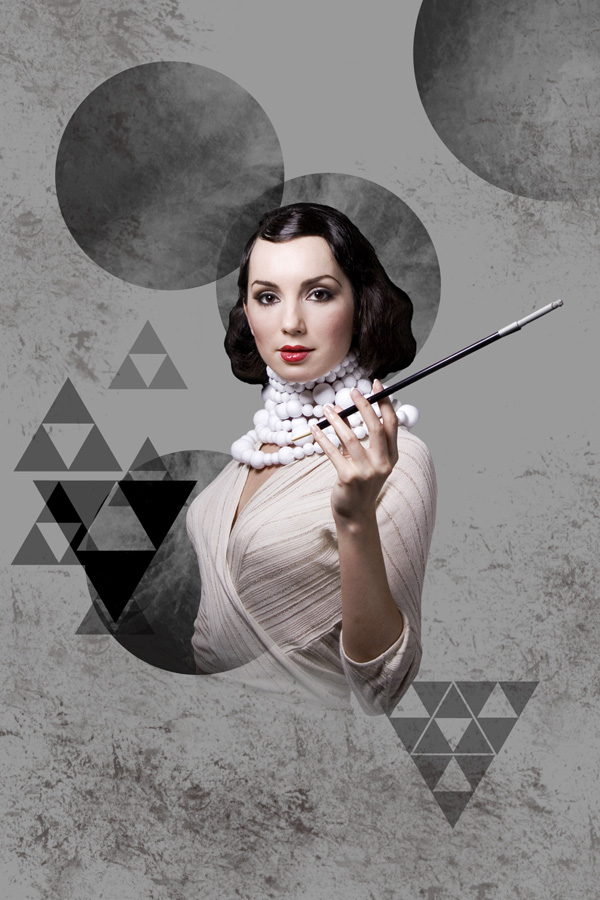
Make several copies if the layer with the triangle and then apply the Free Transform (Ctrl+T) command to change the copies’ sizes, placing them as it is demonstrated next image. Change the Opacity value on the copies’ layers. On the layer containing the turned around triangle we’ll change the Blending mode to Vivid Light.
Make four more copies of the layer with the triangle, composing a figure like it is shown below on the picture. Place the copies’ layers, using the Free Transform (Ctrl+T). The triangles’ layers will be placed under the model’s layer.
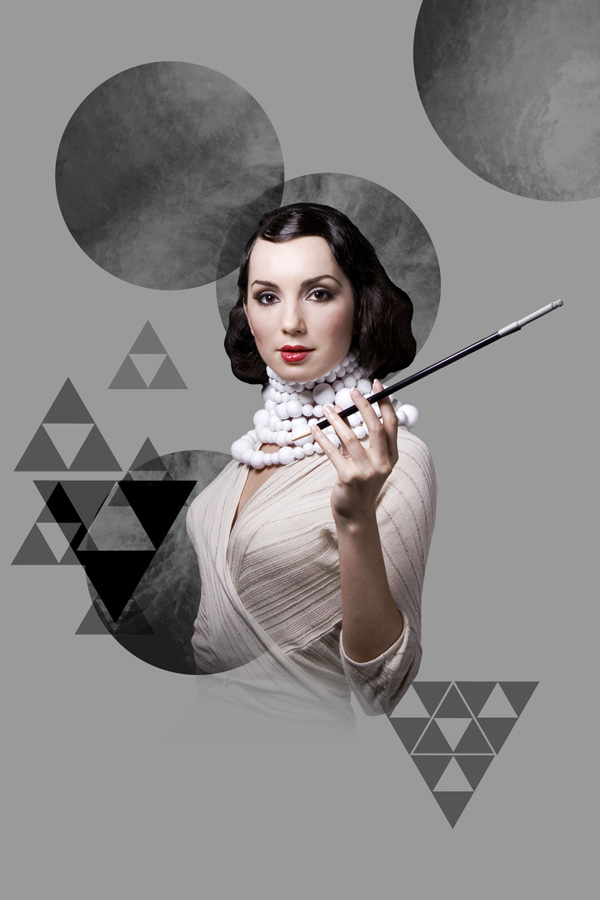
Combine in a group all the layers composing those four triangles (press CTRL button to select the necessary layers and hold on the left mouse’s button while dragging the selected layers on Create a new group icon from bottom part of the Layers panel).
The Opacity for the made group is 92%.
Create a new layer and apply here the next brush from downloaded brushes.
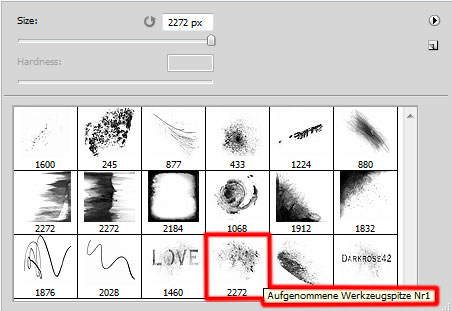
Brush color is #3D322F, set Opacity to 70% in Options bar. Place the layer under the model’s one:
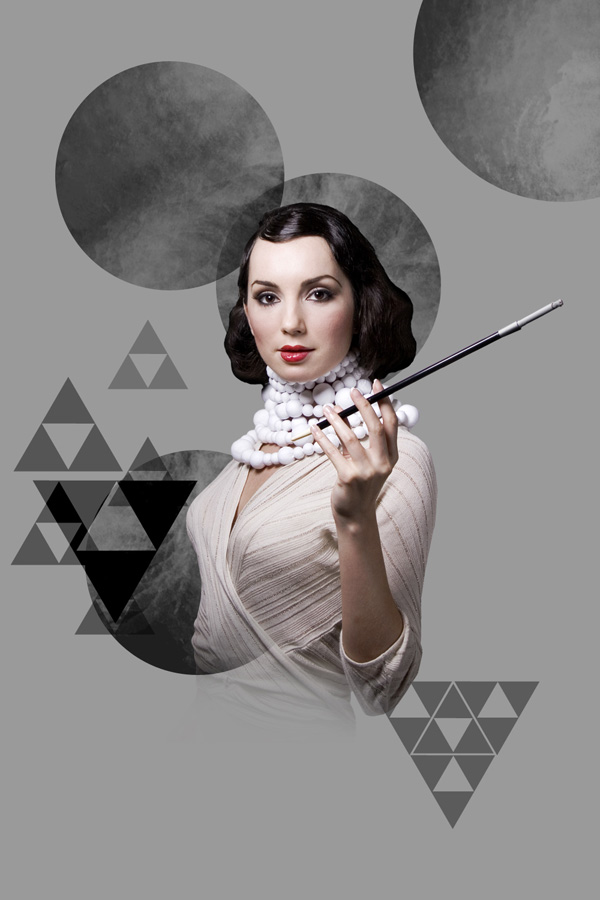
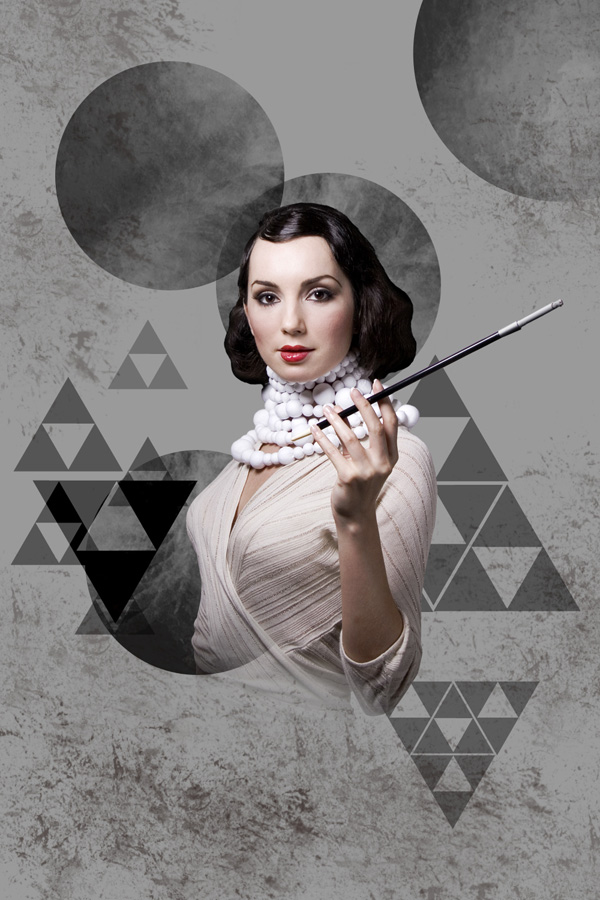
Next we’ll make a copy of the group containing the four triangles and apply Free Transform (Ctrl+T) command to change the copies’ sizes, placing them as it is demonstrated on the picture. The layer will be placed under the model’s one:
Comments