

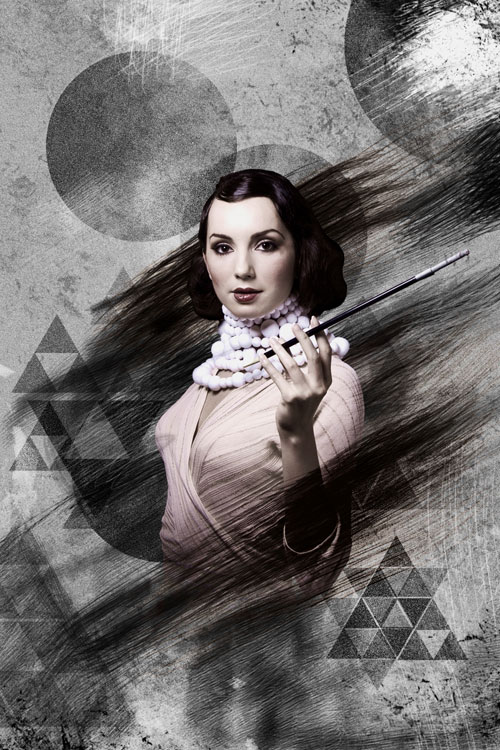
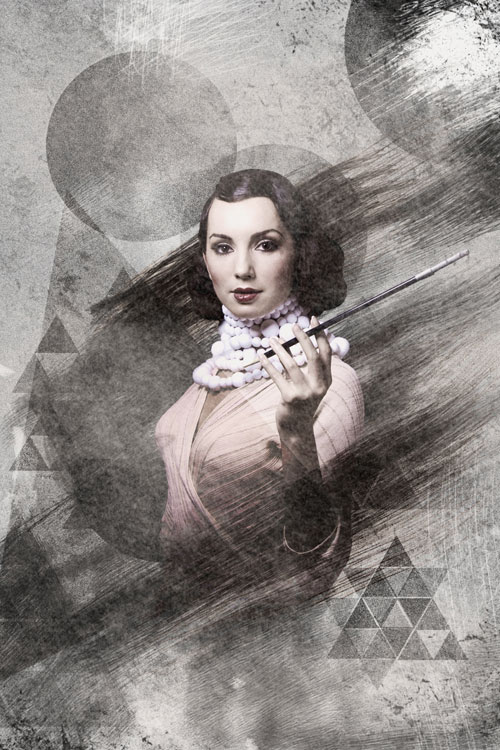
How to Create a Cool Vintage Collage Design in Adobe Photoshop CS5
Adjusting black and white points with Output Levels sliders. Output slider must be in the next position (0 and 241).
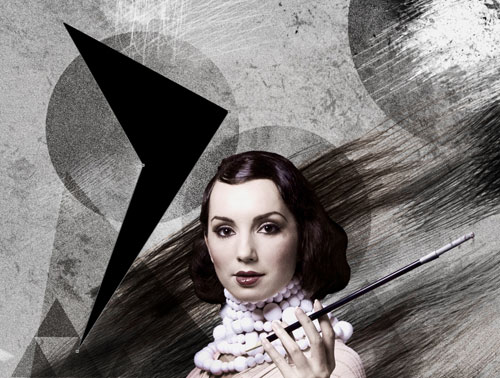
Choose the Pen Tool (P), set the drawing mode on Shape Layers in Options bar and draw the next shape as shown with #070300 color.
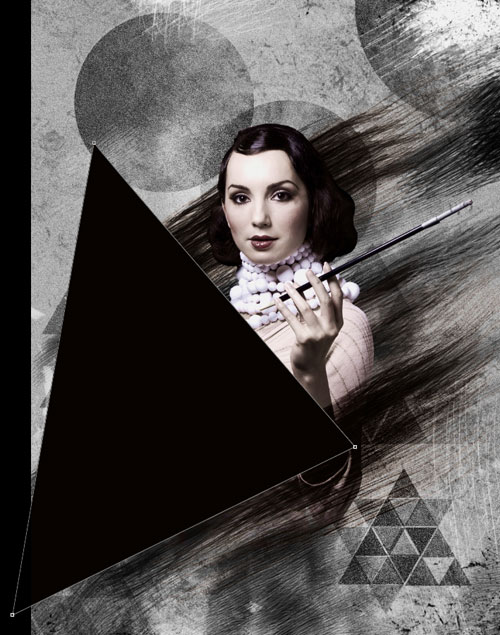
Set Fill to 54% for this layer and change the Blending mode to Overlay.
Blending mode-Overlay

Create a new layer and select the next brush from Grunge Brushes set.
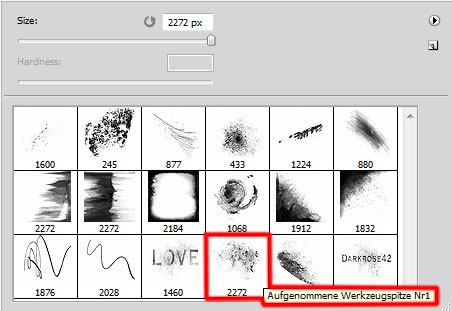
Use this brush to paint on the canvas’s surface with the #FFF5EF color (brush Opacity – 20%).
Set the Blending mode for this layer to Soft Light.

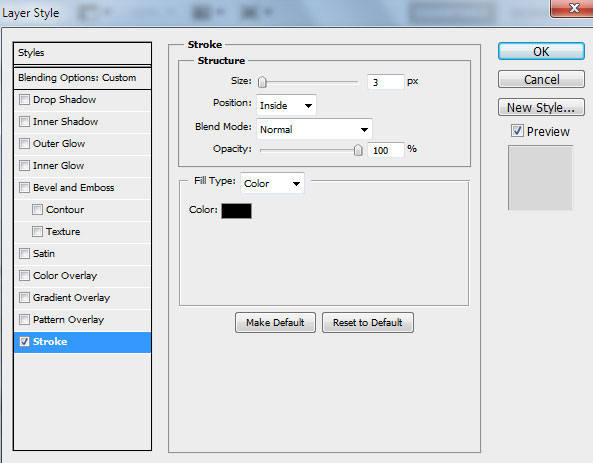
On the last stage we have to draw several shapes, applying the Pen Tool (P) draw the next shape.
Set Fill to 0% for this layer and click on Add a layer style icon from bottom part of the Layers panel to select Stroke.
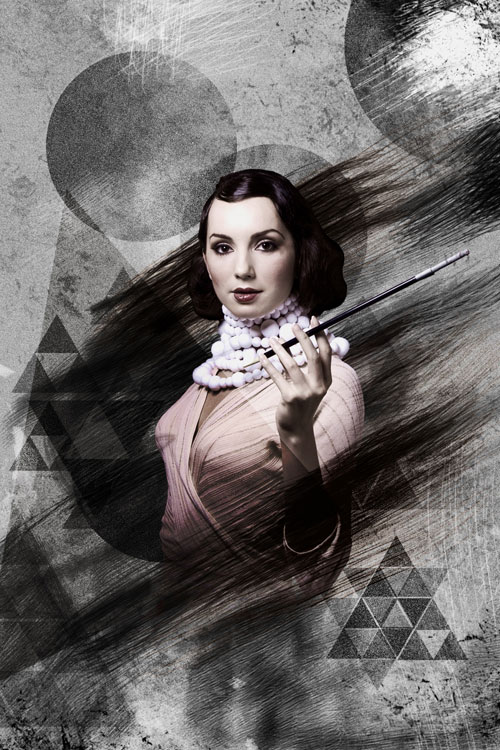
We’ve got the next result:
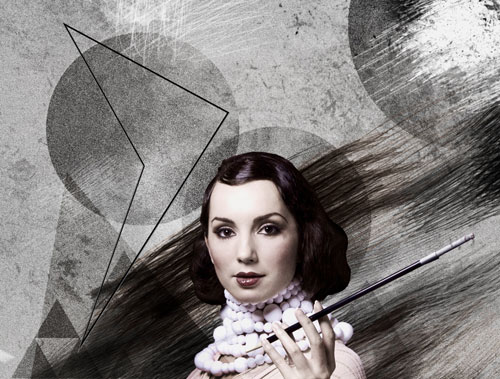
Click on Add a layer style icon from bottom part of the Layers panel and go to Blending Options, find Advanced Blending and choose Layer Mask Hides Effects.
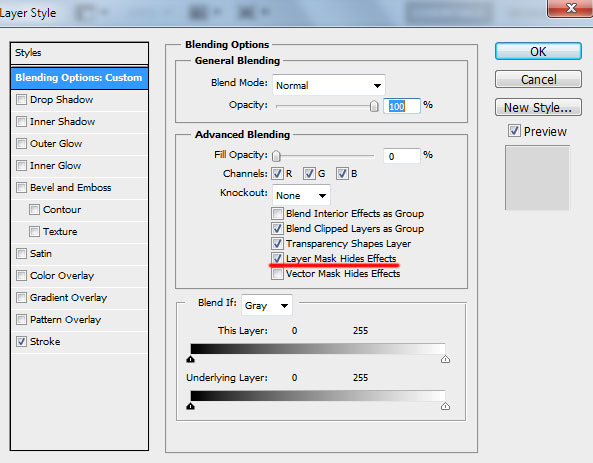
Insert the mask on the same layer by choosing Add layer mask on the bottom part of the Layers panel and choose the Hard Round brush of black color.
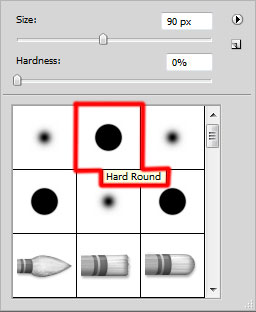
Paint in the mask using this brush to hide out the top edge.

This way we have to draw two more zigzag shapes, using the same tools.
Create a new layer and choose again the Hard Round brush of black color to represent the next dots.

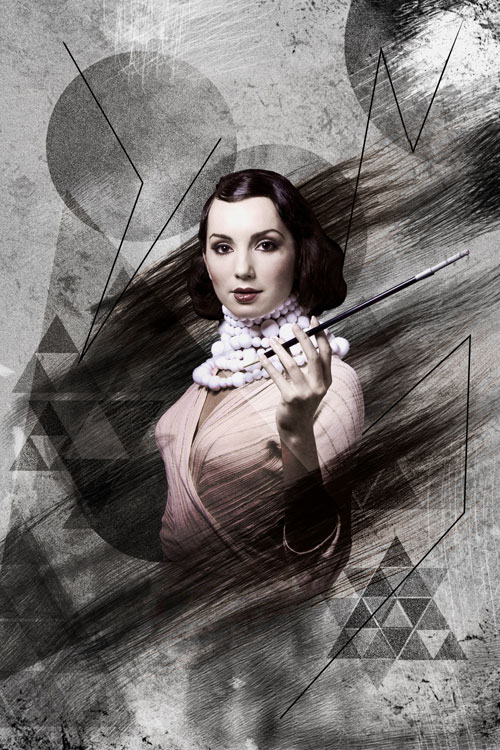
We’ve got the next result:

Our Cool Vintage Collage is finished!
View full size here.
Download free Layered PSD file.
Comments