

How to Create a Cool Vintage Collage Design in Adobe Photoshop CS5
The brush’s color is black (Opacity – 40%). This layer and next ones will be inserted above the model’s layer.
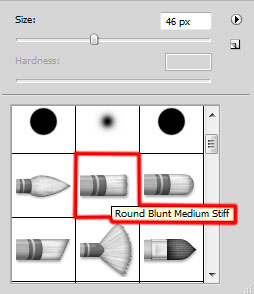
Create a new layer and select the Round Blunt Medium Stiff brush to represent the next strokes on the model’s hand zone.
The brush’s color is #100701.

Set the Blending mode for this layer to Overlay.
Create a new layer and apply the next brush from Grunge Brushes set of black color and Opacity – 80%.
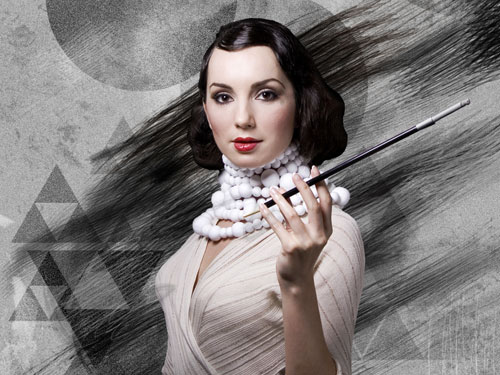
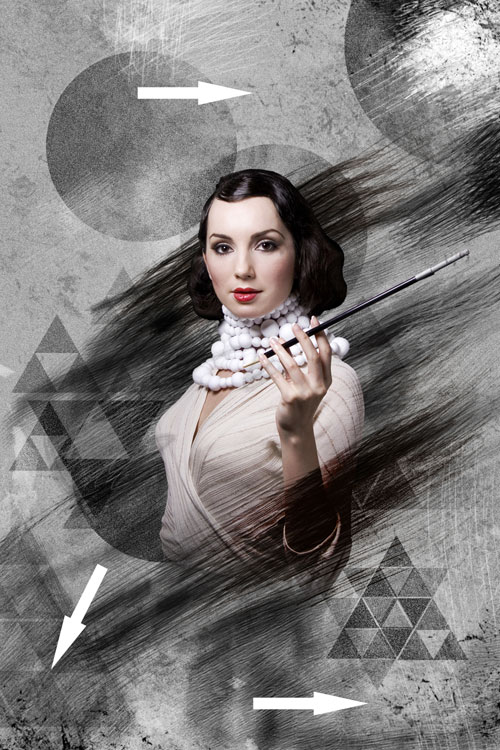
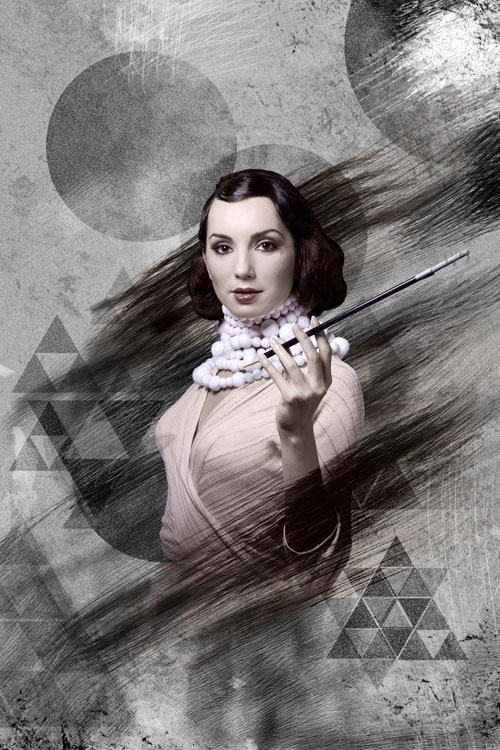
We’ve got the next result:
Create a new layer and select the Paint Bucket Tool (G) to fill it with #EDE3DC color.

Insert the mask on the same layer by choosing Add layer mask on the bottom part of the Layers panel and choose the next brush from Grunge Brushes set of black color (set Opacity to 20% in Options bar).
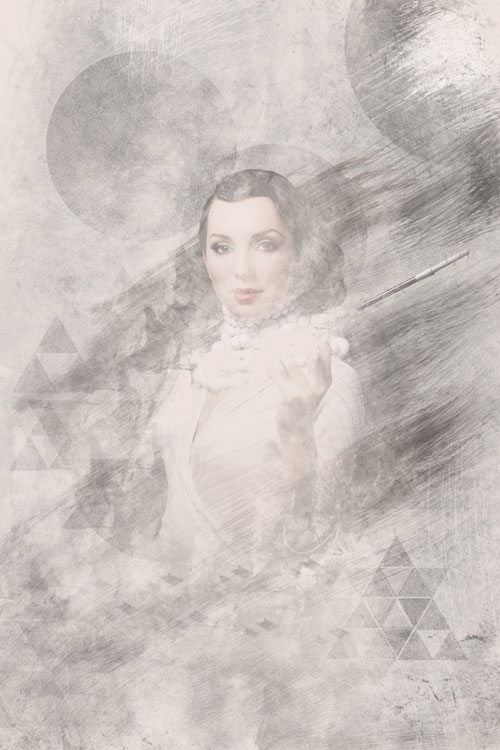
Paint in the mask to get the next result as shown:
Set the Blending mode for this layer to Saturation.
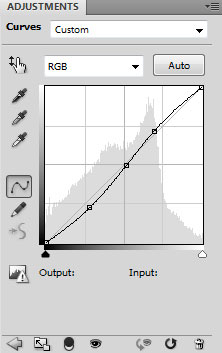
Click Create new fill or adjustment layer from bottom part of the Layers panel and click to Curves to adjust the curve shape as shown to make a little color corrections.
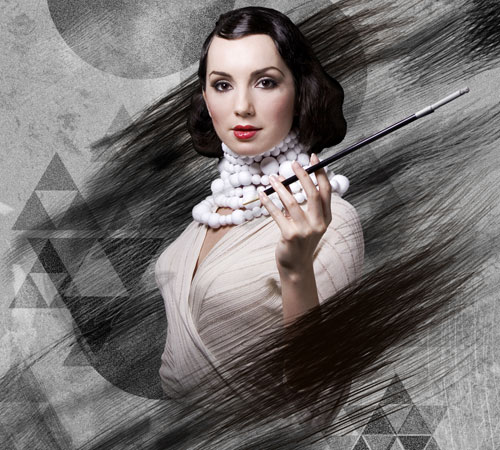
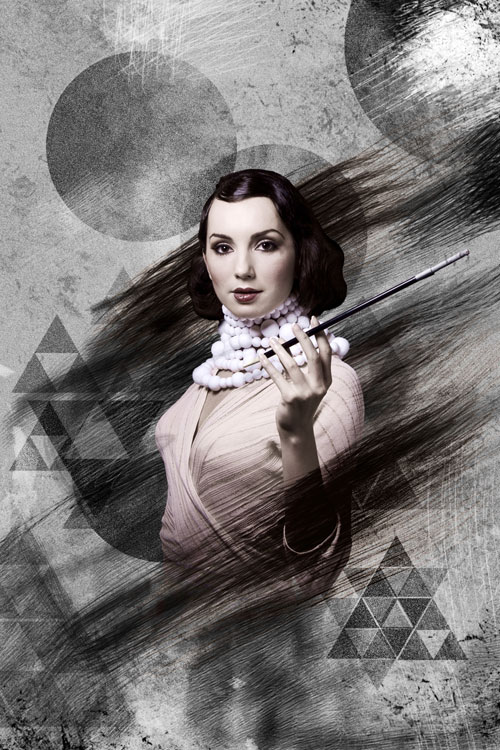
We’ve got the next result:
Click Create new fill or adjustment layer from bottom part of the Layers panel and click to Levels to adjust tonal range.

Comments