

How to Create a Cool Vintage Collage Design in Adobe Photoshop CS5
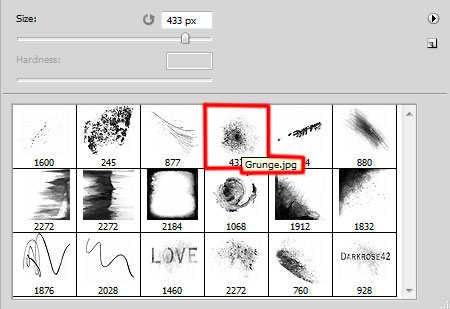
Insert the mask on the copy with the triangles’ group by choosing Add layer mask on the bottom part of the Layers panel and choose the next brush from Grunge Brushes set of black color (set Opacity to 40% in Options bar). Paint smoothly in the mask using this brush.
Set the Blending mode for this layer to Hard Light.
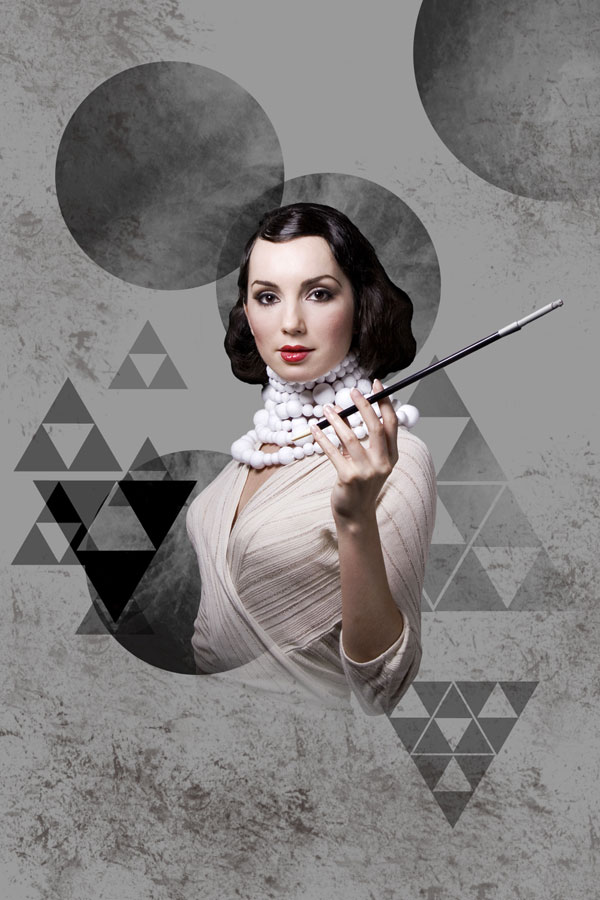
Make a copy of the group with the four triangles and use again the Free Transform (Ctrl+T) to change the copy’s sizes as it is demonstrated below. Place the layer under the model’s one. Set Opacity to 64% for this group.


Make one more copy of the triangles’ group and place it the same way from below. Preliminary we’ll make it smaller and turn it around, using the Free Transform (Ctrl+T). Set Opacity to 80% for this group.
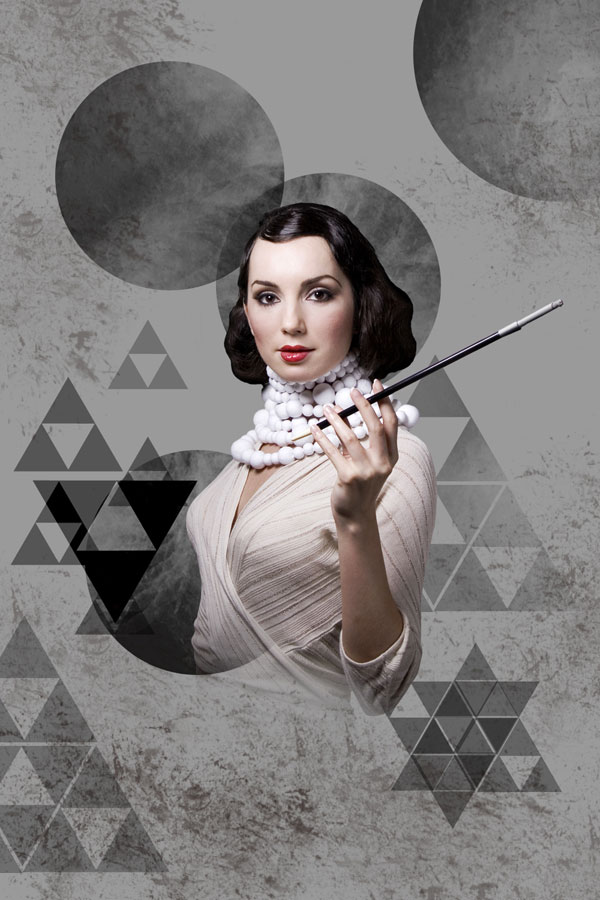
Change on the group’s copy the Blending mode to Linear Burn.
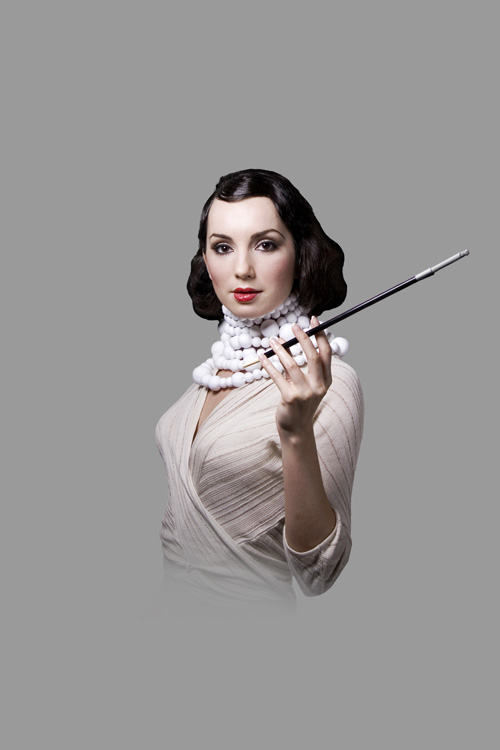
Create a new layer now and apply here the Paint Bucket Tool (G) to fill it with #9A9A9A color. Put the layer under the model’s one:
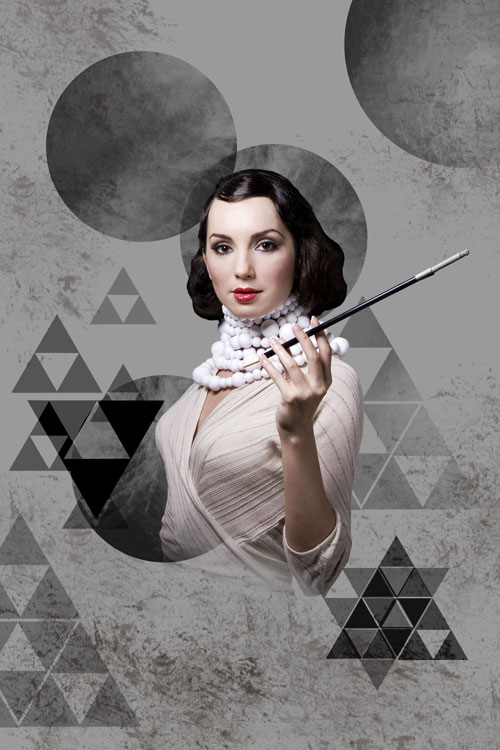
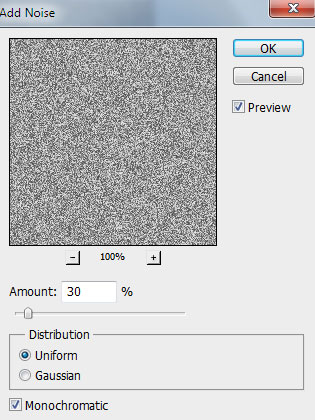
Apply on this layer the next filter Filter > Noise > Add Noise:
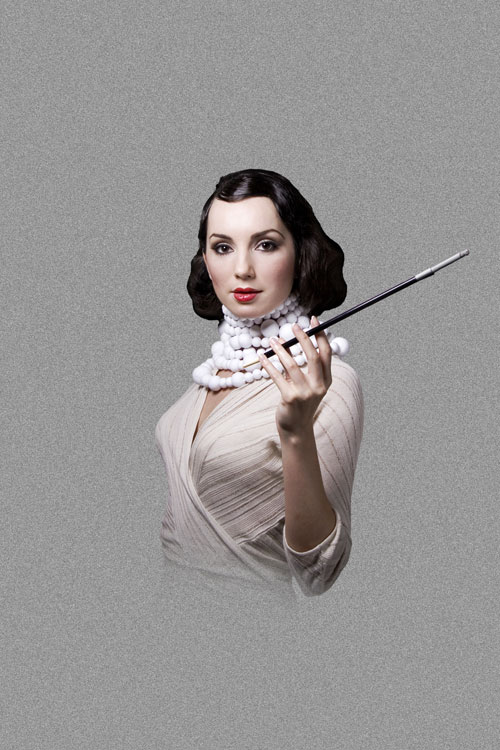
We’ve got the next result:
Comments