

How to Create a Cool Vintage Collage Design in Adobe Photoshop CS5
Set the Blending mode for this layer to Hard Light.
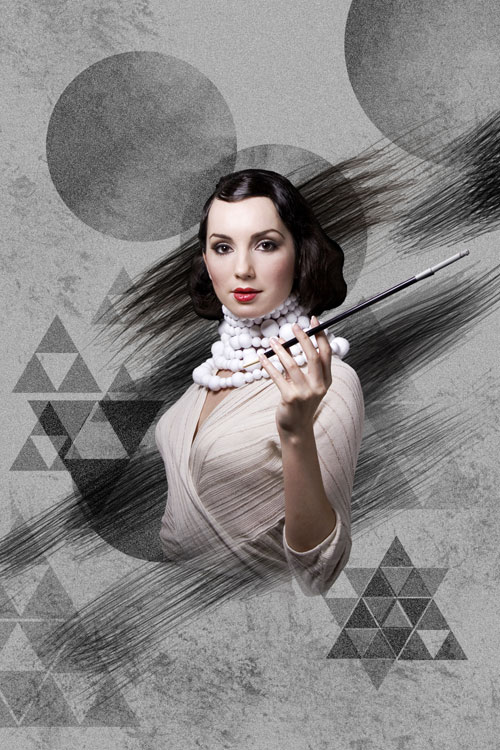
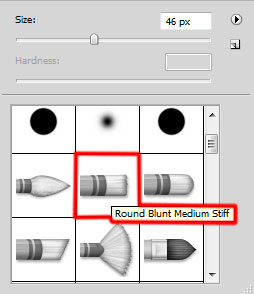
Create a new layer and select the Round Blunt Medium Stiff brush from Brush Tool (B).

Use this brush to apply some brushstrokes as shown on the model’s hair, using the Eyedropper Tool (I), to take preliminary the samples of the color out of the model’s hair. The layer will be situated under the model’s one.


On the next new layer we’ll apply the same brush mentioned above of black color with a different Opacity value and represent the same strokes as on the next picture. Place the layer under the model’s one.
Insert the mask on the same layer by choosing Add layer mask on the bottom part of the Layers panel and choose the Soft Round brush of black color (set Opacity to 30% in Options bar).
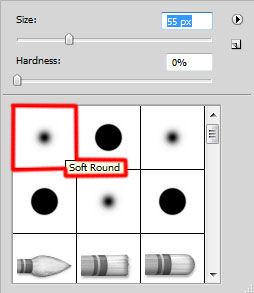
Paint in the mask using this brush to change the visibility of the layer as shown.
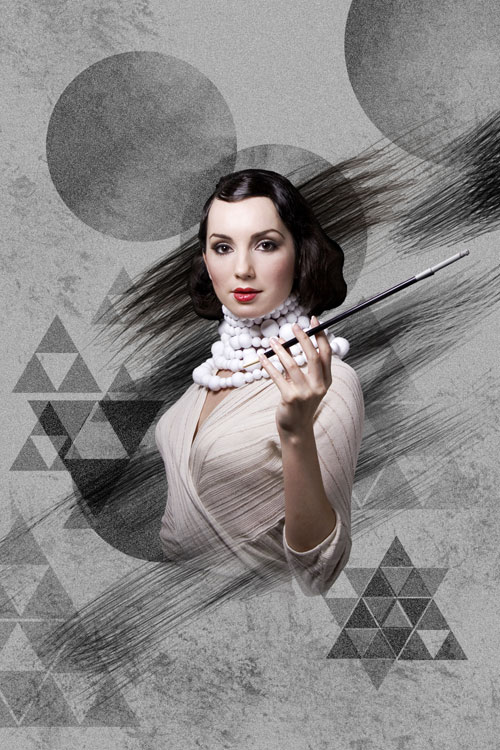
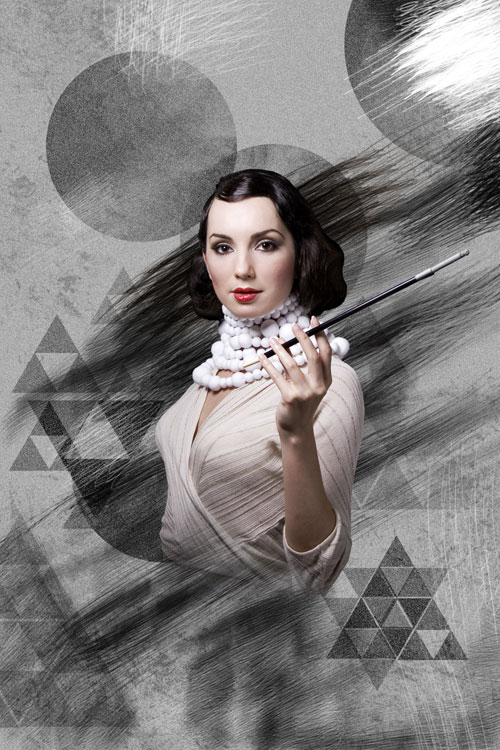
Create a new layer again and apply the Round Blunt Medium Stiff brush of black and white nuances to represent more strokes.
Apply the brushes of different diameters and Opacity value. Place the layer under the model’s one.
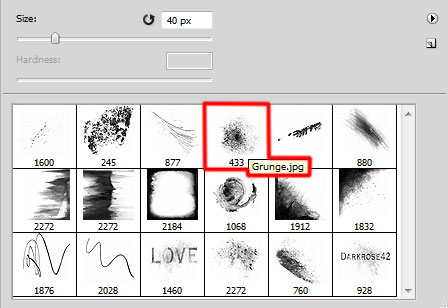
Create a new layer and apply the next brush from Grunge Brushes set.
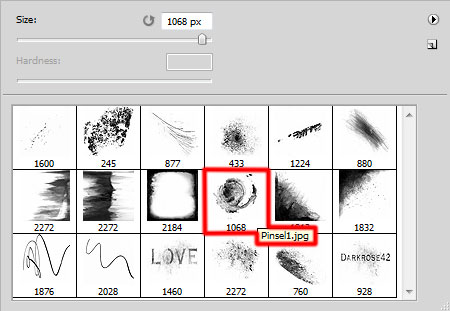
The brush’s color is white (set Opacity to 20% in Options bar). Place the layer under the model’s layer.

Set the Blending mode for this layer to Overlay.
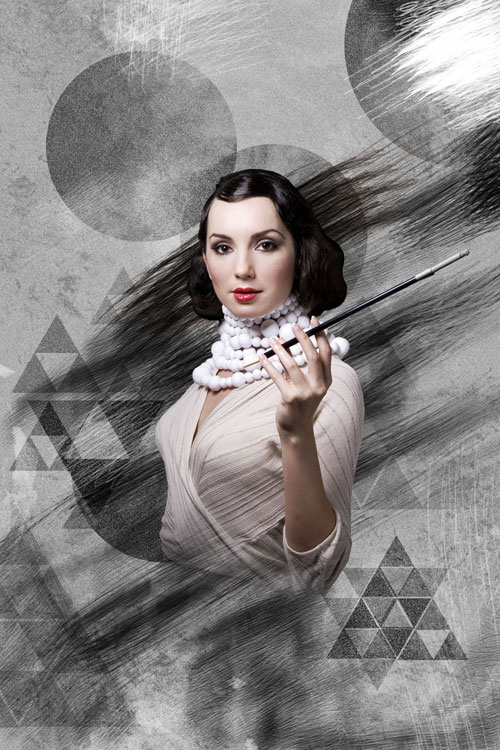
On the next new layer we’ll apply the next brush from the mentioned set and put the strokes around the model’s face.
Comments