

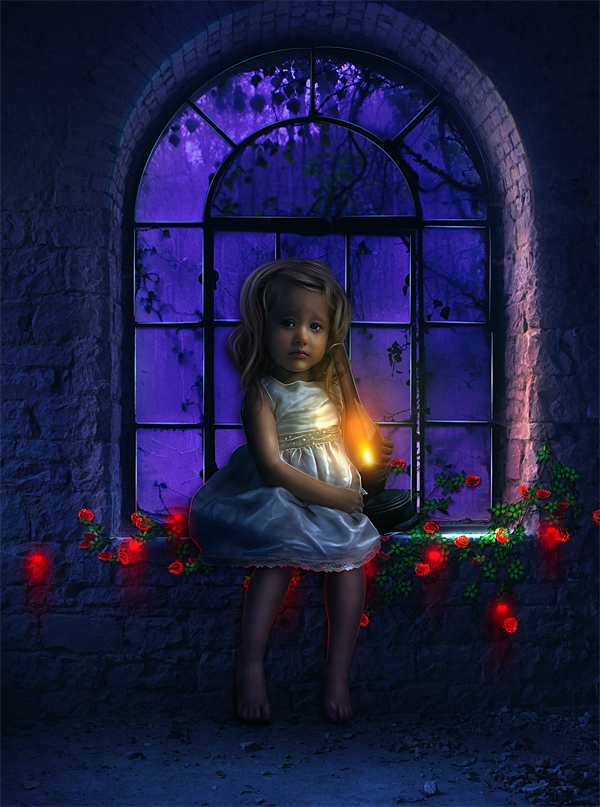
Create a Photo Manipulation Of a Lonely child in Photoshop
Learn how to create this photo manipulation of a lonely child in an emotional dreamscape with Photoshop. In this tutorial, you’ll learn how to create your own atmospheric dark fantasy scene using stock images, retouching skin, enchanting original image with lightning and some more. Throughout the tutorial, you’ll learn techniques that will help you create better photo manipulations.
Tutorial Resources
- Window – deviantart
- Flowers – deviantart
- Girl – deviantart
- Lace – deviantart
- Hair Brushes – deviantart
- Heart shaped thing – deviantart
Step 1
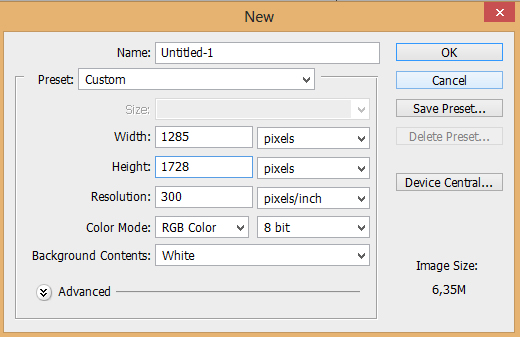
Start by creating a new document (canvas) with size of 1285 pixels wide and 1728 pixels high.
Step 2
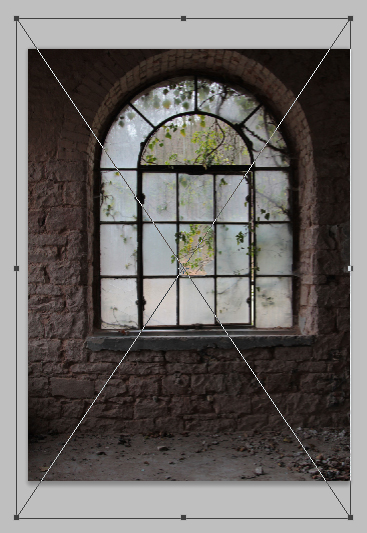
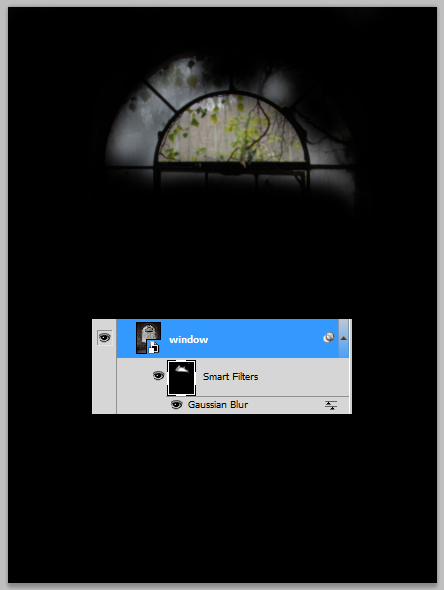
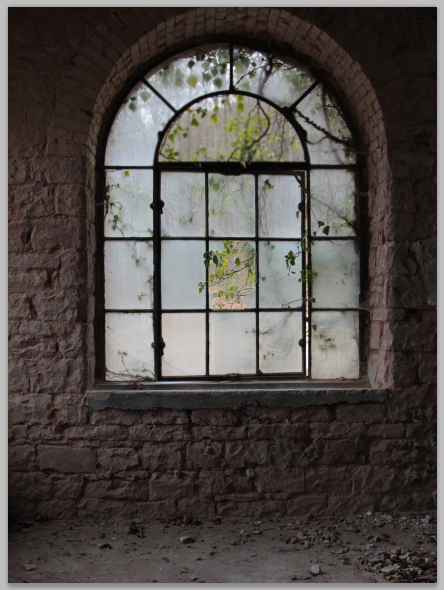
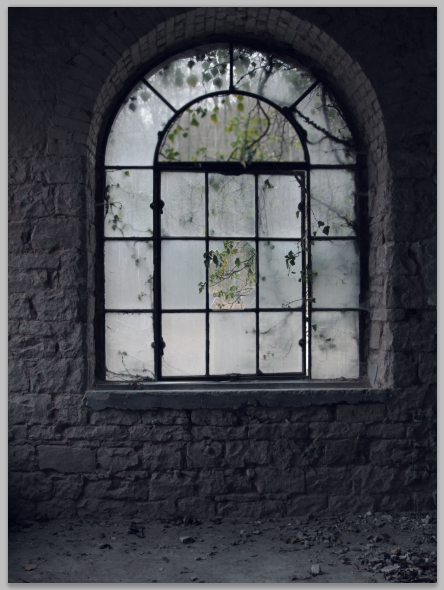
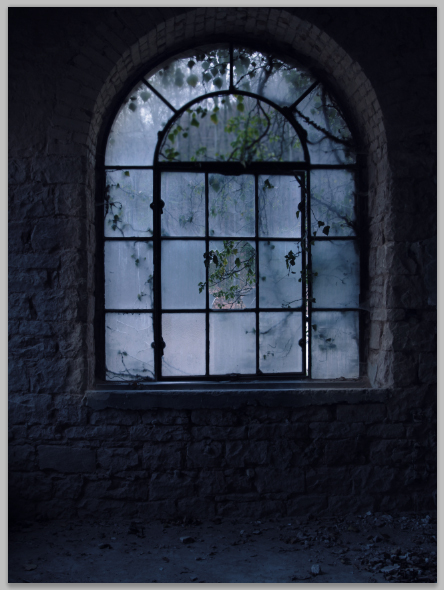
Place the window image on the document. Take free transform tool (Ctrl+T). Scale the size of the image, arrange and position it where needed. Take a look at the screenshot given to know the position of the image in the document.

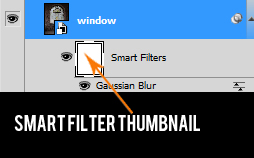
The window image will be a new layer in the document and it is a smart object layer. Now give this layer some Gaussian blur smart filter by going to filter > blur Gaussian blur with the value given below. There will be a white thumbnail below the smart object layer.

We just want give the blur effect on the trees and leaves outside the window and hide the effect of blur for rest entire image. Select the thumbnail filter to be active on it. Take a very soft round brush (0 % hardness) and with black color, stroke the brush on wall and window, except the part with trees and leaves, to mask or hide the blur effect on them. the masked parts will be indicated by dark gray or black spot on the thumbnail.
Here is the result.
Step 3
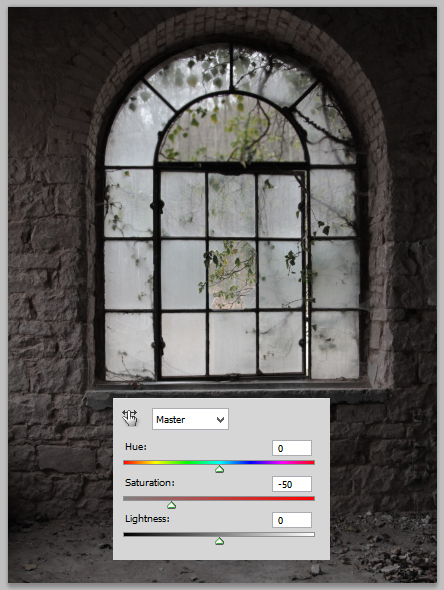
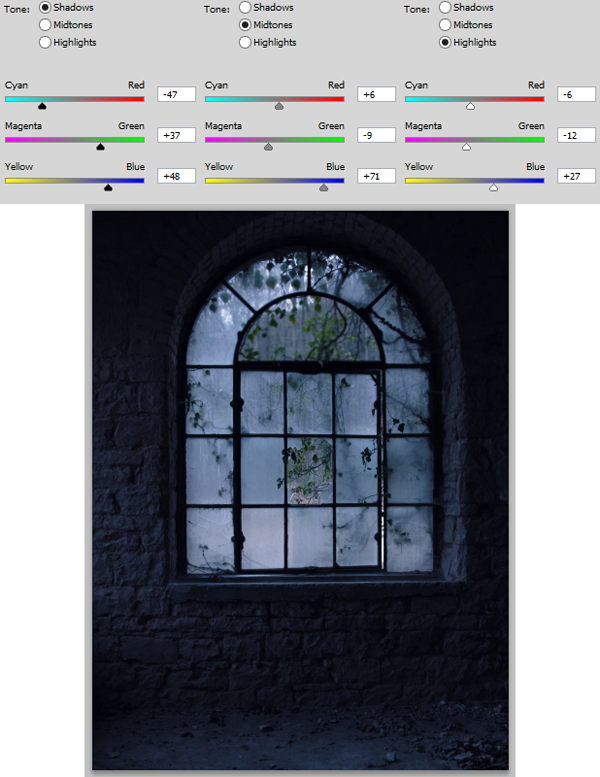
In these steps we will give some color adjustments to the window. Go to layer > new adjustment layers > hue/saturation. Set the value for this adjustment layer as given below and set it to normal blending at 100% opacity.
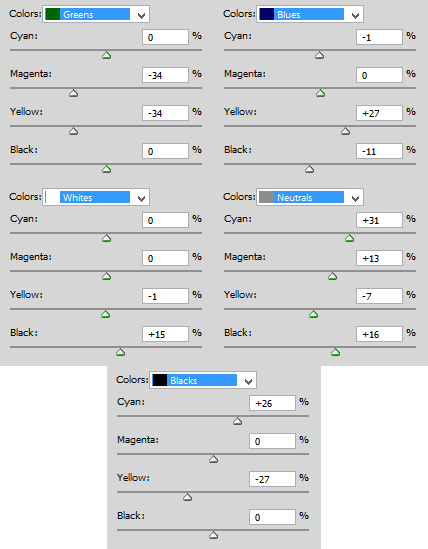
Go again to layer > new adjustment layers > selective color. Set the values of this layer as the ones given below. Set this layer to normal blending at 20% opacity.
Proceed to give the other adjustment layer. This time we will give it color balance. Set this layer to multiply at 60% opacity.
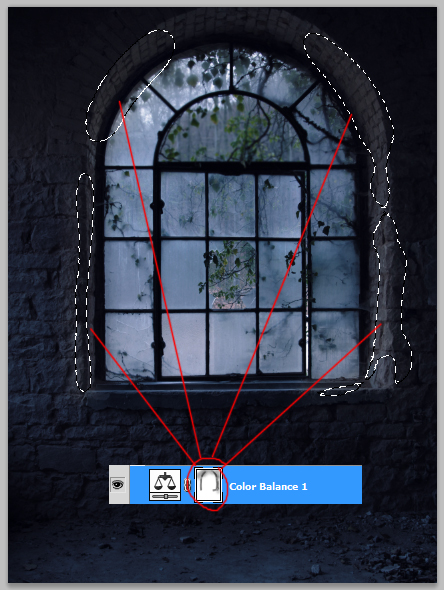
Next select the mask thumbnail of the color balance layer to be active on it. Take a very soft round brush with opacity of about 10-15%. With black color, stroke the brush on the areas around the windows as indicated by selection to hide or mask the effect a bit to keep them brighter.
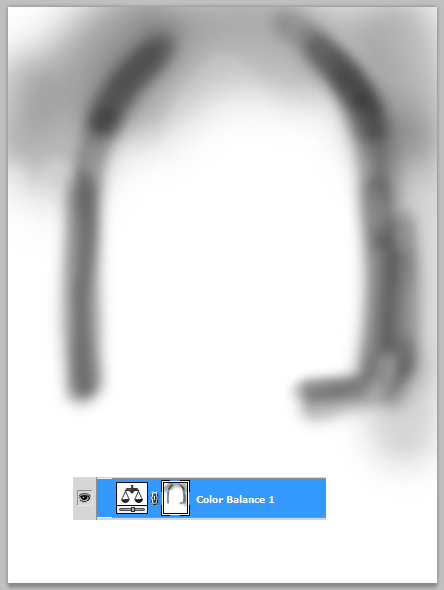
Here is the mask should be
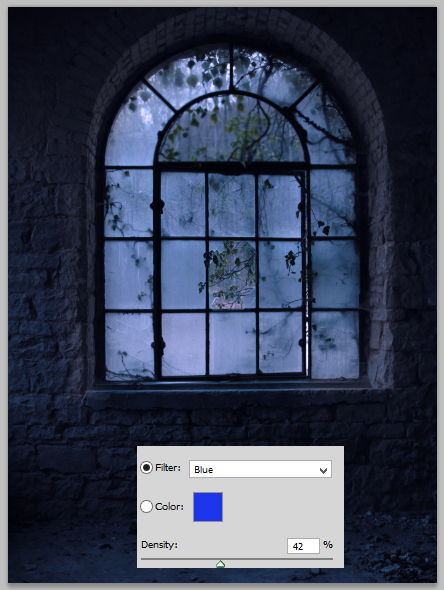
Now will give the scene a bit blue tone, to do this we will give it the other adjustment layer. This time we give it photo filter and choose blue for the color. Set the density of this layer to 42%.
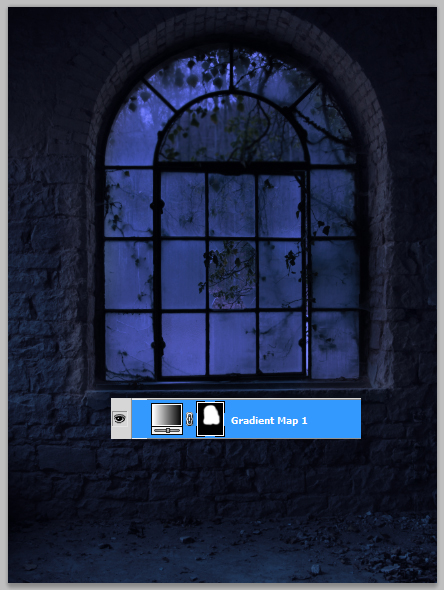
Next another adjustment layer : gradient map. Set the gradient as given below. Set this layer to multiply at 55% opacity.
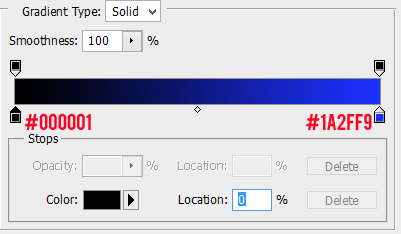
Proceed to mask this gradient map layer on areas around the wall to hide the effect.
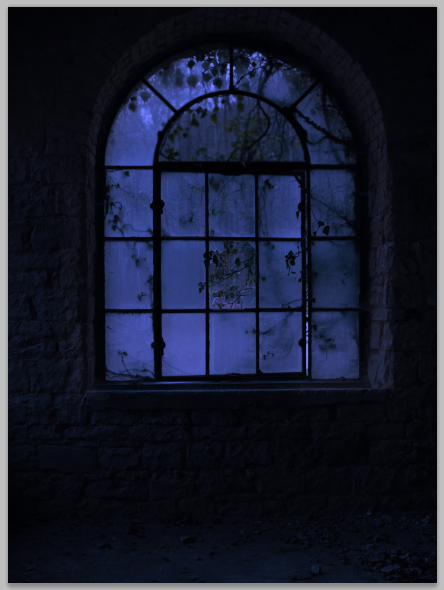
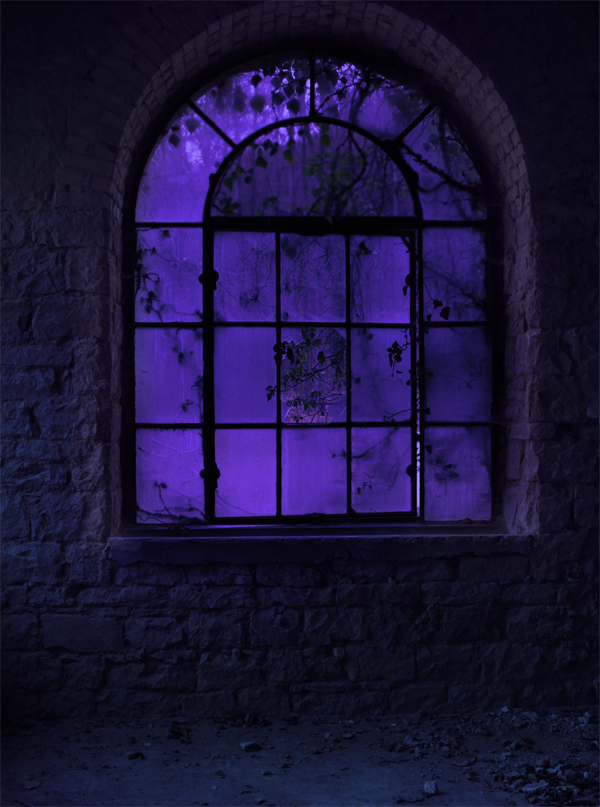
Then, give the scene the last adjustment layer : hue/saturation. Set this layer to normal blending at about 45% opacity. Mask a bit on areas around the wall. Select all the adjustment layers and hit Ctrl+G to group them into one folder. I named this folder adjustments.
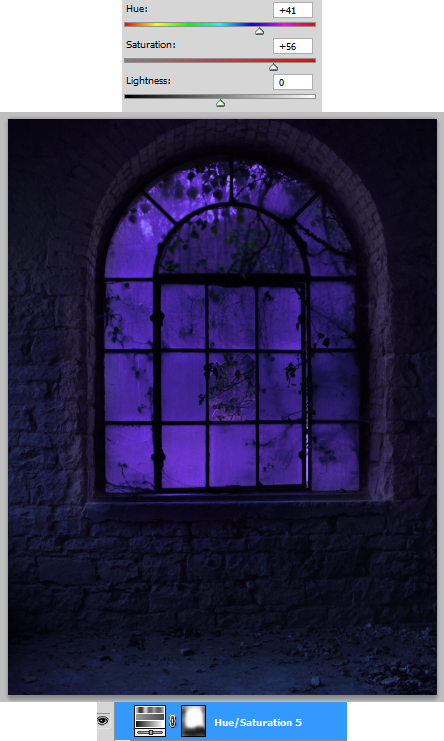
Here is the result so far…
Dek Wid
Thank you for following this tutorial! Hope that you learn something today and happy photoshopping. Wid's side - My personal blog
Comments