
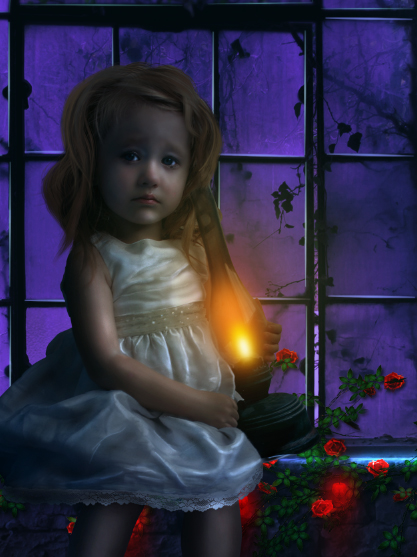
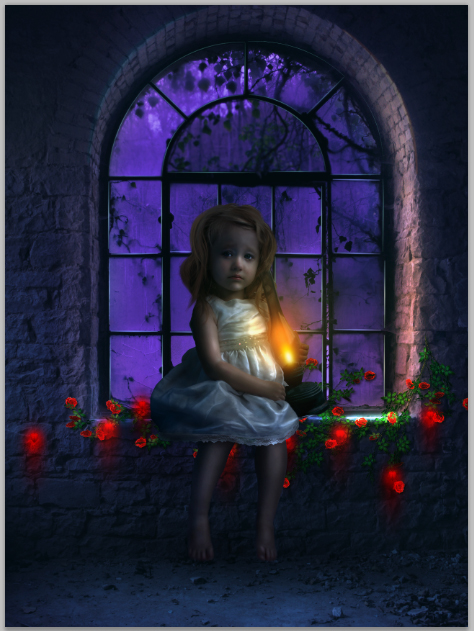
Create a Photo Manipulation Of a Lonely child in Photoshop
Step 14
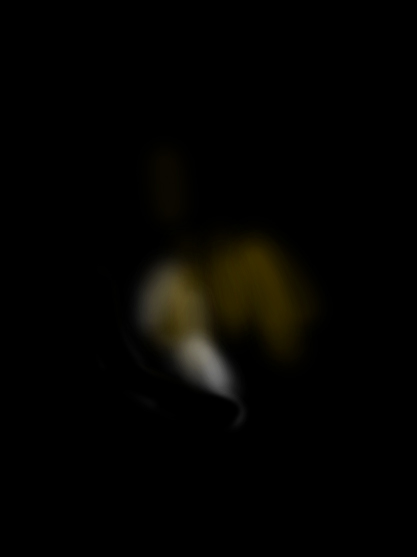
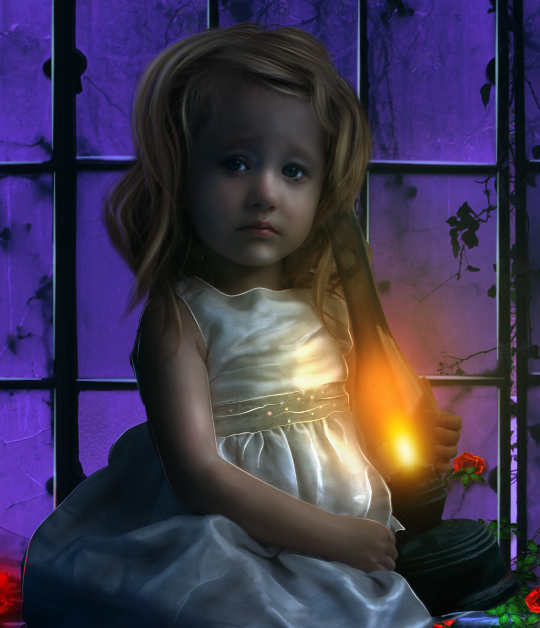
From this step on, we will create light for the lamp. Start creating a new layer above the model folder. Take a very soft round brush and paint soft yellow on the lamp by clicking on it. Referring to the size of the model here, I set the size of the brush to about 280 pixels.
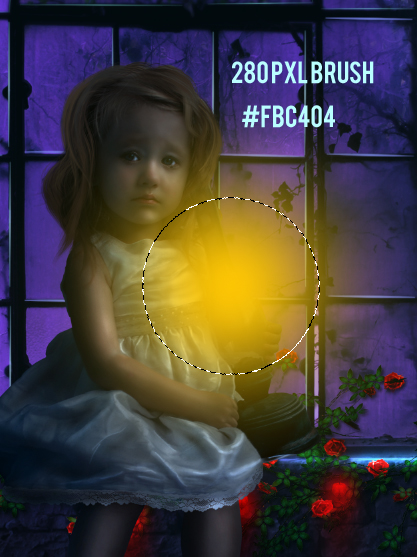
Set this layer to soft light at about 55-65% opacity to get the result as shown below.

Then, on a new layer, paint more color of yellowish white #f7efc0. Use a very soft round brush with the same size as the one previously used. Set this layer to hard light at about 20% opacity.
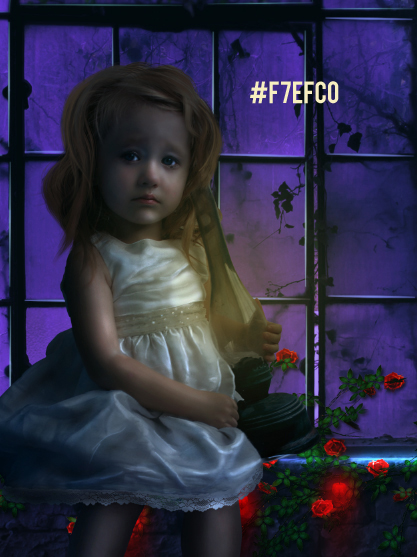

Again, on a new layer, we add some more color as shown in the screenshot. To do this, I used a very soft round brush set to very low opacity of about 10-15 with the same size as the previous one.

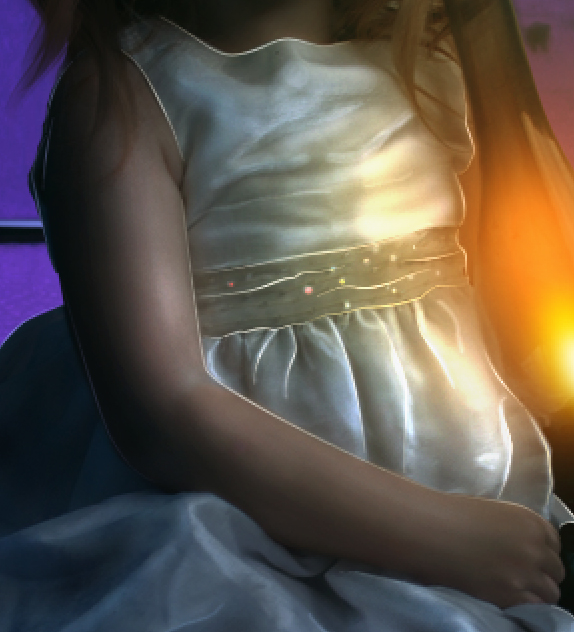
Now create again a new layer above the last layer. Set the foreground color to orange. With a very soft round brush, paint some orange on part indicated by the selection. Set this layer to screen.
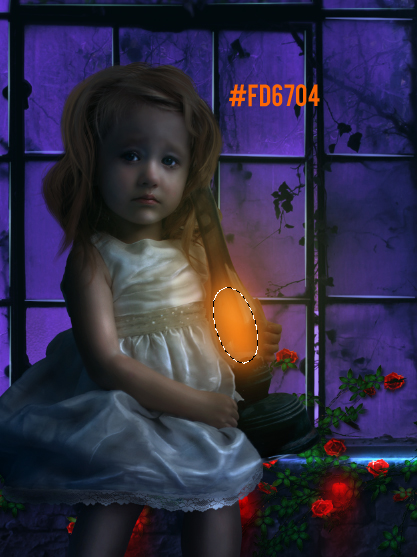
On a new layer, paint some yellow color with smaller size than the orange one. Set this layer to normal at 100% opacity.

Finally, paint some soft white dot to give more glowing effect.
Now create another new layer above the other light layers. Fill this layer with black and set it to color dodge. On this layer, paint combination color of yellow and white on areas around the light and the model’s cloth to give them vivid highlight. Use a very soft round brush set to very low opacity of about 3-5% and stroke the brush on areas where needed. Select all the light layers and group them in a folder. I named this folder light on lamp.
Step 15
Proceed to give more highlight on the left wall of the window. Create a new layer above the light on lamp folder. On this layer, paint orange color on the wall. Use soft brush set to 10-15% opacity. Here is the result of the layer I created set in normal at 100% opacity.
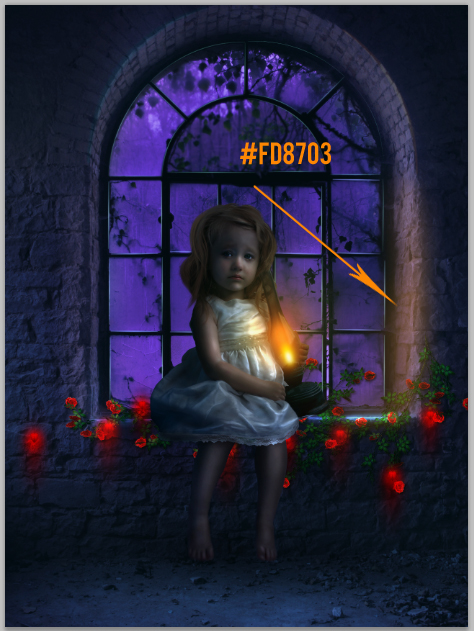
Next, duplicate the layer one time. Set the original layer to color blending at about 30% opacity and the duplicate to overlay blending at about 75% opacity to have the result as one below:

Step 16
Create another new layer filled with black above the other layers. Set this layer to color dodge. On this layer paint combination color of white, yellow and some orange on area around the left wall of the window to give it vivid highlight.
Here is the result
Step 17
In this step, we do some enchantment on the model by defining some details on it. Firstly we will create some highlight on areas around the cloth. Create a new layer below the light on lamp folder. On this layer create path as the one shown below. Stroke the path with white brush set to about 1-3 pixel size at about 50% hardness.

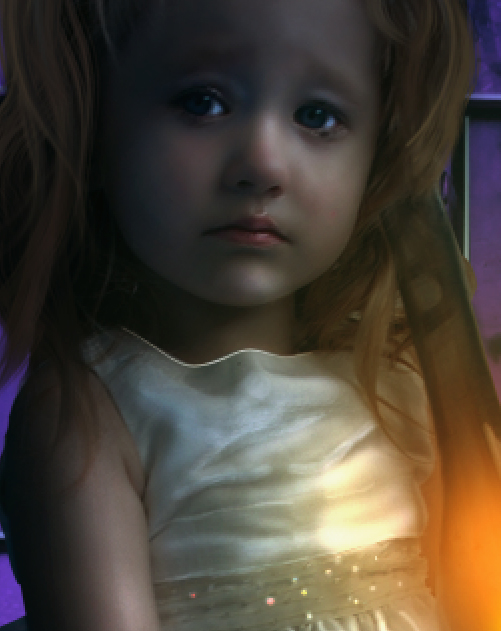
Do the same way to add some highlight on the other part of the model.
Step 18
On a new layer paint some more highlight on the hair. Use the hair brushes provided to do this.
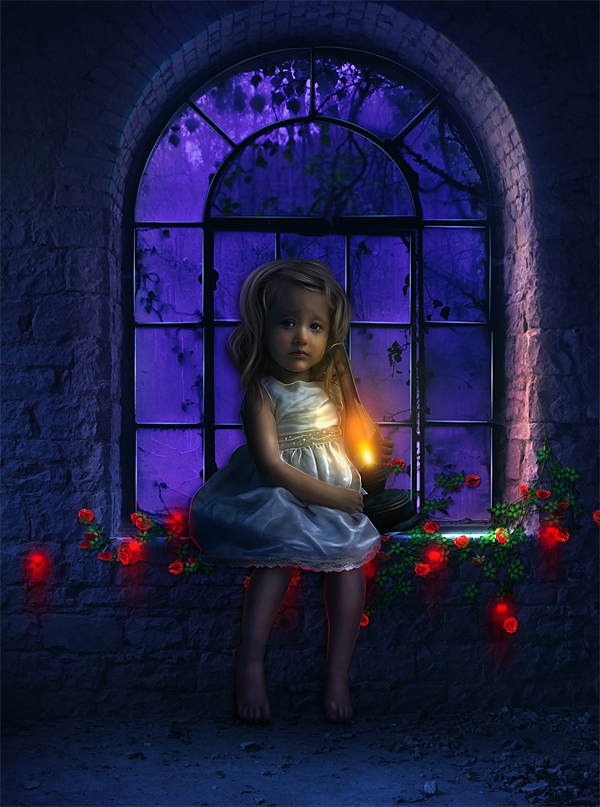
Dek Wid
Thank you for following this tutorial! Hope that you learn something today and happy photoshopping. Wid's side - My personal blog
Comments