
Create a Photo Manipulation Of a Lonely child in Photoshop
Step 4
Create another new layer above the adjustment folder. Fill (Shift+F5) this layer with solid color of dark green #oo2524. Set this layer to exclusion blending at about 25% opacity.
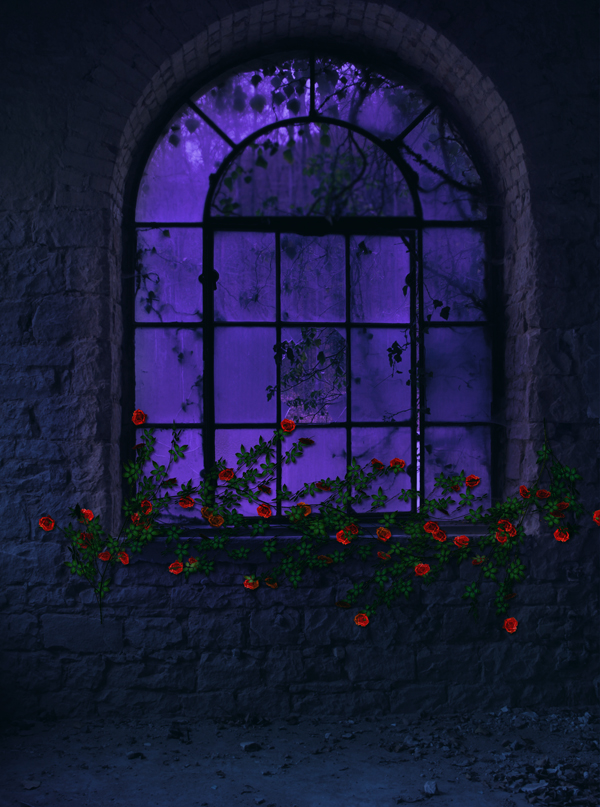
Step 5
Start to decorate the window by adding some flowers. Place the flower image. Scale and arrange its position as shown in the screenshot.
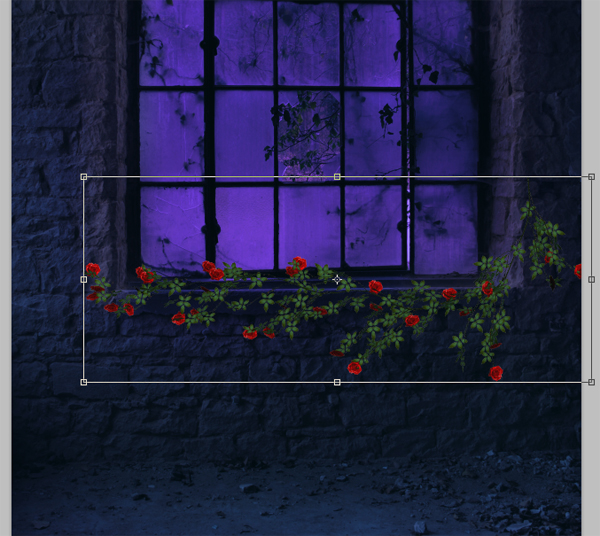
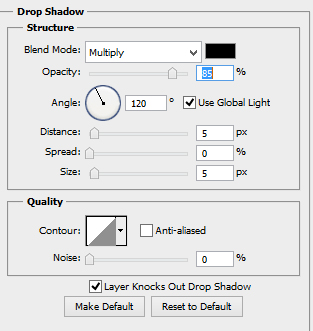
With the flower layer selected, go to layer > layer styles > drop shadow. Set the value as given below.

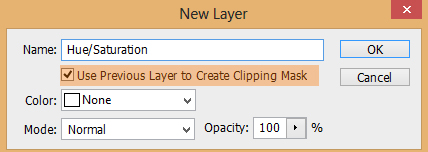
Next, we will give this flower layer some color adjustment. Go again to layer > layer adjustment layers > hue/saturation. Make sure to give this layer a clipping mask by checking Use Previous Layer to Create Clipping Mask in the new layer window.
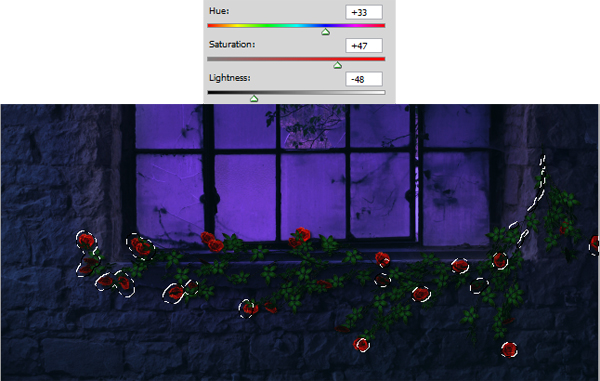
Set the values of this adjustment layer as given below. Hide the effect of this layer by masking the flowers as indicated by selections. Set this layer to soft light at 100% opacity.
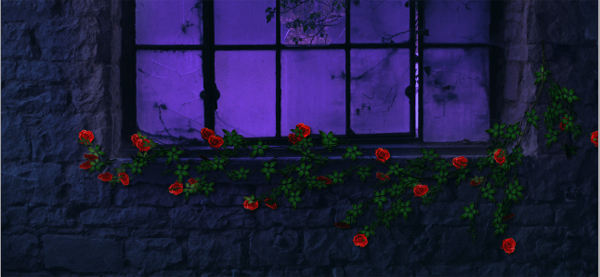
We can add more flowers to the scene. We simply do it by duplicate (Ctrl+J) the flower layer and arrange the duplicate in position where needed. Adjust its color by repeating the previous steps above.
Step 6
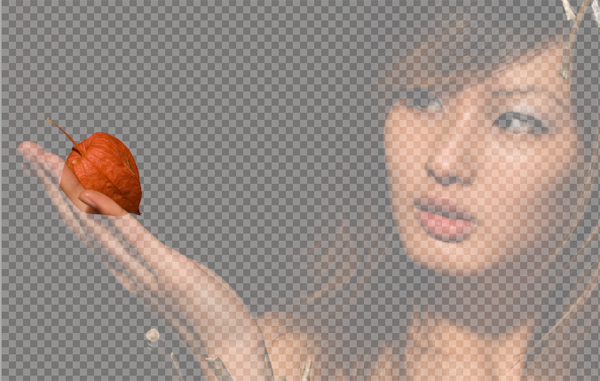
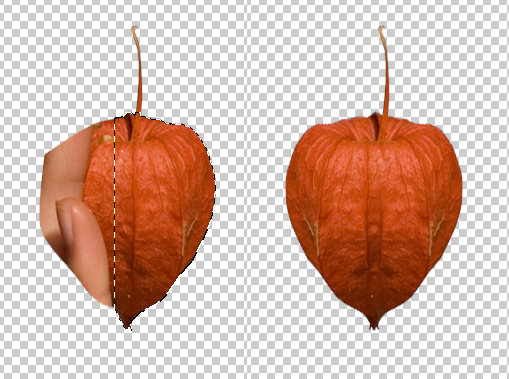
In this step we will add some more objects to the scene to give it more decorations on the window and wall. We will use the heart-looking like shape, I am not sure what it is 😉 , on the model hand to create the decoration. Cut out the shape. Use pen tool to do this. I assumed that we have familiar using this tool so I will not explain how to ;-(
After cutting out the shape from the model, proceed to cut out the half part of the shape. Select the cut out and duplicate it. Flip the cut out and arrange it to create a whole heart-looking like shape. Select all the layer and hit Ctrl+E to merge the.
Step 7
Next add the shape to the main scene. Scale its size accordingly.
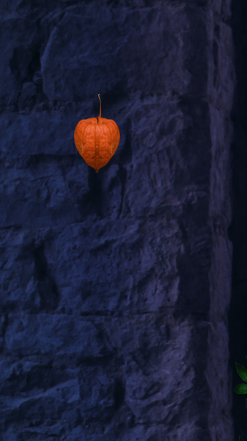
Now we will illuminate the shape. To do this, we will give it some layer style: color overlay and outer glow. Set the values of the styles as given below.
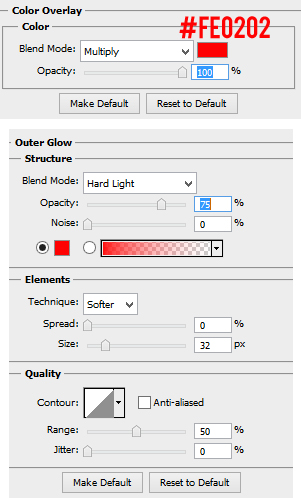
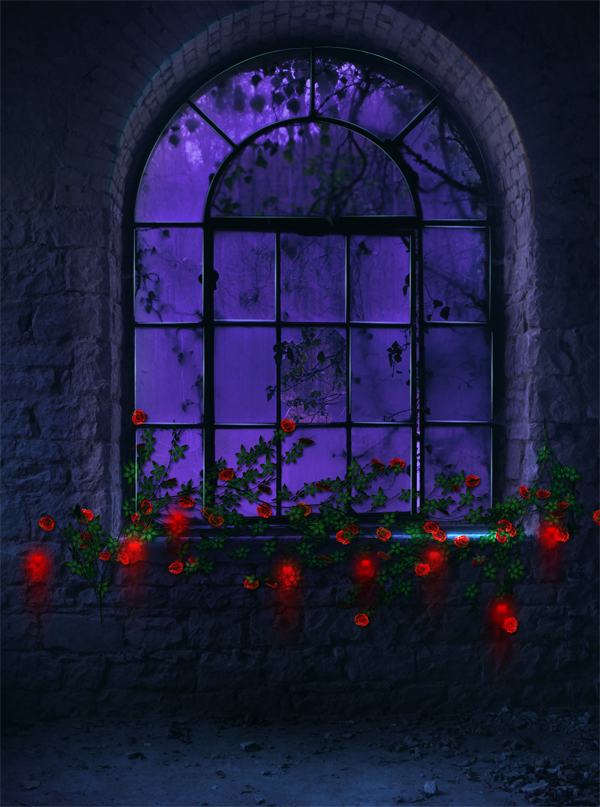
Here is the result I created:
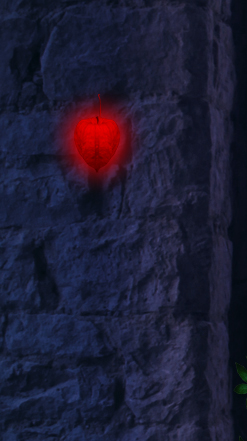
Then, create a new layer below the shape layer. Take a very soft round brush set to 100% opacity. With red color #fe0202, click the brush to give the shape more red glowing. Set the size of the brush as big as the selection given in the screenshot. Set this layer to normal at 100% opacity.
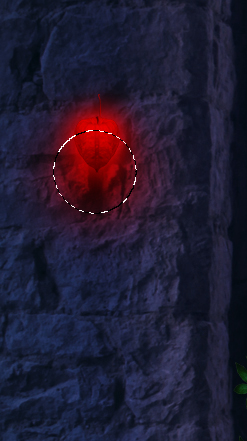
Create another new layer above the previous layer. Set this layer to overlay. On this layer, paint more soft red color on area indicated by selection. We can duplicate this layer one time and set the blending of the duplicate to color dodge. Try to play around with opacity of the layers to find desired red glowing for example I reduce the opacity of the original layer to about 68% opacity and the duplicate to just 10% opacity.
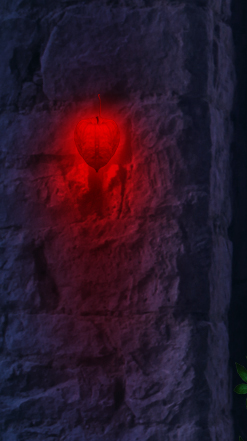
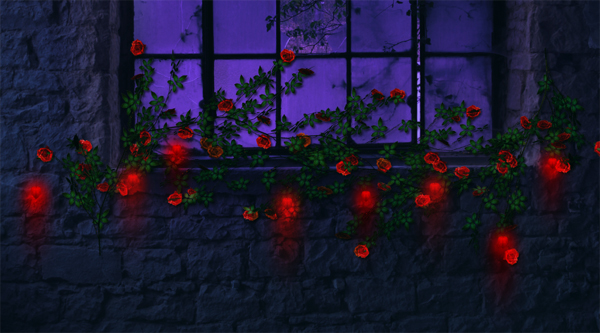
Select all the layers and group the in a folder. I named this folder red light. Duplicate the folder as many as needed. Place the duplicate above the flower around. Here is what I have done for our inspiration.
step 8
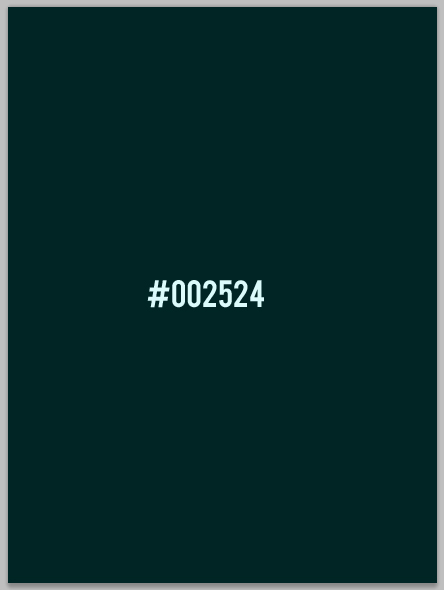
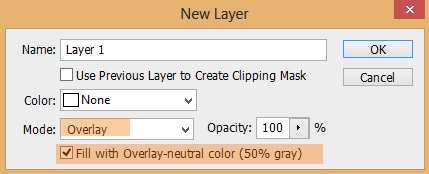
Next, create again a new layer above all the other layer. Make sure to set this layer to overlay and fill it with 50% gray by checking Fill with Overlay-neutral color (50% gray).
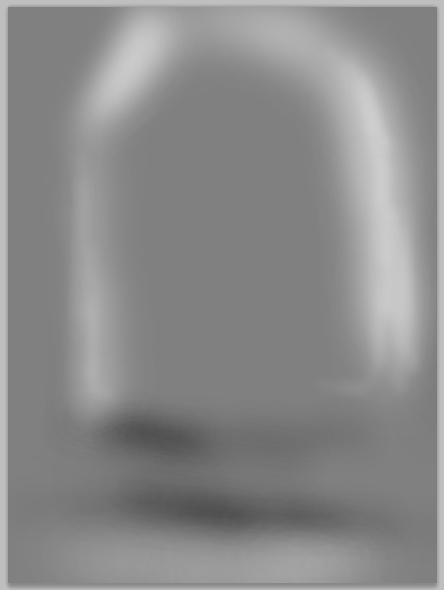
Now we will paint some highlight and shadow for the scene on this layer. To do this, take a very soft round brush set to about 10-15% opacity. With white color, stroke the brush on areas around the window and floor to give them some highlight and on contrary, use black color to give some shadow on areas where needed. Here is the result of the layer I have created set in normal blending at 100% opacity.
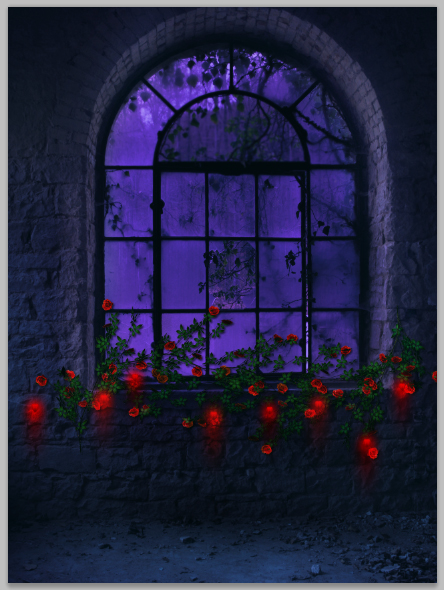
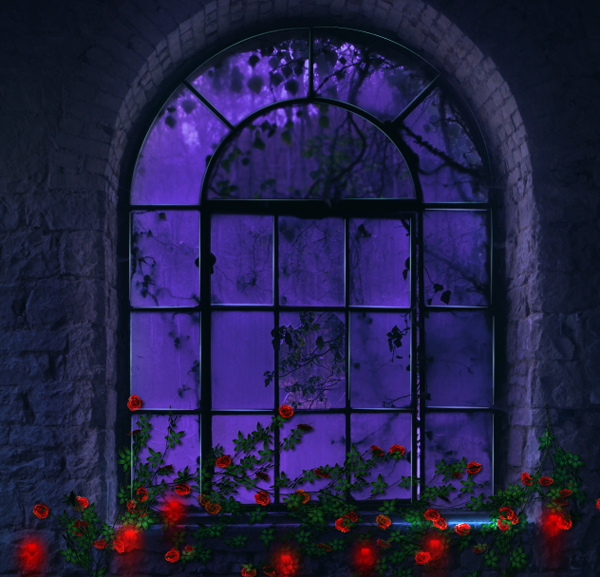
Here is the result so far
Step 9
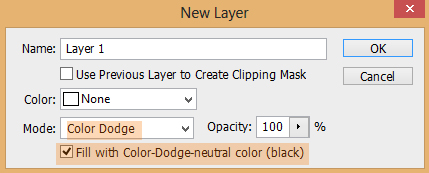
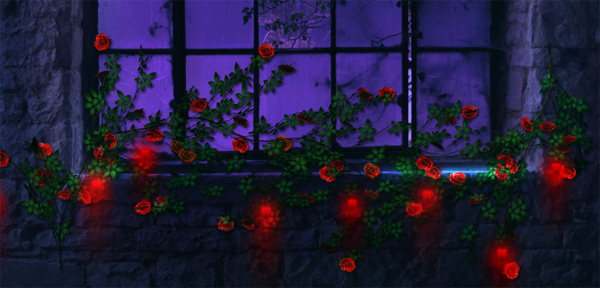
Now we will enchant the scene by adding more glowing on the window ledge. Create a new layer above the highlight layer. Set this layer to color dodge filled with black.
On this layer, paint soft cyan color on the window ledge. Here is the result I created in normal blending at 100% opacity.
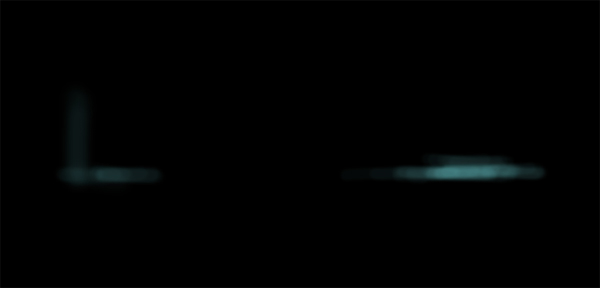
Result in color dodge. To give more glowing, we can duplicate this layer and set the opacity accordingly.
Step 10
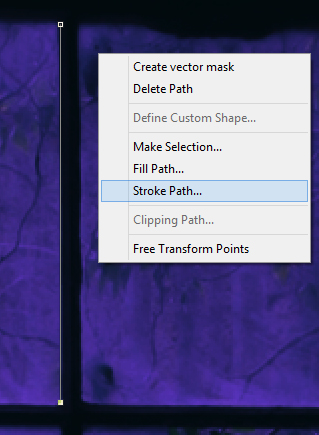
In this step we will add some highlight on window frames. We will do this on new layer. Set the brush tool to about 50% hardness with size of 2-3% opacity. Make sure to set the color of the foreground color to #baffef. Now take pen tool and create path on the frame. Right click on the path and choose stroke path. Use brush as tool of stroking.
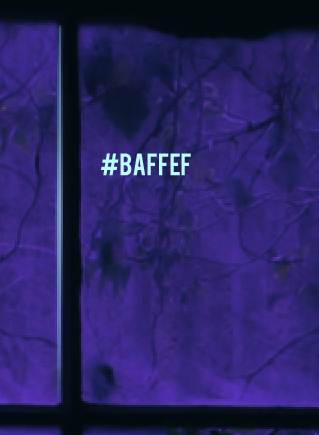
Do the similar way to add more highlight on the other parts of the frame.
Dek Wid
Thank you for following this tutorial! Hope that you learn something today and happy photoshopping. Wid's side - My personal blog
Comments