

Create a Photo Manipulation Of a Lonely child in Photoshop
Step 19
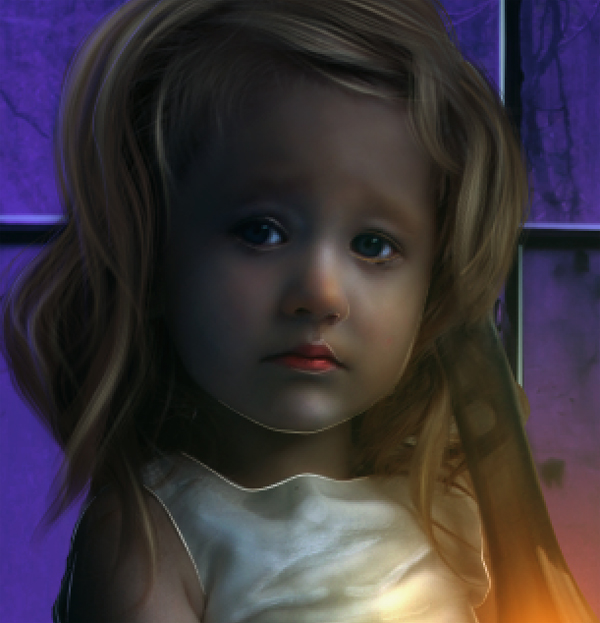
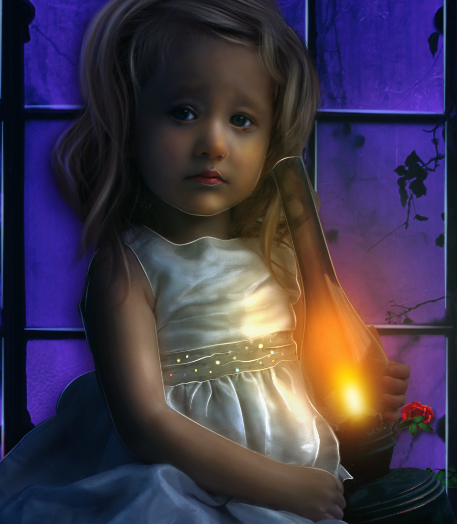
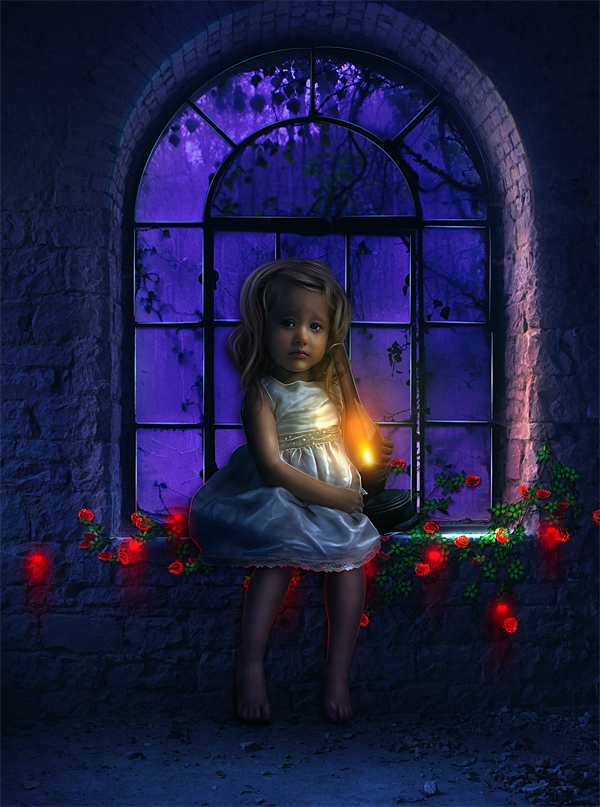
Again, on a new layer, give line highlight on chin and cheek.
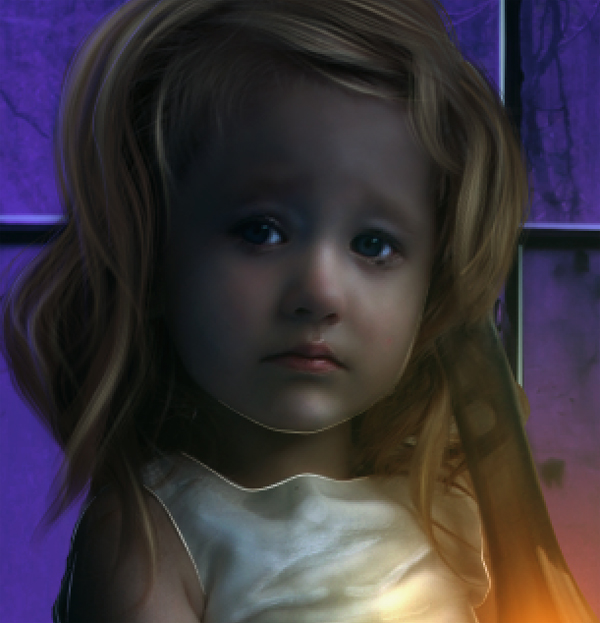
More line on nose, lips and eyes.

On a new layer set to soft light, paint orange highlight on the nose and cheek.


Finally, create another new layer again. Set this layer to color blending. On this layer, paint red color on the model lips.
Step 20
Proceed to define more details on the lamp by giving it some line highlight on certain parts where needed.
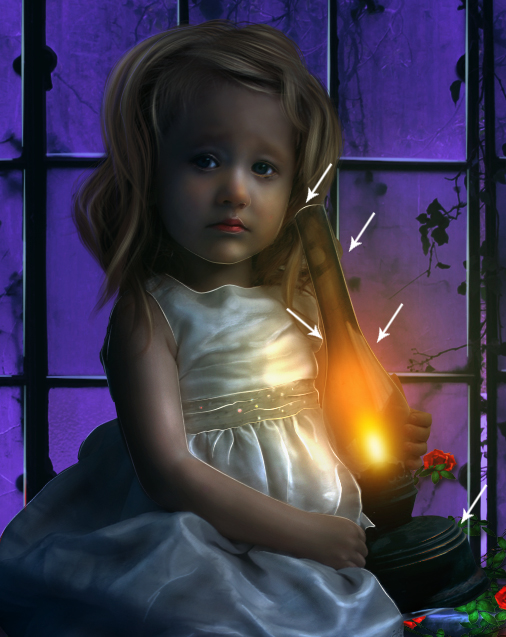
Step 21
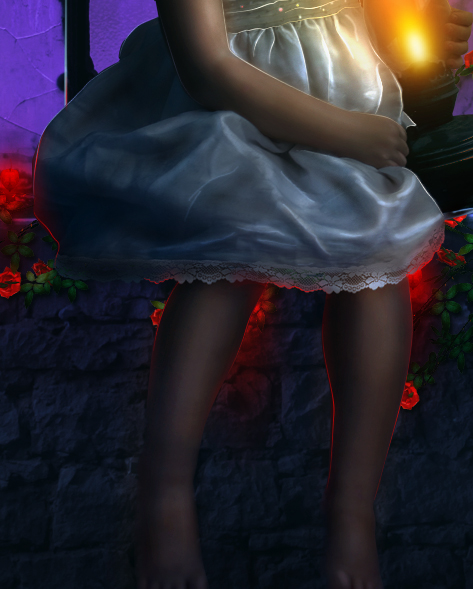
Next do similar way to give red highlight on areas around the feet and cloth where needed.
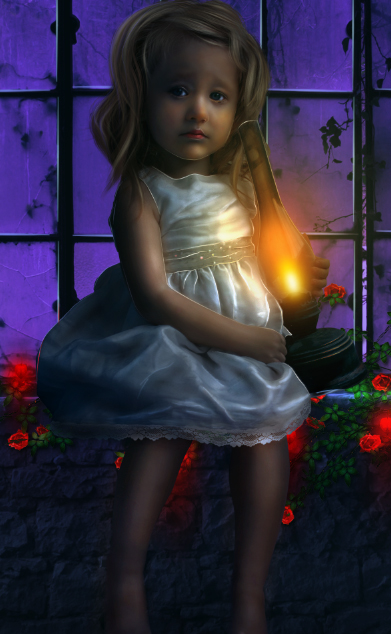
Step 22
Finally, we will do a bit more tweak for the overall color adjustment. To do this we will give some more color adjustment. This time we will give the scene selective color adjustment layer above all the other layers.
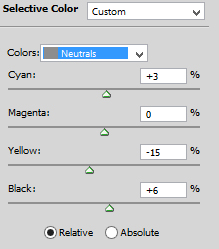
Duplicate the selective color layer one time. Give some masking on the original selective color layer on area around the model. Set this layer to normal blending at 100% opacity. Finally, do masking on the duplicate layer on the wall and model. Set this duplicate to normal at 60% opacity.


Step 23
To give more nuance, I decided to add some blinks on the model belt.
Step 24
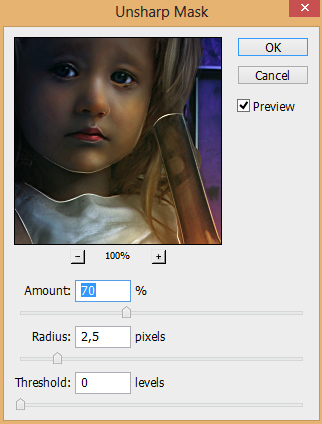
Make sure we are active on the topmost layer in the layer panel. Finally, hit Shift+Ctrl+Alt+E to merge all the visible layers. This will create a new single layer above all the other layers. Convert this layer into a smart object. Then, give this layer filter : unsharp mask. Set the values as given below. this will sharpen the image.

We’re Done
Dek Wid
Thank you for following this tutorial! Hope that you learn something today and happy photoshopping. Wid's side - My personal blog
Comments