
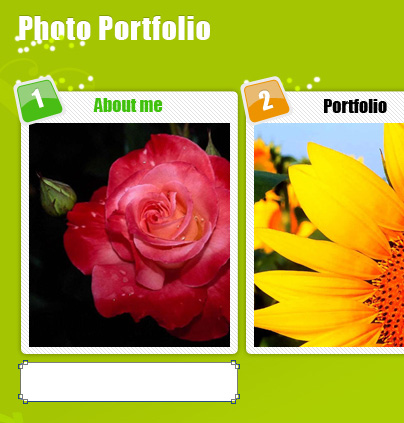
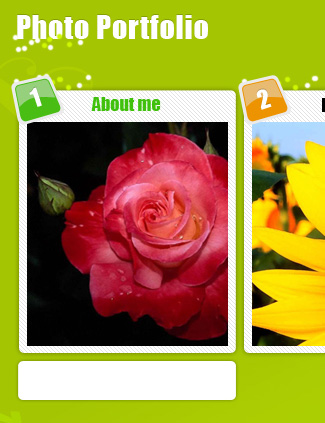
Online Photo Portfolio
Both dividing stripes must have the same parameters:
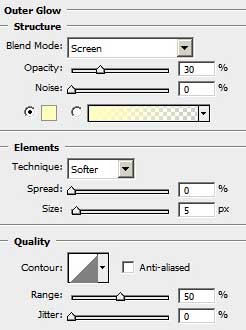
The layer’s parameters: Blending Options>Outer Glow
Take the Rounded Rectangle Tool (U) to represent the primary layer of the button that must be placed lower than the section itself. Choose this time the white color.


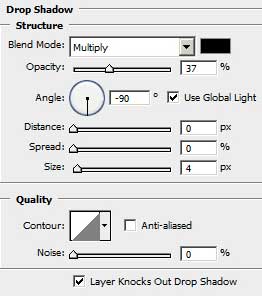
The layer’s parameters: Blending Options>Drop Shadow
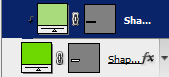
Make a copy of the last made layer and select the Free Transform option to minimize the copy a little, applying for the layer also the color #6DD800
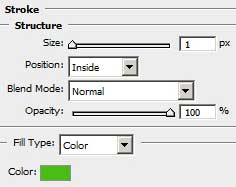
The layer’s parameters: Blending Options>Stroke
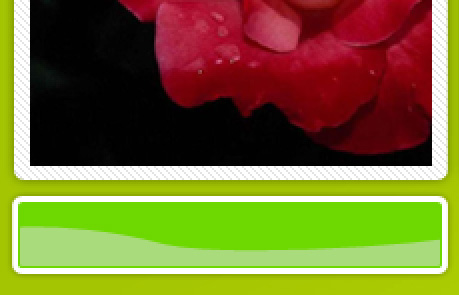
Using the Rectangle Tool (U), try to make a highlight on the number’s plate. The color is #A9DB7C. Insert a top on the upper part of the highlight with the Add Anchior Point Tool. The shape must be corrected with Convert Point Tool 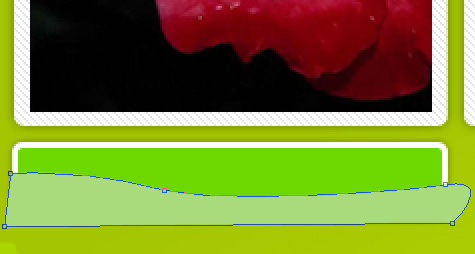
Press Alt button and make a mouse’s click between the highlight’s layer and the button’s green layer for the highlight to be applied in the limits of the button’s green layer:
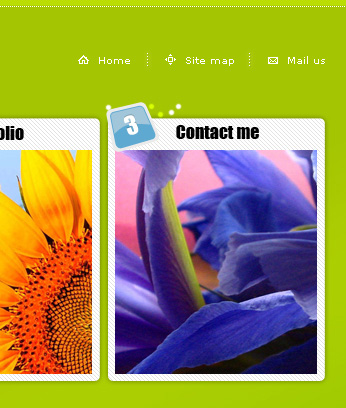
Combine in a group now all the layers composing the section’s button (Press Ctrl button and mark out the necessary layers and press the left mouse’s button to take the marked layers on Create a new group option). Make two copies of the last made group and select the Free Transform option to place the copies under the corresponding site’s sections. Change the basic colors of the copies: the first copy – #F0920D; the second copy- #5191AD. The highlights’ colors should be changed too: the orange button – #F6C073; the blue button- #89B4C7 (Blending Options>Stroke is the same with the basic button’s color).

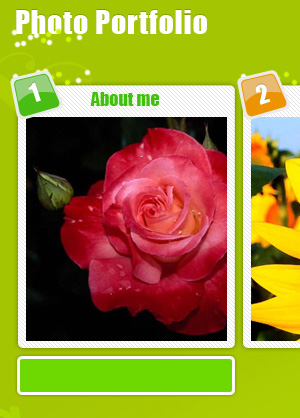
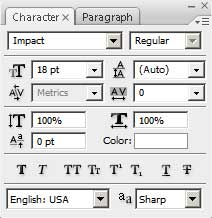
Insert now the titles for the sections’ buttons:
Comments