
Easter Cards
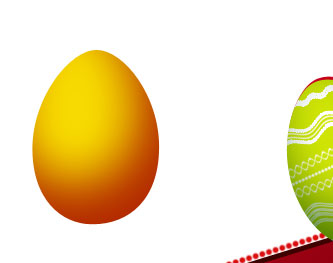
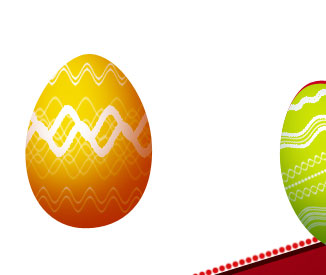
Make a copy of the earlier made egg’s layer, changing the copy’s color on this one – #F7DA01

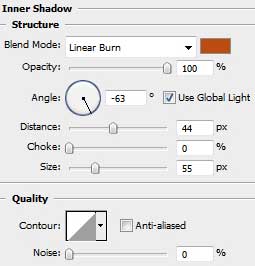
The layer’s parameters: Blending Options>Inner Shadow

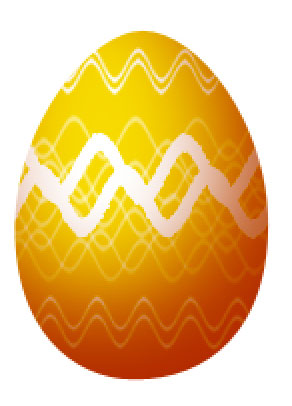
Applying the same methods for representing the previous eggs’ ornaments, it’s possible to draw another one for the new egg. Use for the beginning the same Rectangle Tool (U) to represent white lines, processed with the Wave filter, mentioned earlier too. Apply after that the Free Transform option to get the lines with long and short waves, changing also their thickness and ornament’s placement (this process was explained in details when representing the red egg’s ornament). Make a click between the lines’ layers and the egg’s layer, while pressing Alt button for the ornament to get in the limits of the demonstrated egg’s layer (this operation should be done with each line’s layer situated above the egg’s layer).
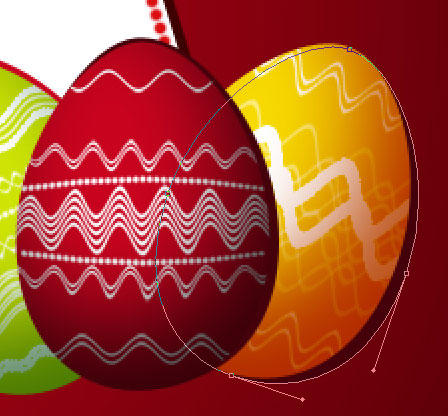
Combine in a group all the layers composing the yellow Easter egg (press Ctrl button for marking out the corresponding layers and then hold on the left mouse’s button while taking down the marked layers on Create a new group selection). Use Free Transform option to incline the group with the yellow egg, placing it lower than the group containing the red egg (on the layers’ panel).

Make a copy of the yellow egg’s layer, setting for the copy this color – #45010A, moving off the parameters. Select now Free Transform option to move the copy on the right side. It should be placed lower than the group containing the yellow egg on the layers’ panel.

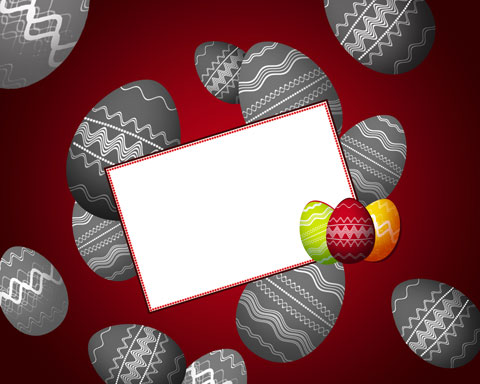
Now we have to make copies of each group containing the Easter egg, mark it out and press CTRL+E. Then we have to make several copies of the layer that we’ve got. Each copy should be uncolored (CTRL+SHIFT+U) Select then Free Transform option to situate the copies arbitrarily above the picture’s background’s layer. The copies’ sizes and their inclining direction should be changed too.
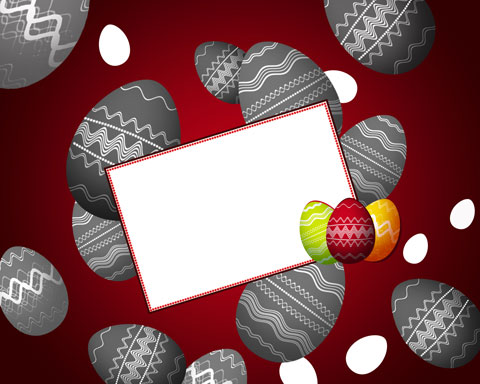
Make a copy of one of the first egg’s layers, changing its basic color on white. Move off the layer’s effects on the layer. This new layer should be also copied several times. Use after that Free Transform option to change the copies’ sizes and their inclination direction. The layer containing the white eggs should be placed lower than the layers containing the uncolored eggs (on the layers’ panel).
Comments