
Easter Cards
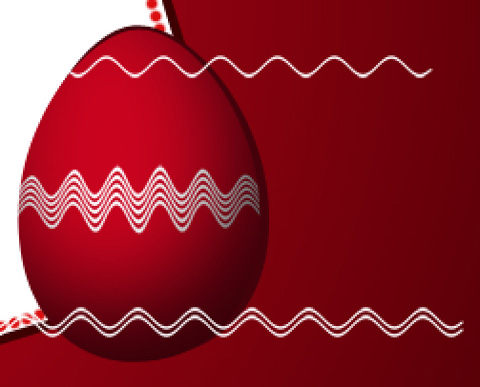
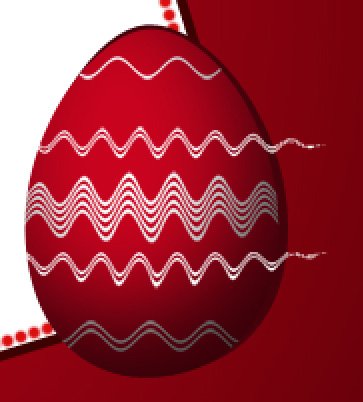
Use the same method for representing the white lines to represent another line of white color too. Use the same filter. Apply the Free Transform option for the last line’s layer to stretch the wavy line horizontally.

Make two copies of the last made layer and then select Free Transform option to place the copies as it is shown on the next image:
Press Alt button while making a mouse click between the lines’ layers (on the layers’ panel) for the lines to get in the limits of the demonstrated egg.
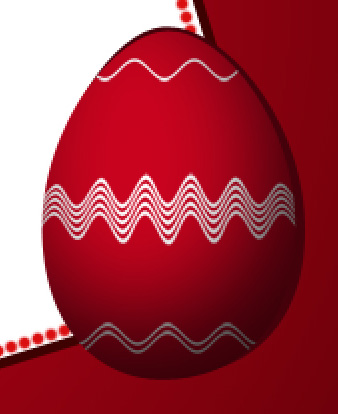

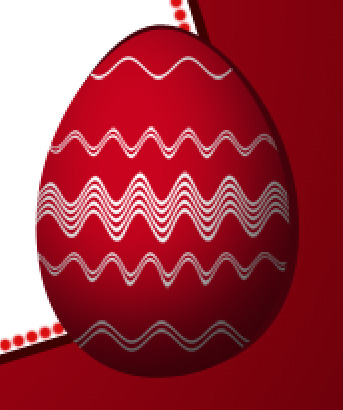
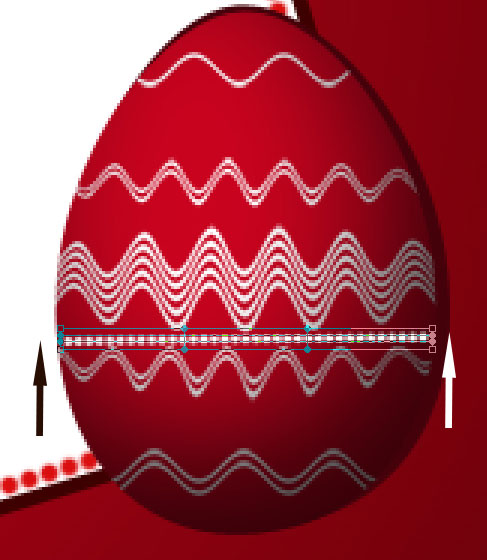
Choose the Rectangle Tool (U) to represent two more horizontal white lines on which must be used the earlier applied filter Wave (repeat the earlier described stages). Place the lines’ layers above the Easter egg. Press CTRL+T and switch between Free Transform and Warp modes. The tops on the edge will be reunited in the same point the way we did earlier with the previous lines.
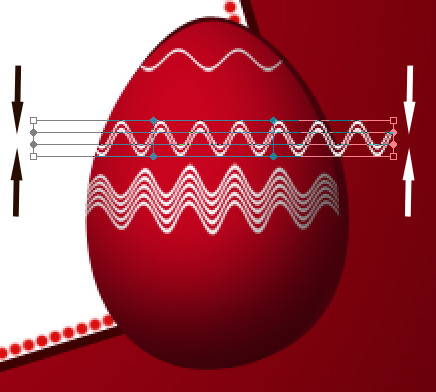
Make a copy of the last made layer and choose again the Free Transform option to turn over the copy, placing it as below:
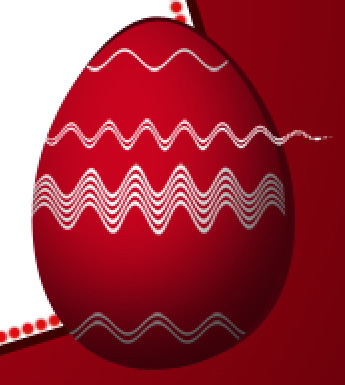
Press Alt button and make a mouse click between the wavy lines’ layers (on the layers’ panel) for the lines to be applied in the limits of the Easter egg.
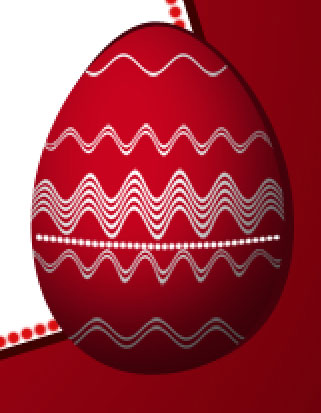
Create a new layer again for using on it a standard brush of white color to insert one more element of the egg’s ornament we want to get finally.
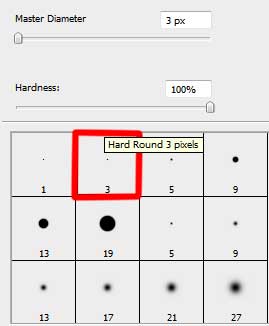
Use the same parameters out of the “Brushes” solution, applied earlier:
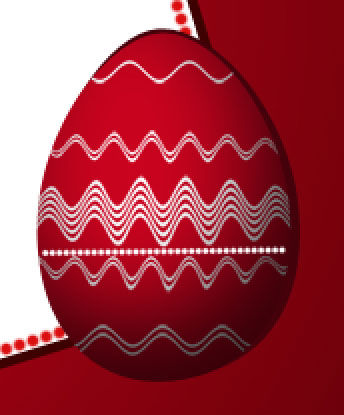
Use Free Transform (warp) option to move a little to the upper side the demonstrated below tops.
Comments