
Easter Cards
Make a copy of the layer containing the line and select for it the Free Transform option to turn over the copy, placing it as below:
Press Alt button while making a mouse click between the lines’ layers (on the layers’ panel).
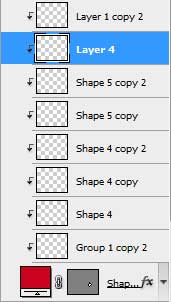
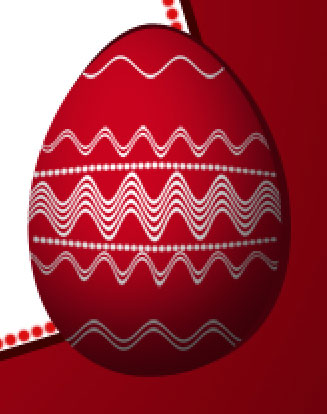


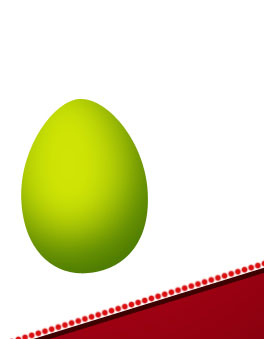
Combine in a group all the layers composing the red Easter egg and the layers with its ornament (press Ctrl button when marking out the necessary layers and then hold on the left mouse’s button to take down the marked layers on Create a new group option). Make a copy of the earlier made first layer belonging to the egg, applying different parameters for the copy and the color #D0E505
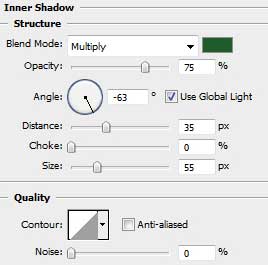
The layer’s parameters: Blending Options>Inner Shadow
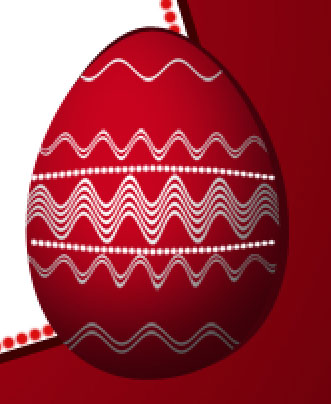
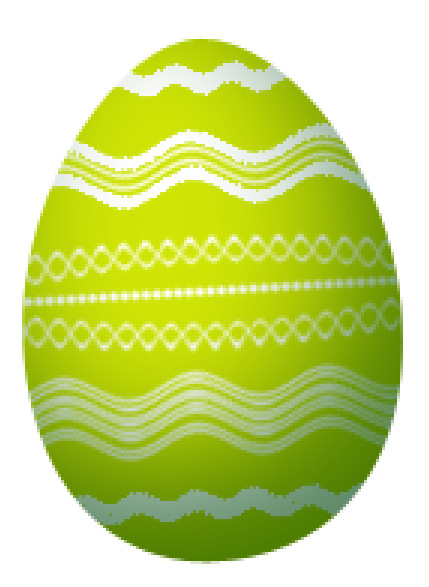
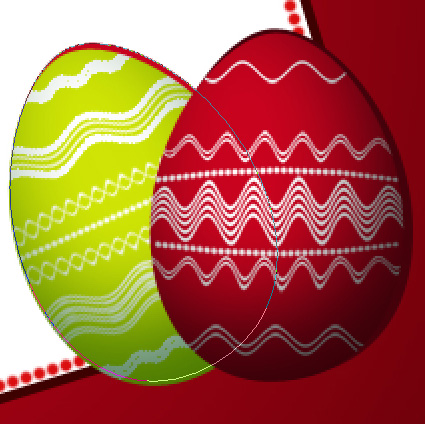
We’ll have to represent this egg’s ornament too. Select for the beginning the Rectangle Tool (U) to represent the white lines, that must be preliminary rasterized and then changed with the Wave filter, demonstrated earlier. Using Free Transform option for the lines, we’ll get the lines with long or short wave. We may also change the thickness of the lines and the ornament’s placement. Make a mouse click between the lines’ layers and the egg’s one while pressing Alt button for the ornament to get in the limits of the egg’s layer.
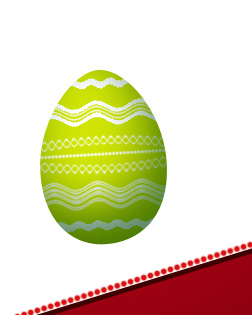
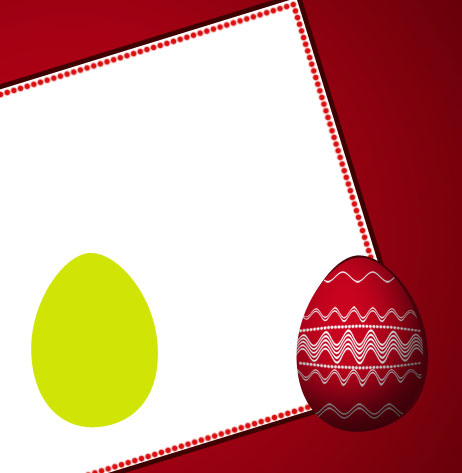
For getting the desired result, it’s necessary to combine in a group all the layers composing the green egg (press Ctrl button for marking the corresponding layers and then hold on the left mouse’s button to take down the marked layers on Create a new group option). Using Free Transform solution, it’s possible to incline a little the group with the green egg, placing this group lower than the red egg’s group.
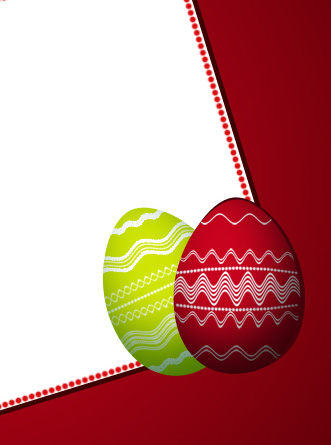
Make a copy of the green egg’s layer, applying for the copy this color – #C7031E and moving off the parameters. Select again the Free Transform option to place the copy on the right side, upper. Place it lower than the group containing the green egg on the layers’ panel.
Comments