
Zoom Player Skin Design
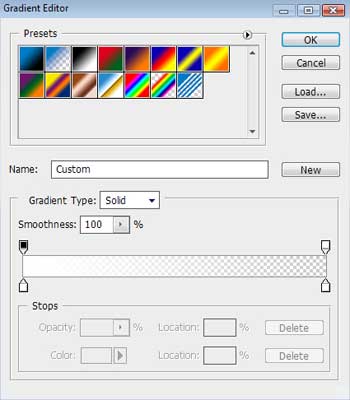
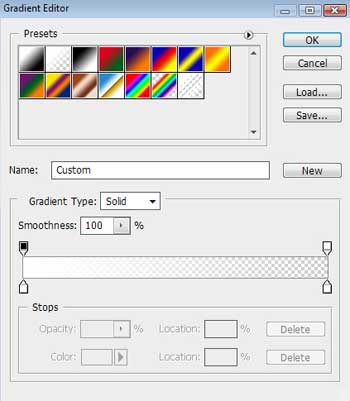
Gradient’s parameters:
Using the Ellipse Tool (U), try to make the next layer, reserved for the player’s logotype.
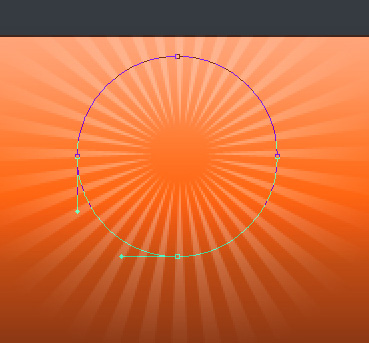
The layer’s parameters: Fill 0%
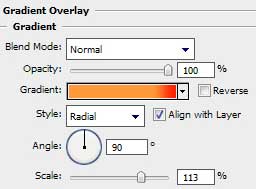
Blending Options>Gradient Overlay 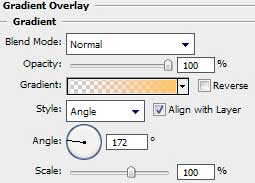

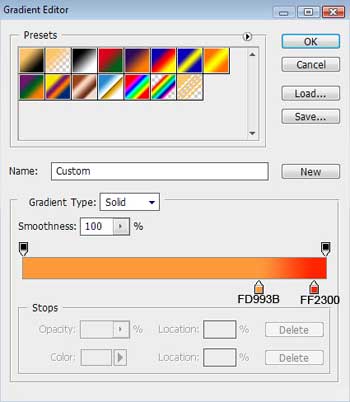
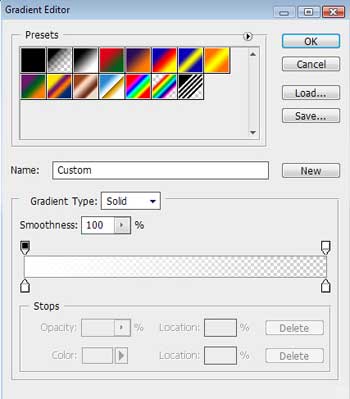
Gradient’s parameters:
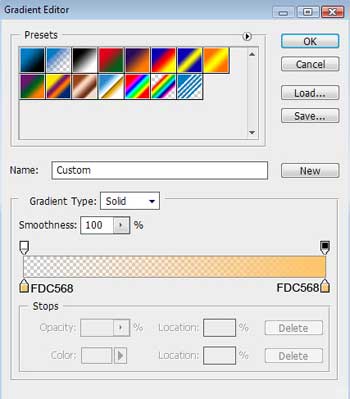
 Use again the Pen Tool (P) to represent a triangle, colored with #FDC568
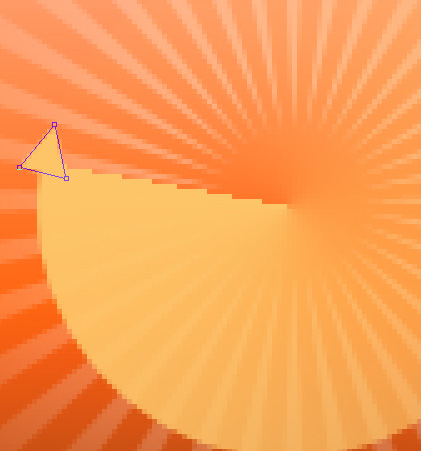
For getting a better result it’s necessary to combine in a group all the layers composing the triangle and the previous layer made before the triangle (press Ctrl button to mark out the necessary layers and hold on the left mouse’s button to take the marked layers down on Create a new group selection). Make a copy of this group and select the Free Transform option to turn over the copy as it is demonstrated on the next picture.
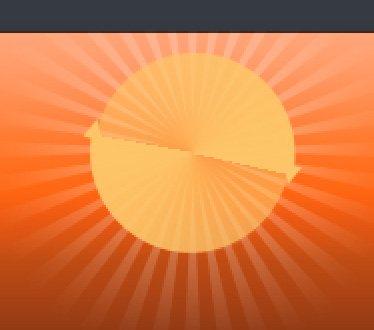
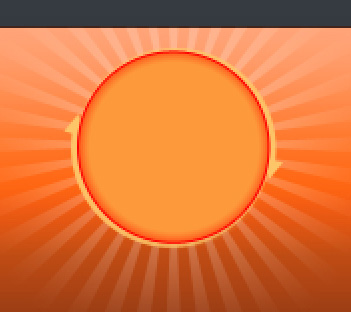
Applying the Ellipse Tool (U), it’s possible to represent the next layer, reserved for the player’s logotype.
The layer’s parameters: Blending Options>Gradient Overlay
Gradient’s parameters:
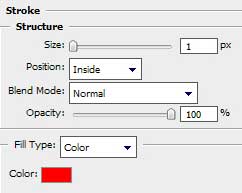
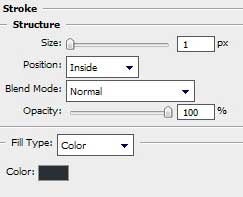
Blending Options>Stroke
Next step includes drawing a highlight on the logotype, applying the previous instrument, Ellipse Tool (U).

The layer’s parameters: Fill 0%
Blending Options>Gradient Overlay 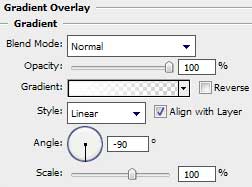
Gradient’s parameters:
Make a copy of the last containing the logotype’s highlight and then select Free Transform option to turn over the copy, changing also the parameters of the copy’s layer:
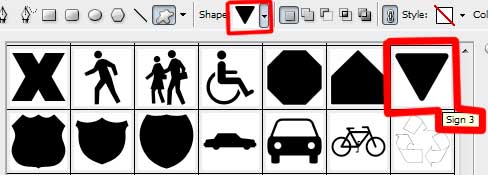
 Next we’ll choose the Custom Shape Tool (U) to represent the symbol of the logotype, having white color. Turn over the drawn element with the Free Transform selection.


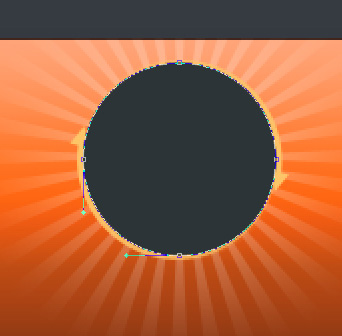
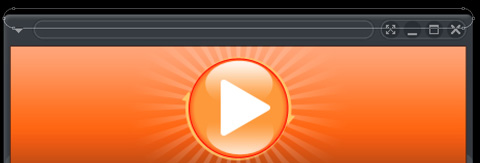
Represent then a special frame reserved for the top part of the media player. The operation should be done with the Rounded Rectangle Tool (U) with a radius of 10 px.

The layer’s parameters: Fill 0%
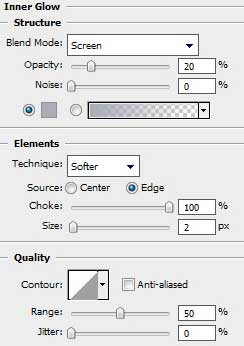
Blending Options>Inner Glow
Blending Options>Stroke
On the top part of the media player we’ll represent a highlight, applying the same instrument.
The layer’s parameters: Fill 0%
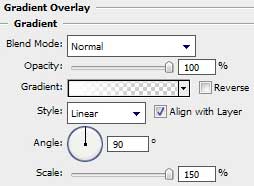
Blending Options>Gradient Overlay 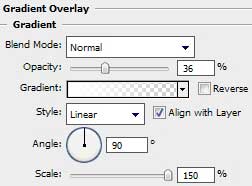
Gradient’s parameters:
Combine in a group all the layers composing the media player (press Ctrl button to accentuate the corresponding layers and then hold on the left mouse’s button to move the marked layers on Create a new group option). Make a copy later of the earlier made group and put together all the layers of the copied group, pressing the next combination of buttons CTRL+E. The Free Transform selection will be helpful in turning around the stuck layer.
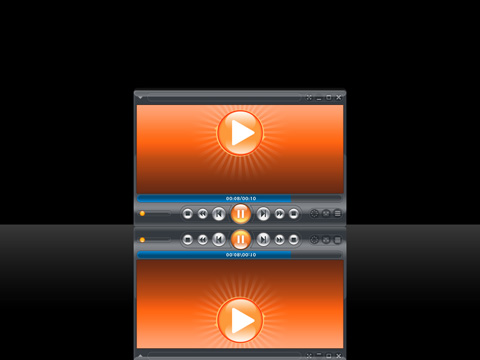
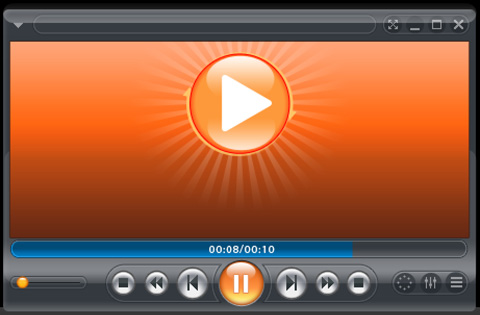
Make a mouse click on Add a Mask option situated on the bottom part of the layers’ panel. In the same time apply the Gradient Tool (G) to represent a semitransparent reflection.
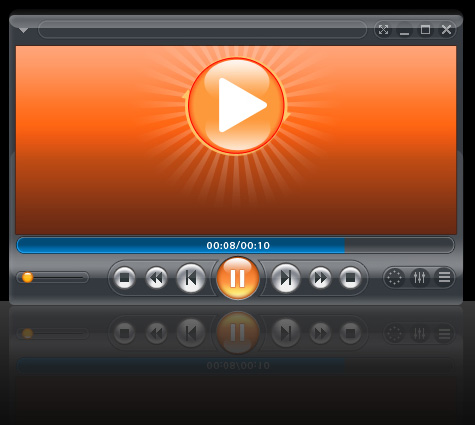
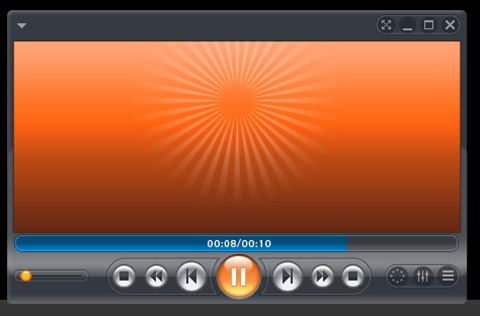
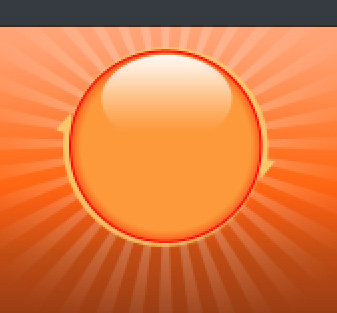
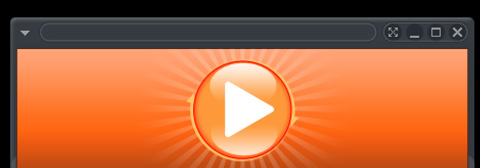
The media player is finished!
View full size here.
Comments