
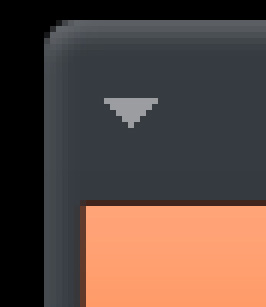
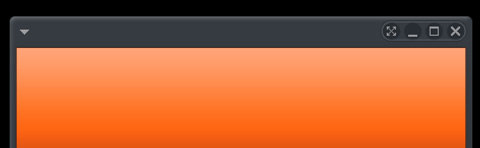
Zoom Player Skin Design
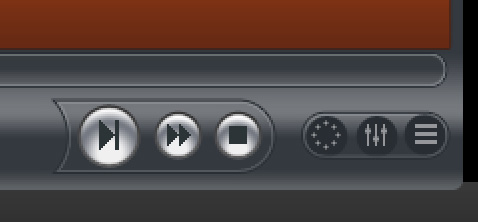
Create a new layer on which we shall use the Pencil Tool (B) (brush of 1 px) with white color (Fill 50%) to represent the symbols on the system buttons and on the top left corner.
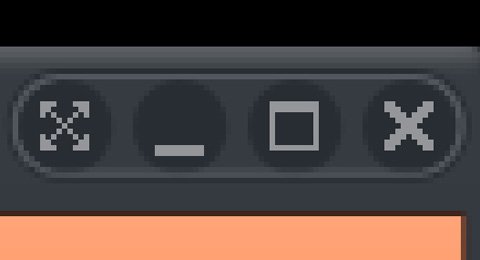
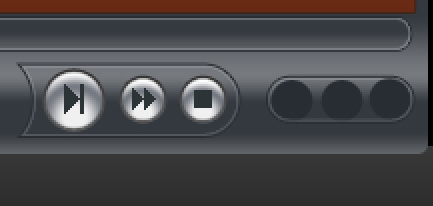
Take the Ellipse Tool (U) and start drawing the Play button for the player.

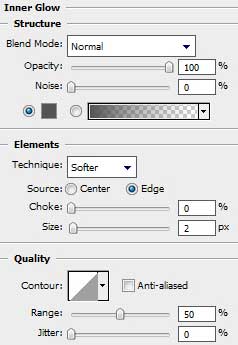
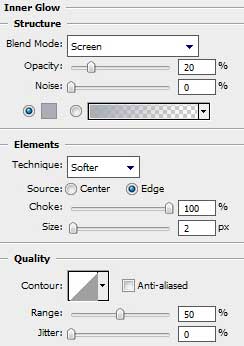
The layer’s parameters: Blending Options>Inner Glow
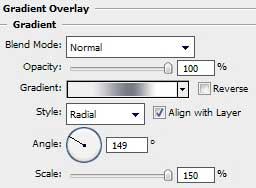
 Blending Options>Gradient Overlay
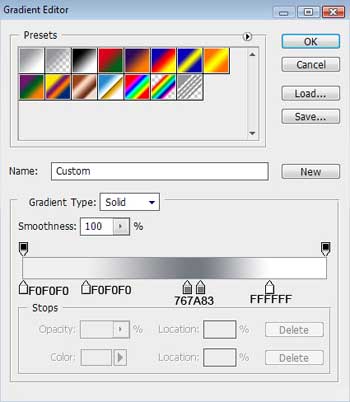
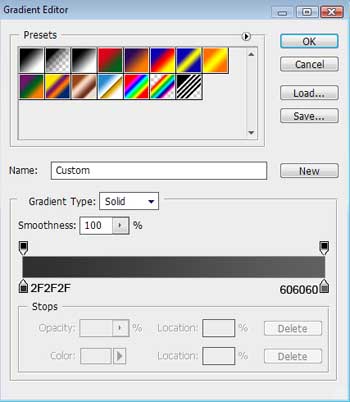
Gradient’s parameters:
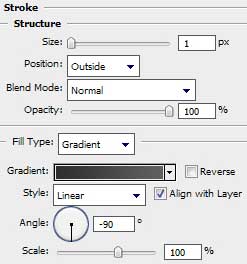
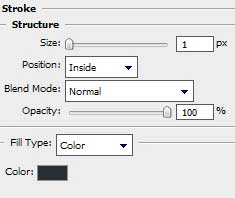
Blending Options>Stroke
Gradient’s parameters:
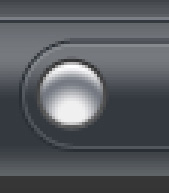
Make five copies of the layer containing the button and select the Free Transform option to make the necessary changes on the copies’ sizes and on their placement on the picture.
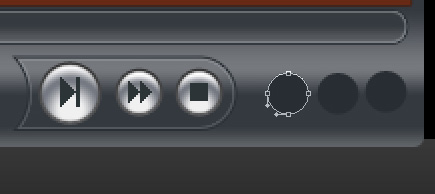
Create again a new layer and use on it the Pencil Tool (B) (brush of 1 px) with the color #2C3437 to represent different symbols on the player’s buttons.
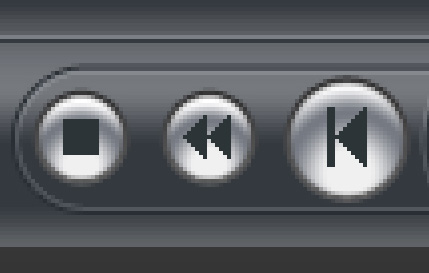
Make copies of the layers composing the buttons’ symbols and select Free Transform option to turn over the copies and place them the way shown below:
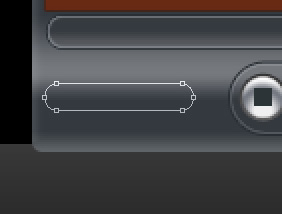
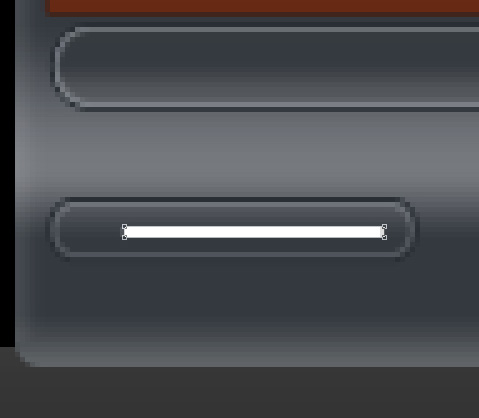
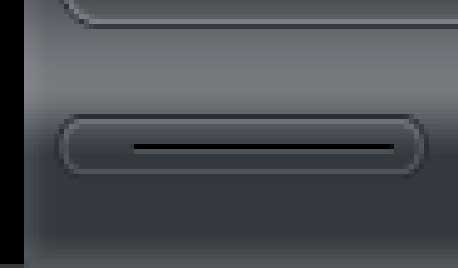
Next we have to draw on the left side of the play panel the sound’s indicator. The instrument applied in this case is Rounded Rectangle Tool (U) with a radius of 10 px.
The layer’s parameters: Fill 0%
Blending Options>Inner Glow
Blending Options>Stroke 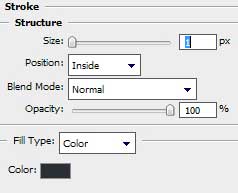
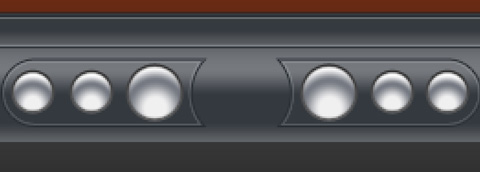
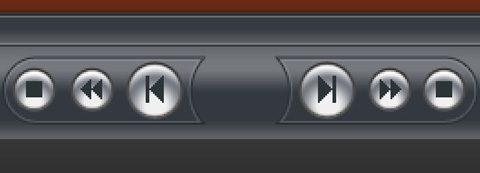
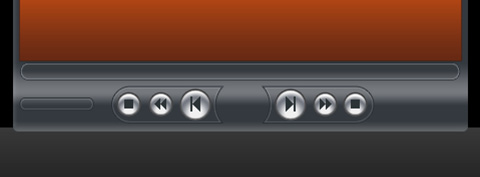 Now we should represent several special buttons exactly the way we have represented the system buttons on the top part of the player. Select the Ellipse Tool (U) for this operation and the color #282D33
All those special buttons should be combined in a certain frame, made with the Rounded Rectangle Tool (U) and a radius of 15 px.

The layer’s parameters: Fill 0%
Blending Options>Inner Glow 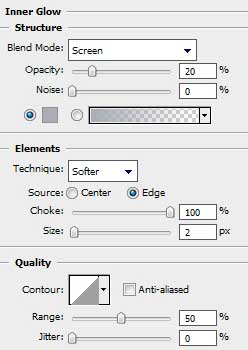
Blending Options>Stroke
Create again a new layer (Create new layer) on which we’ll use the Pencil Tool (B) (brush of 1 px) to draw the symbols on the buttons.
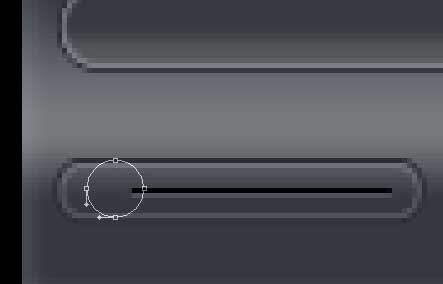
Get back to the panel, containing the sound button and create an opening for motion regulator. The instrument used in these cases is Rectangle Tool (U).
The layer’s parameters: Blending Options>Gradient Overlay 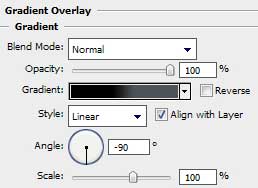
Gradient’s parameters:

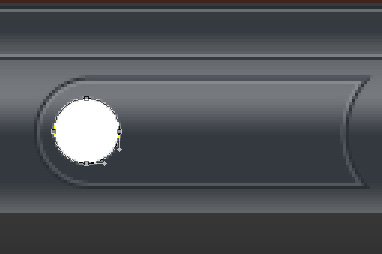
The Ellipse Tool (U) will be helpful in representing the sound’s regulator:
Comments