
Video Blog Web Page
Make nine copies of the star’s layer and select the Free Transform option to situate the copies the same way the next picture indicates it.

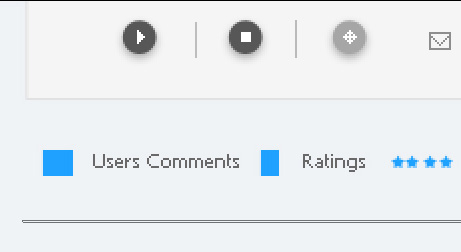
Selecting the earlier applied instruments (the Custom Shape Tool (U) and Rectangle Tool (U)), it’s possible to represent several small stars and two rectangles. The elements’ color is #1EA1FF.
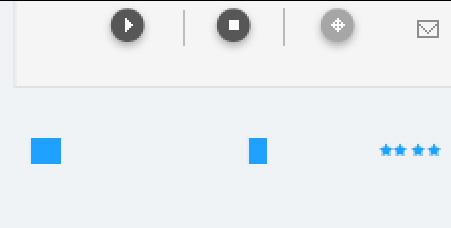
Insert their titles between the made elements:

Getting a better result is possible if combine in a group all the layers composing the elements under the player’s panel and the inscription there (hold on Ctrl button to mark out the appropriate layers and press the left mouse’s button to take the marked layers on Create a new group selection). Create a new file (File>New) with 2×1 px and 72 dpi. Choose the Pencil Tool (B) (brush 1 px) and the color #858585 to draw the pattern from below.

Edit>Define Pattern
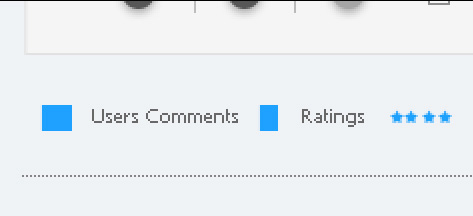
Make a horizontal dividing line under the drawn earlier elements, using the Line Tool (U).
The layer’s parameters: Fill 0%
Blending Options>Pattern Overlay 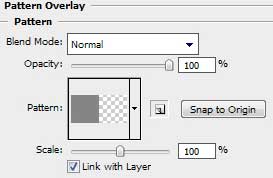
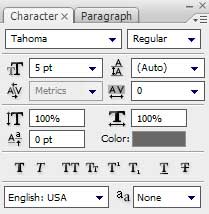
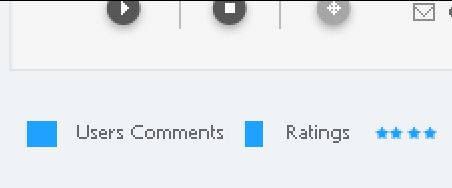
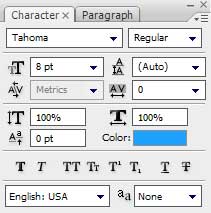
Insert the inscriptions of the already watched video files, under the dividing line, taking care of the demands from below:
Comments