
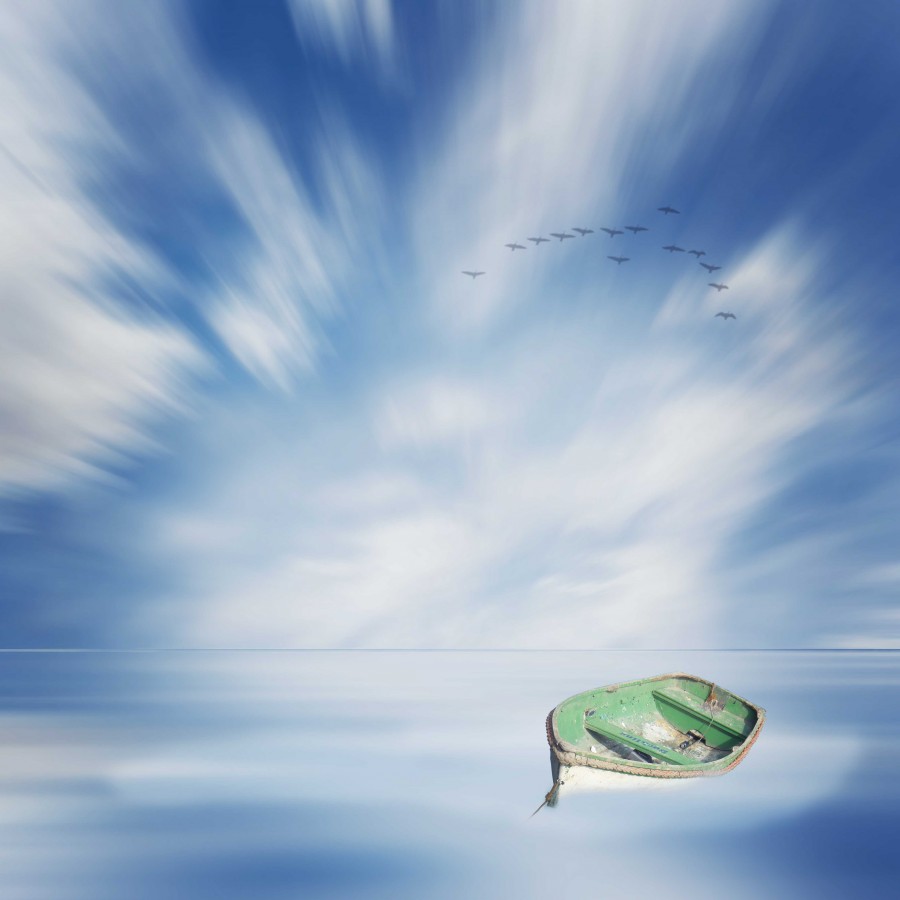
The Boat – Minimal Long Exposure Photo Manipulation with Photoshop CC/CS6
Long Exposure Water Effect – Step 1
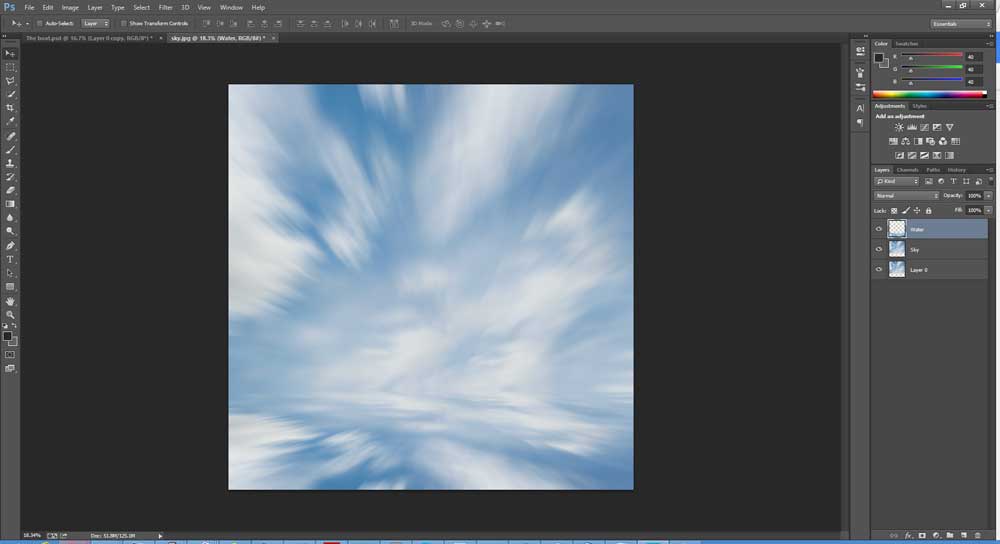
Because we want the long exposure effect of the water to effectively mirror the sky above we are going to create the water from a flipped copy of the sky.
- With the Sky layer selected press Ctrl+J again to duplicate the layer and change the name of the new layer to Water
- Select the new layer and enter Transform Mode by either pressing Ctrl+T or selecting Image -> Free Transform from the menu.
- Grab the very top-middle point of the later and drag it all the way down to the bottom of the image into the currently white-space. This will not only fill our water area but flip the image
- vertically creating our initial mirror effect.
- Press Enter to exit transform mode
- You might see some empty space between the Sky and the Water. If this happens just select the Water later and with the Move tool selected press up a few times to make the two layers meet. Then enter Transform Mode again and drag the bottom point all the way down again so that the water goes all the way down to the bottom.
Long Exposure Water Effect – Step 2
Now that we have the general feel of the water, we want to give it a little more movement, after all the water does not move at the same speed as the sky.
In fact it usually moves much faster which will have the effect of bluring the water area even more than the sky so we will add some motion blur to the water to add to the effect.
- With the Water layer selected click on the Filter menu and select Blur->Motion Blur
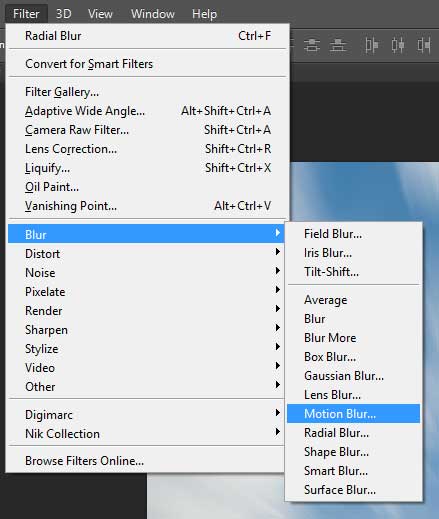
- Enable the Preview checkbox so we can see the effect this filter will have
- Set the Angle to 0 as we want the water to have been moving horizontally without adding any diagonals.
- Now set the Distance to something quite high, say 1000 pixels and press enter
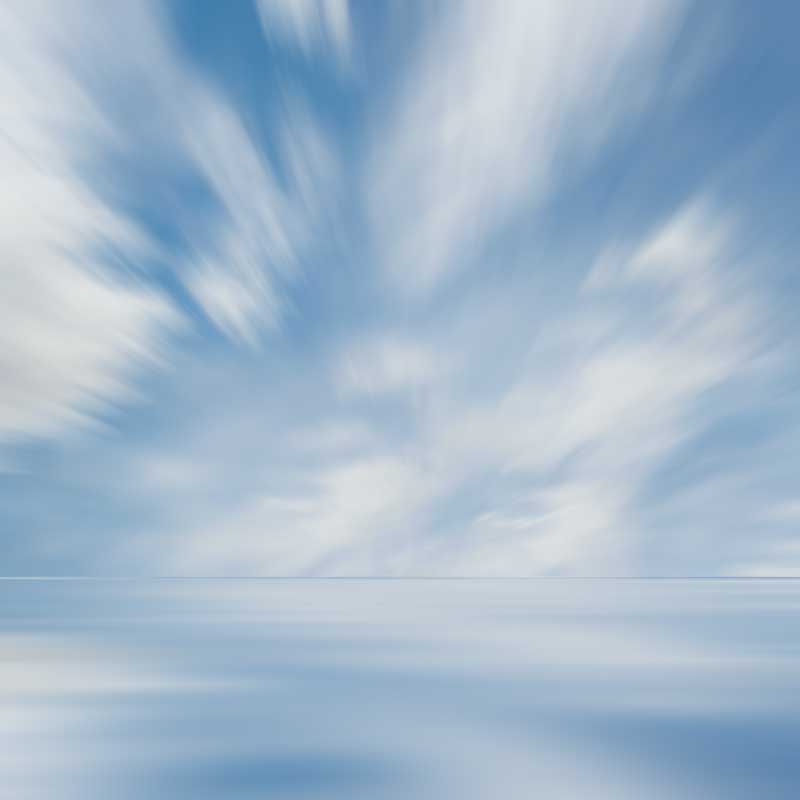
When sky and water meet
To make the joining of sky and water a little more realistic we want to add a very thin line at the horizontal point where the two bodies meet. To do this we will simply copy our Water layer, compress it very tightly and move it to the point where the two layers meet.
- With the Water layer selected press Ctrl+J to duplicate the layer and rename the new layer to Horizontal
- Enter Scale Mode (Edit->Transform->Scale from the menu)
- Zoom right into the image so that you have very fine control of the transform and drag the bottom line right up to near the top, compressing the Horizontal layer to a height of around 18 pixels
- Select Edit->Transform->Flip Vertically from the menu
- In the Layers panel set the Opacity to the Horizontal layer to 50% to reduce the impact of the new layer
- At this point it is probably a good idea to save our work so press File->Save / Ctrl+S to do so
Comments