
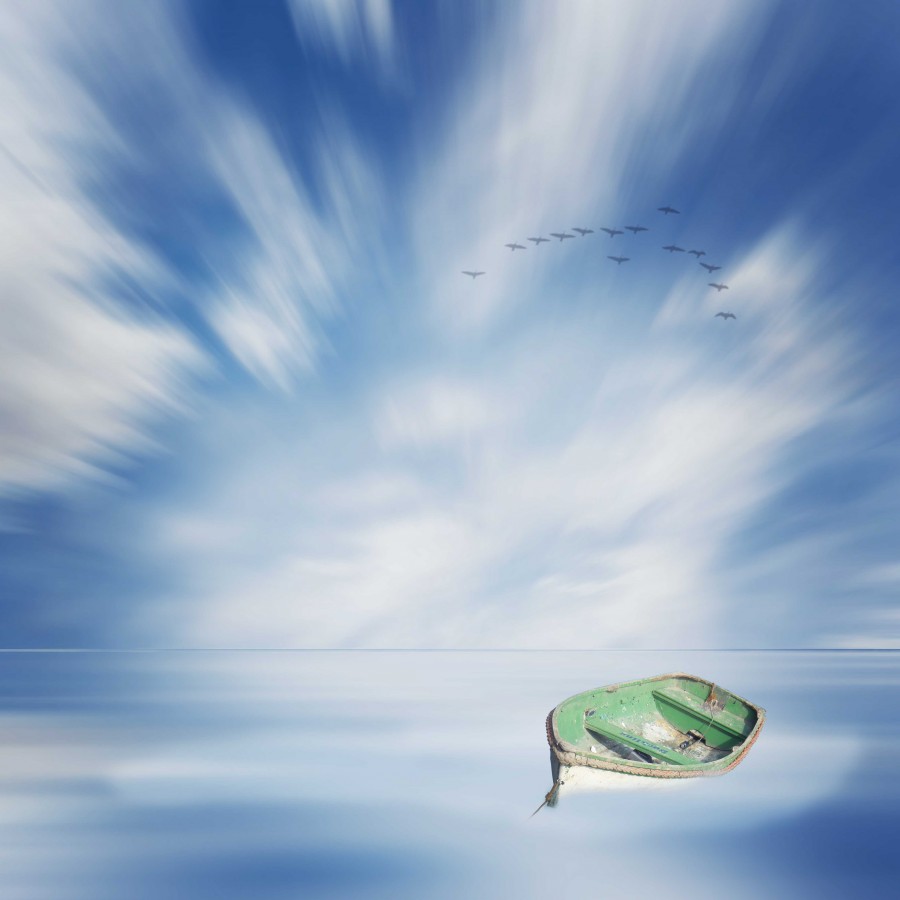
The Boat – Minimal Long Exposure Photo Manipulation with Photoshop CC/CS6
June 24, 2014 | 0 comments
Insert the Boat
- Find the boat image in your file explorer / finder and drag it onto our Photoshop Sky/Water image to insert the image into the document
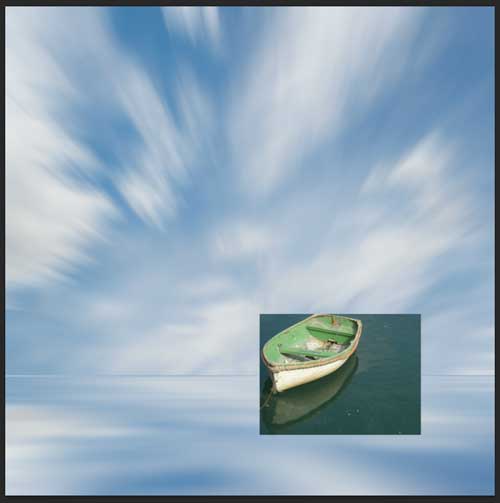
- Once Photoshop loads the image it will insert it into the document in Transform mode allowing you to scale the image as you like.
- Holding down the Shift key to lock the aspect ratio click and hold down the bottom right point of the boat image and drag it up to shrink down the boat to an appropriate size for our final document and press Enter. Don’t worry if the size is not 100% right, we can always scale it later once we remove the unwanted water
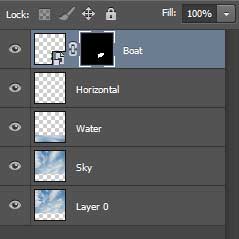
- Rename the new layer to Boat
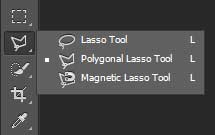
- With the Boat layer selected choose the Polygonal Lasso Tool from the toolbox
- Zoom right into the image and start very carefully tracing around the boat clicking at each point that the boat curves. Remember to include the rope as we will be needing that later. This is the most time consuming part of the whole process but taking your time will make the difference when creating a convincing photomanipulation.
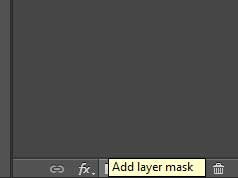
- With the boat fully selected click on the Add Layer mask icon at the bottom of the Layers tab. You should see all the water disappear.
- We used a layer mask to remove the water because it allows us to edit the mask later on either adding or removing more of the boat as we like without actually deleting any pixels.
Position the Boat
Now that we have our boat floating in space we need to make any adjustments needed to the size and rotate it slightly so that it sits well in the water.
- With the Boat layer selected press Ctrl+T or select Edit->Free Transform from the menu.
- Holding down the Shift key click and drag the bottom right point and drag the layer to make any adjustments to size that you want and when done press enter.
- From the Edit menu select Transform -> Rotate
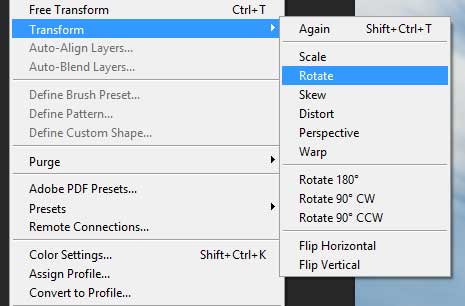
- With the mouse outside to the right of the layer selection box click and drag down slightly to better align the boat with the water. When done press Enter.
- Again, don’t worry if it is not perfect as we can adjust this later.
- Using the Move tool drag the boat to a nice location on the canvas, somewhere inside the water.
Blend the boat with the water
To make this image work we need to make the boat appear to be floating within the water, to do this we will erase part of the bottom of the boat where it meets the water using a low opacity brush to expose some of the water below.
- With the Boat layer selected, click on it’s Layer Mask in the Layers panel (the mainly black box on the right)
- Zoom right into the boat and press the B key to select the brush
- Right click on the boat to bring up the Brush editor
- Choose a standard round brush with the hardness of 0% and a size of 80px
- In the brush toolbar set the brush opacity to 15% and flow to 100%
- With the Black colour selected start painting where the boat meets the water to reveal the water below.
- Make many passes over the base of the boat to hide the boat layer and expose the water, change the opacity and size of the brush by right clicking as needed to achieve the desired effect.
- If you find that you have removed too much of the brush change the brush color to White and paint over the area again which will have the opposite effect, showing more boat and hiding the water.
- Repeat this process taking your time until you are happy with the effect and don’t forget the rope!
Comments