
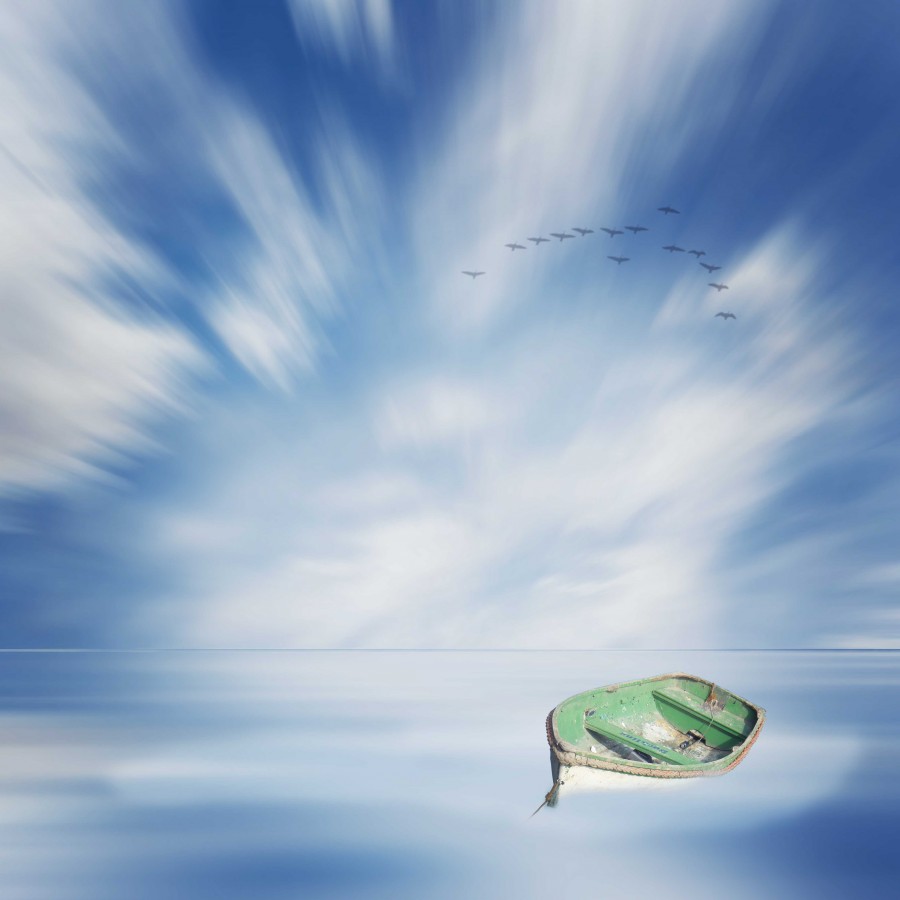
The Boat – Minimal Long Exposure Photo Manipulation with Photoshop CC/CS6
June 24, 2014 | 0 comments
Add the Birds
- Select Layer -> New Layer from the menu and enter the name Birds and press OK
- Select the Brush tool by pressing the B key
- Open the brush editor and click on the settings drop down (looks like a gear at the right of the screen)
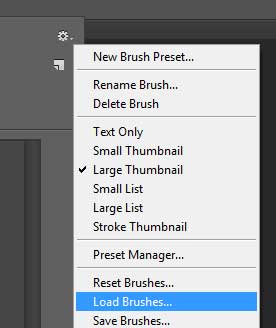
- Select Load brushes and browse to the Flock_of_Birds_by_Ubershinysheep.abr you downloaded from the resources above.
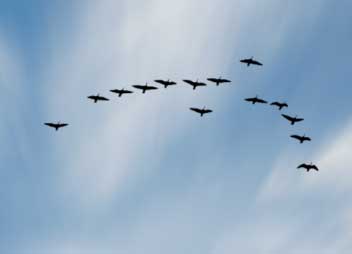
- You should see a birds added into the brush panel
- Choose a group of birds that you like and adjust the size of the brush as you like
- Set the color of the brush to black and the Opacity to 100%
- With a single click paint the birds onto the Birds layer
- Double click on the Birds layer to open the Layer Styles window
- Set the opacity to around 20% so the appear to be a long way away, seen through the clouds and press OK
- From the Filter menu select Blur -> Gaussian Blur
- Enter a Radius of 2px and press OK. This will give the birds a slight blur as they would be seen from a distance
Add a slight vignette
- Select Layer -> New Layer from the menu and enter the name Vignette and press OK
- Select the Brush tool by pressing B and open the Brush toolbox
- Choose a normal round brush with a hardness of 0% and a size of 1500px
- Choose Black for the brush color
- Set the brush opacity to 20%
- Paint around the edges of the image in black to darken the edges
- In the layers panel double click on the Vignette layer to open the Layer Styles window
- Set the Blend Mode drop down to Soft Light
Finishing it off
At this point you can spend a little time adding some contrast with an adjustment layer or moving some of the elements around to help with the composition.
Comments