
How to Create Shiny Christmas Balls on Stylish Background in Adobe Photoshop CS6
In this tutorial, I will show you the steps I took to create a stylish background with shiny Christmas balls using Adobe Photoshop CS6. We will use advanced compositing techniques, Layer styles, custom shapes and brushes to get an impressive Christmas background. Layered PSD file included. Let’s get started!
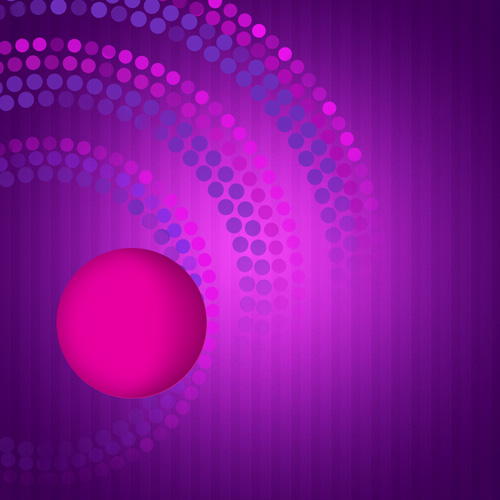
Final Image Preview

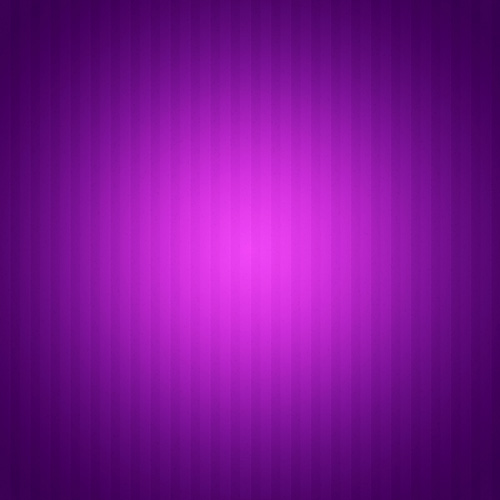
Start working by creating a new document (Ctrl+N) in Adobe Photoshop CS6 with the size 1000px by 1000px (RGB color mode) at a resolution of 72 pixels/inch. Click on Add a layer style icon from bottom part of the Layers panel and select Gradient Overlay.
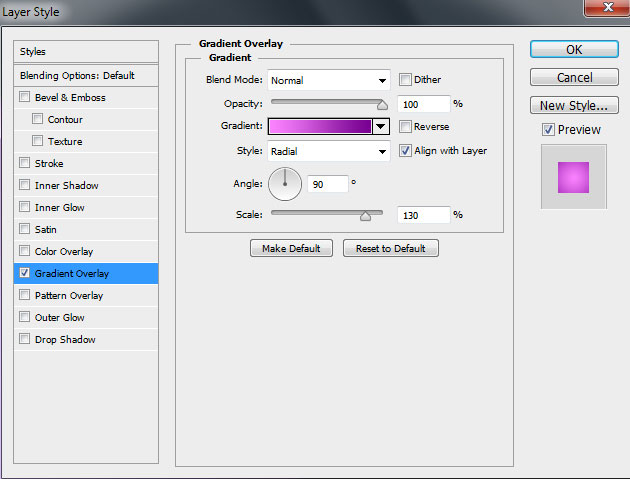
Click in the color bar to open the Gradient Editor and set the color stops as shown. Click OK to close the Gradient Editor dialog box.


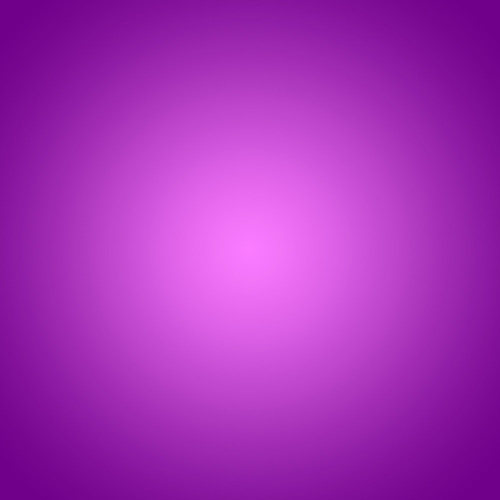
We’ve got the next background:

Click Create new fill or adjustment layer from bottom part of the Layers panel and click to Curves to adjust the curve shape as shown to make a little color corrections.

We’ve got the next result:
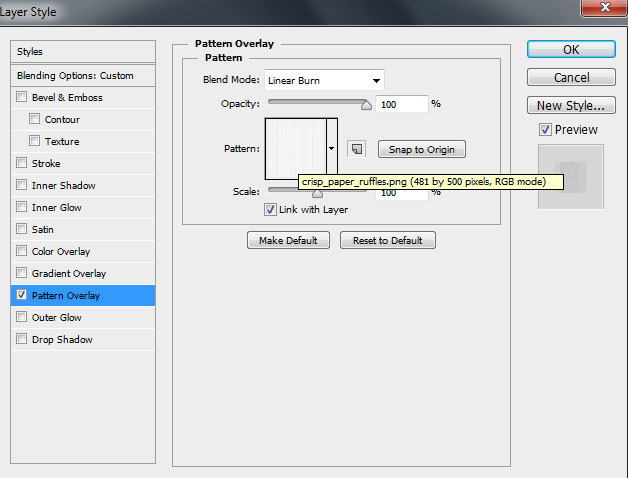
Find a tilable textured pattern, I used this Crisp Paper Ruffles from SubtlePatterns. I would like to thank Atle Mo for this great site, or if you prefer, you can substitute similar pattern of your own.
Open it in Adobe Photoshop and choose Edit > Define Pattern. Enter a name for the pattern in the Pattern Name dialog box.

Next create a new layer and set Fill to 0% for this layer. Click on Add a layer style icon from bottom part of the Layers panel and select Pattern Overlay. Click on the Pattern Overlay dialog and find your own pattern created before in the list of patterns.
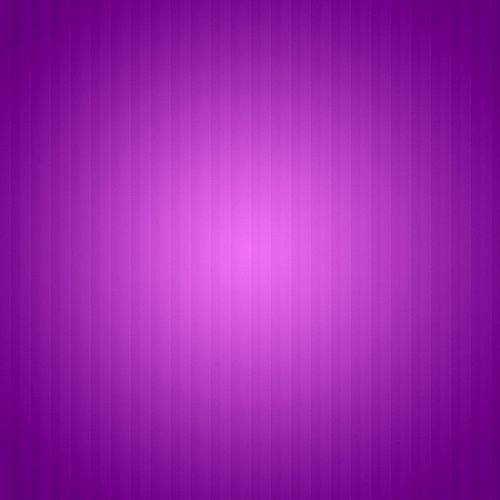
We’ve got the next background:
Click Create new fill or adjustment layer from bottom part of the Layers panel and click to Curves to adjust the curve shape as shown to make a little color corrections.

We’ve got the next result:
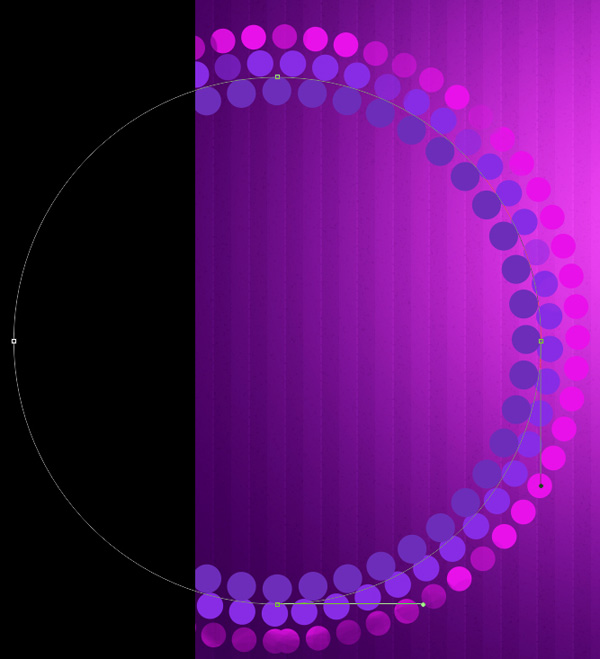
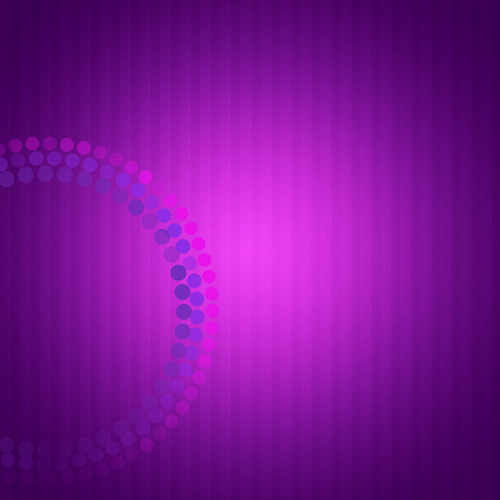
Using the Ellipse Tool (U), try to represent a big circle.
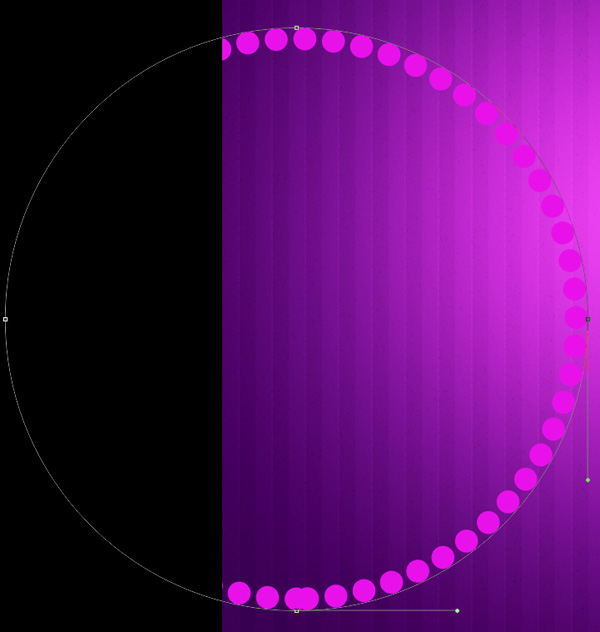
In Adobe Photoshop CS6, there’s now a convenient Stroke option on your Options Bar when you have a shape active. Use drop downs to set the next Stroke options for our circle, Fill – (None), Stroke color – #E811EA, Stroke type – Dotted:

We’ve got the next result:
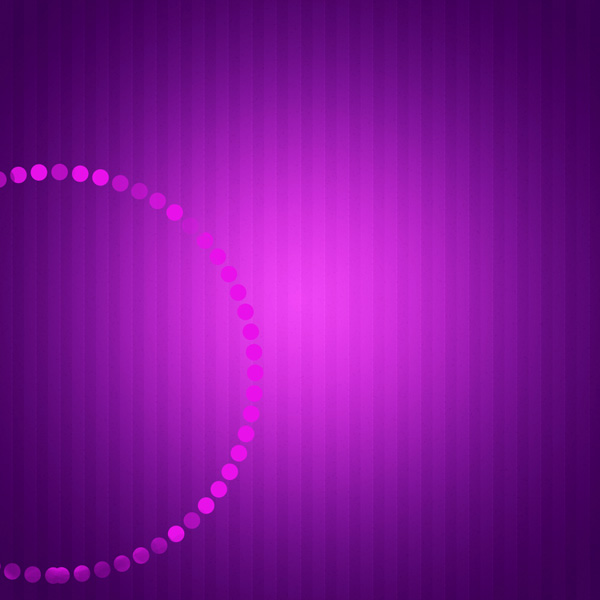
Insert the mask on the layer by choosing Add layer mask on the bottom part of the Layers panel and choose the Hard Round brush of black color (set Opacity to 20% in Options bar).

Paint in the mask using this brush to hide several circles:
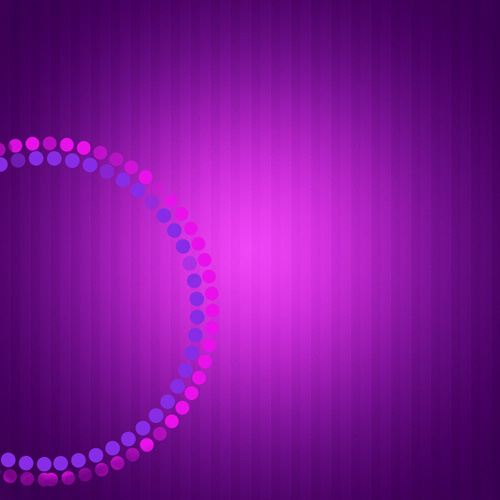
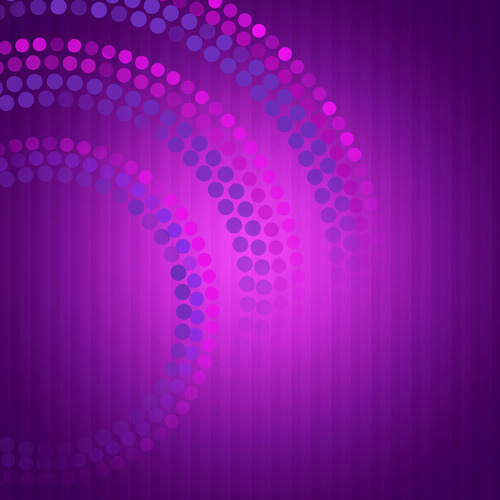
Use the same Ellipse Tool (U), try to represent the next circle, using the same Stroke options (Stroke color – #882CE5):

We’ve got the next result:

Insert on this layer the mask too and hide also several of the made circles, applying the same Hard Round brush.
Next we’ll represent another circle, applying the Ellipse Tool (U) and set the next Stroke options in Options bar:

The Stroke color is #6D2DB9. We’ve got the next result:
Insert the mask on the layer by choosing Add layer mask on the bottom part of the Layers panel and choose the Hard Round brush of black color (set Opacity to 20% in Options bar).
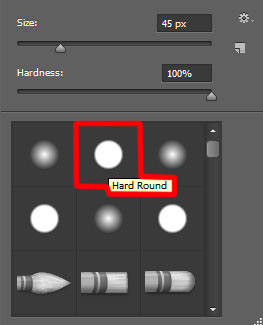
Paint in the mask using this brush to hide several of the circles.
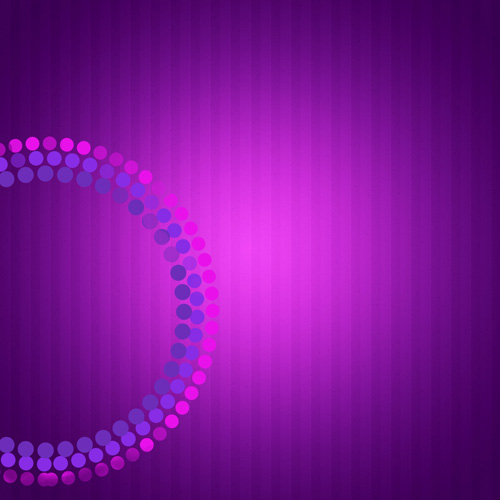
Combine in a group all the layers containing the circles (press CTRL button to select the necessary layers and hold on the left mouse’s button while dragging the selected layers on Create a new group icon from bottom part of the Layers panel).
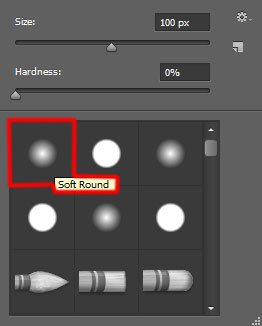
Insert the mask on the group and select after that the Soft Round brush of black color (brush Opacity – 30%).
Paint in the mask using this brush to hide the circles as shown:
This way we need to represent two more groups composed out of circles. Insert the masks on the groups and hide the circles exactly as it is shown on the picture. The brush is the same.
Using the Ellipse Tool (U), we may represent the Christmas ball. Draw the next circle as shown:
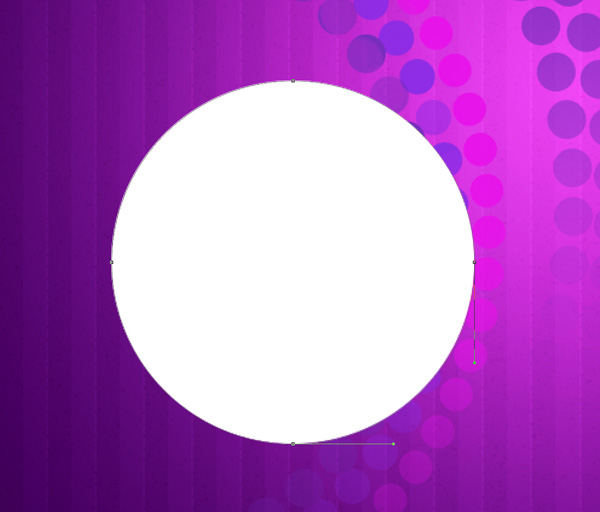
We’ve got the next result:
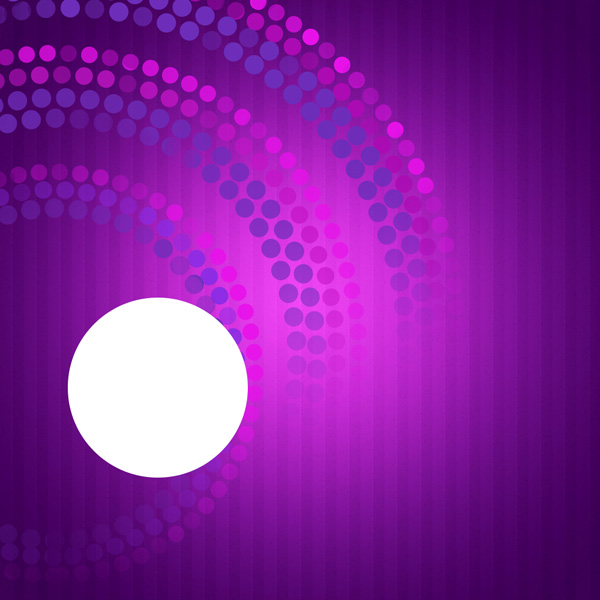
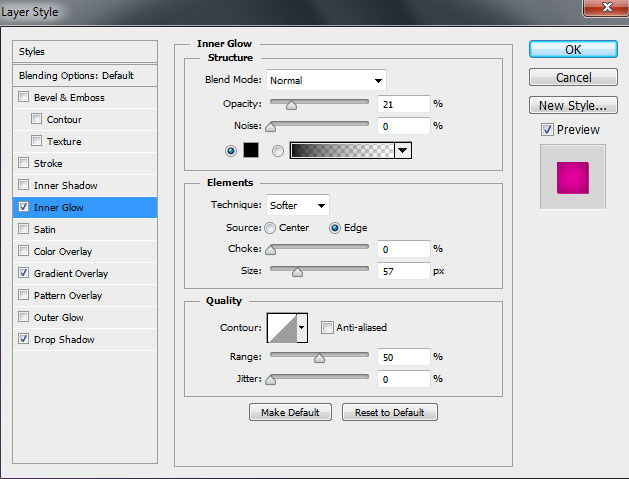
Click on Add a layer style icon from bottom part of the Layers panel and select Inner Glow.
Add Gradient Overlay:
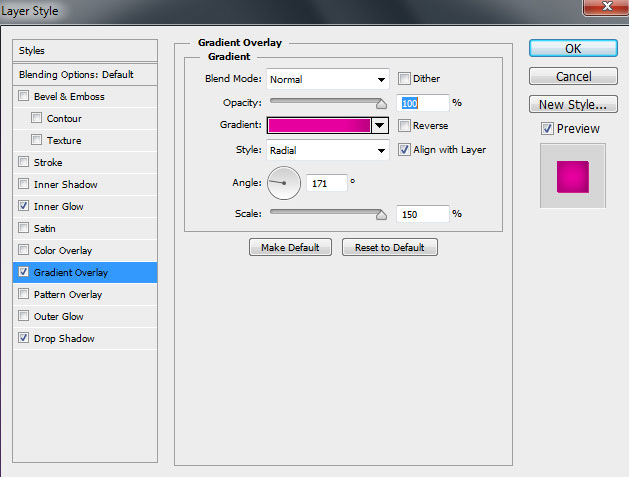
Click in the color bar to open the Gradient Editor and set the color stops as shown. Click OK to close the Gradient Editor dialog box.

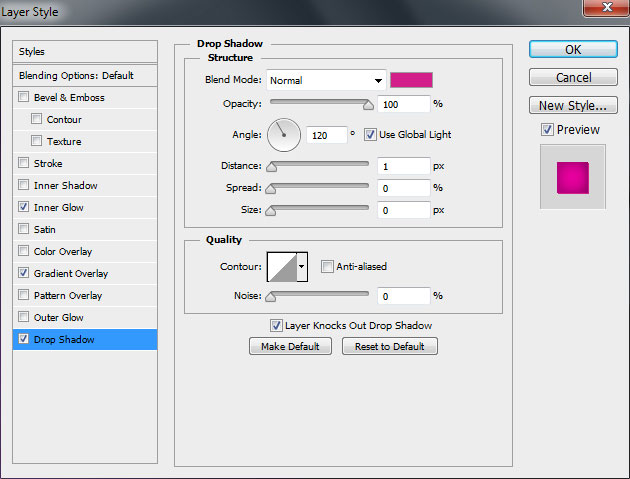
Apply Drop Shadow:
We’ve got the next result:
Comments