
How to Create Shiny Christmas Balls on Stylish Background in Adobe Photoshop CS6
Let’s represent now the ball’s shadow, use the Ellipse Tool (U) to draw for the beginning a circle of the color #072730. This layer must be situated under the ball’s layers.
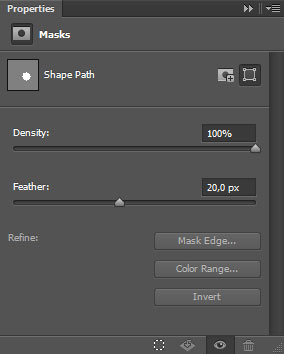
Go to the Mask Panel and set Feather to 20px (in case if you can find Mask Panel on the right side just activate it on main menu Windows > Masks):
Set Fill to 80% for this layer.


Now we’ll represent the next layer belonging to the shadow, using the same Ellipse Tool (U) and the color #4A0060. The mask options are the same with the ones from the previous example. Place the layer above the previous one, but lower than the ball’s layers.

Set Fill to 80% for this layer and change the Blending mode to Color.

We’ve got the next result:

Combine in a group all the threads’ layers (press CTRL button to select the necessary layers and hold on the left mouse’s button while dragging the selected layers on Create a new group icon from bottom part of the Layers panel).
Make a copy of the group we’ve got and choose the Free Transform (Ctrl+T) command we may enlarge the copy’s sizes and place them the same way from below:

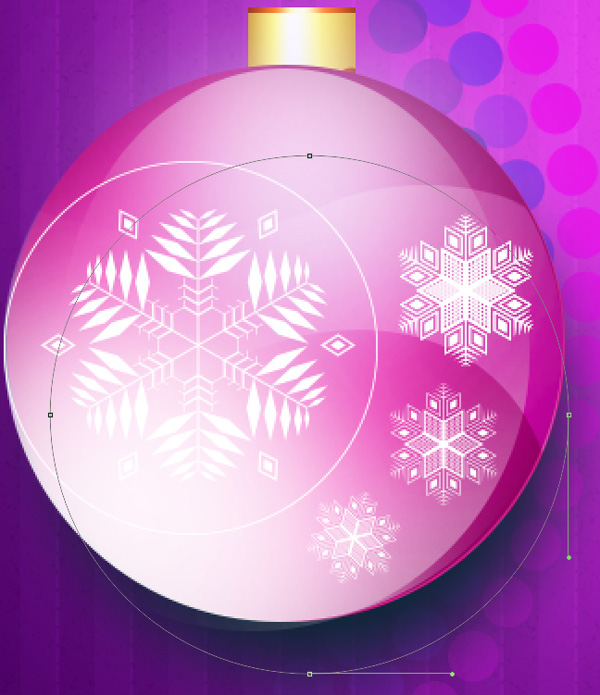
Next we must draw the threads for the Christmas balls, using the Line Tool (U) and set Weight to 3px in Options bar. The layer containing the threads will be situated under the balls’ layers.

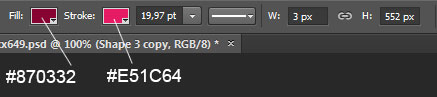
Colors for Fill and Stroke options:
We’ve got the next result:

Choose the Ellipse Tool (U) to draw a small circle of the color #F894FB. Place this layer under the balls’ layers.

Set Fill to 52% for this layer.

Let’s represent now many small circles of the same color with a different diameter and Fill value. Place the layers under the layers containing the Christmas balls and the threads.
Using the same tool, we should draw now three white circles which layers must be mixed out with the layers containing the pink circles, placing them under the balls’ layers.

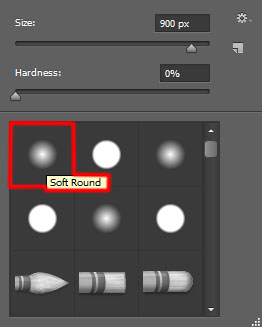
Insert the mask on each layer containing the white circle by choosing Add layer mask on the bottom part of the Layers panel and choose the Soft Round brush of black color (set Opacity to 40% in Options bar).

Paint in the mask using this brush to hide out the white circles exactly the same way indicated on the picture.

Paint the background now on its top left part. This time create a new layer and apply the Soft Round brush on it of white color (brush Opacity – 20%), the same applied in the previous example.

Set the Blending mode for this layer to Overlay.

Create a new layer and select the Paint Bucket Tool (G) to fill it with color #F5F0A7:

Set Fill to 24% for this layer and change the Blending mode to Color.

Create a new layer and select for it the same tool mentioned above and fill the layer with color #45002B.

Insert the mask on the layer by choosing Add layer mask on the bottom part of the Layers panel and choose the Soft Round brush of black color.
Paint in the mask using this brush to hide the central part of the layer:

Set the Blending mode for this layer to Overlay.

Create a new layer and using the Paint Bucket Tool (G) fill the layer with color #190007.

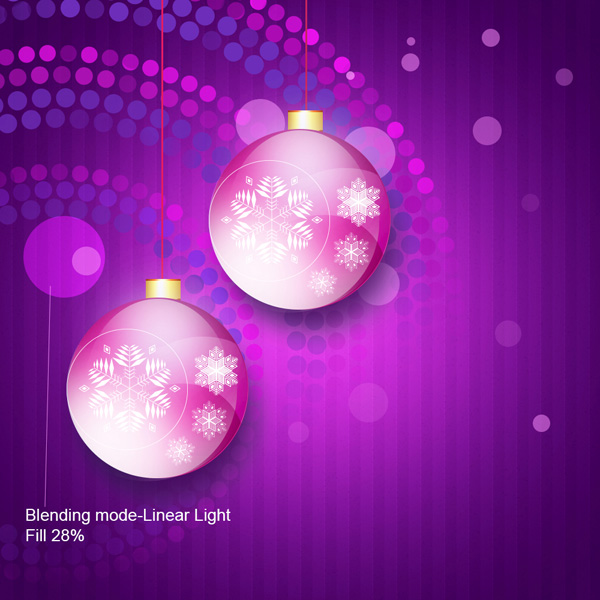
Set Fill to 28% for this layer and change the Blending mode to Soft Light.

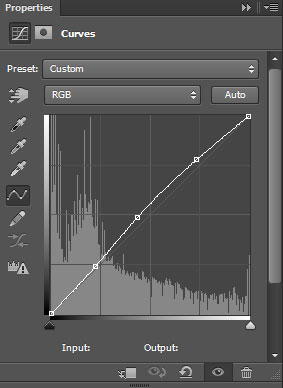
Click Create new fill or adjustment layer from bottom part of the Layers panel and click to Curves to adjust the curve shape as shown to make a little color corrections.
We’ve got the next result:

Create a new layer and select the Soft Round brush of white color (brush Opacity – 15%).
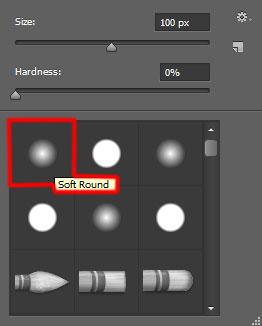
Use thsi brush to paint the snowflakes on the Christmas balls:

Set the Blending mode for this layer to Overlay.

Create a new layer and apply again the Soft Round brush used before to paint the background on the shown zone below. The brush’s color is white (brush Opacity – 20%).

Finally insert the greeting text on our holiday card. Select the Horizontal Type tool (T). Select a font, size and color in the Character panel.
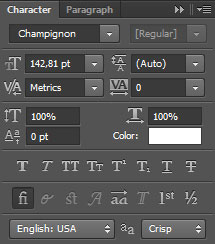
Click in the canvas and type ‘Merry Christmas’. Press Enter to apply the text.

Our Illustration with Shiny Christmas Balls on Stylish Background is finished!
Merry Christmas and Happy New Year!
View full size here.
Download free Layered PSD file.
Comments