
How to Create Shiny Christmas Balls on Stylish Background in Adobe Photoshop CS6
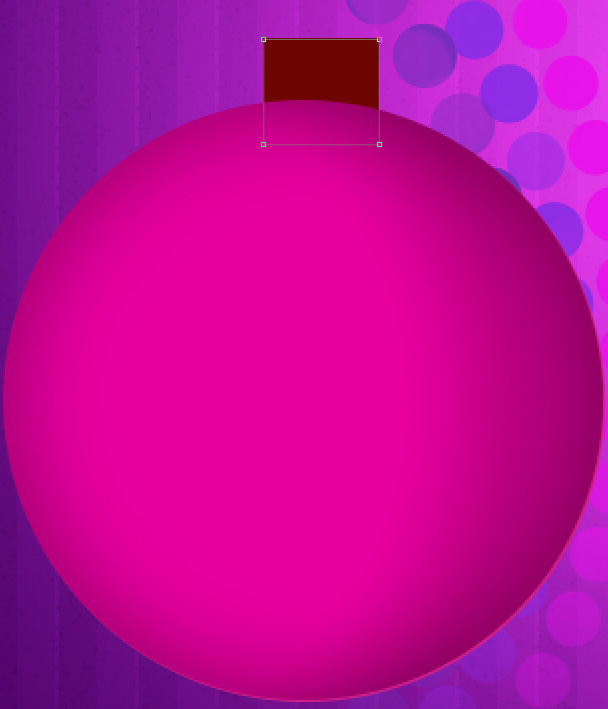
Next we’ll draw the element composing the ball’s support, using the Rectangle Tool (U) drw the next rectangle, which layer must be situated under the ball’s layer.
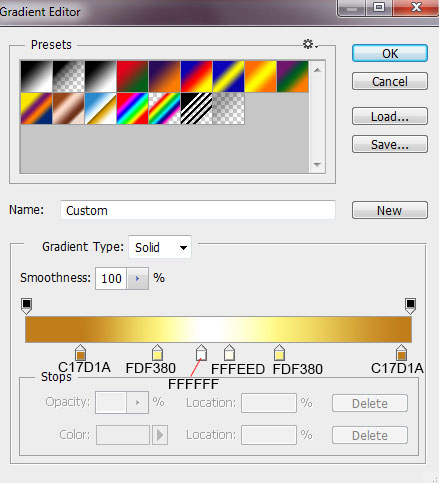
Click on Add a layer style icon from bottom part of the Layers panel and select Gradient Overlay.

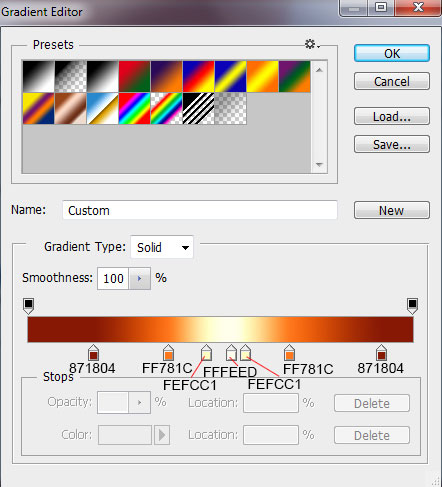
Click in the color bar to open the Gradient Editor and set the color stops as shown. Click OK to close the Gradient Editor dialog box.

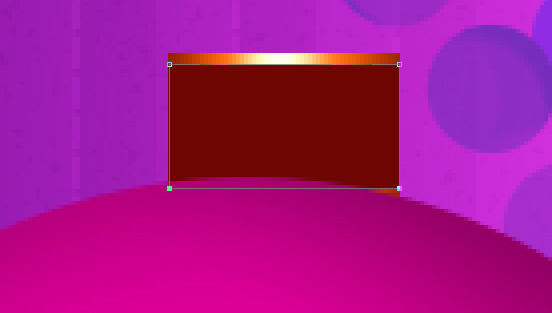
We’ve got the next result:

Using the same tool, let’s represent the next layer belonging to the same support element.
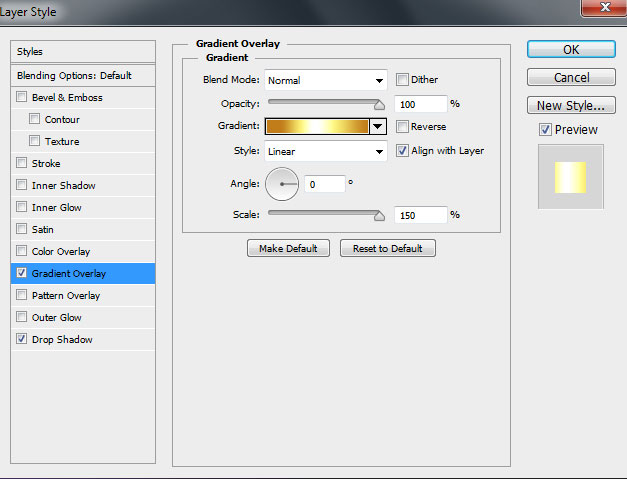
Click on Add a layer style icon from bottom part of the Layers panel and select Gradient Overlay.
Click in the color bar to open the Gradient Editor and set the color stops as shown. Click OK to close the Gradient Editor dialog box.
Add Drop Shadow:

We’ve got the next result:

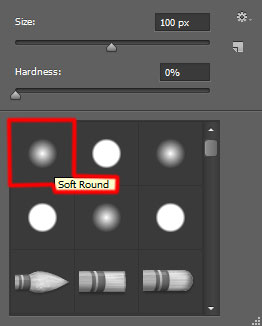
Create a new layer and apply the Soft Round brush of white color (brush Opacity – 15%).

Use this brush to represent the shining effect on the top part of the same Christmas ball.

Next we’ll draw a highlight on the ball on its left bottom part, selecting the Ellipse Tool (U) draw the next circle.

Insert the mask on the layer by choosing Add layer mask on the bottom part of the Layers panel . Press Ctrl+I to Inverse the color, choose the Soft Round brush of white color.

Paint in the mask using this brush to hide out that part of the highlight, which must be seen.

Next we’ll download set of custom shapes named Decorative Snowflakes Shapes. Little tutorial to explain how to load Custom Shapes here.
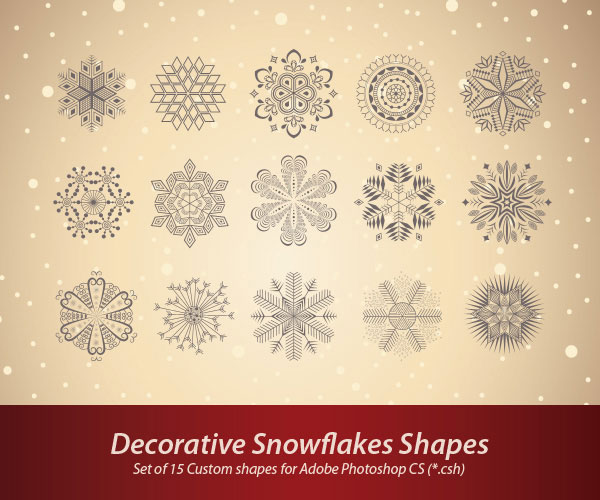
Select the Custom Shape Tool (U) in the Tools bar, in the Options bar click the Shape to open the selection menu. Find the loaded Decorative Snowflakes Shapes at the bottom of the menu, and then double-click a shape thumbnail to select it. Click and drag to draw the snowflake shape as shown.

We’ll represent a ring around the already made snowflake, applying the Ellipse Tool (U) draw the next circle.
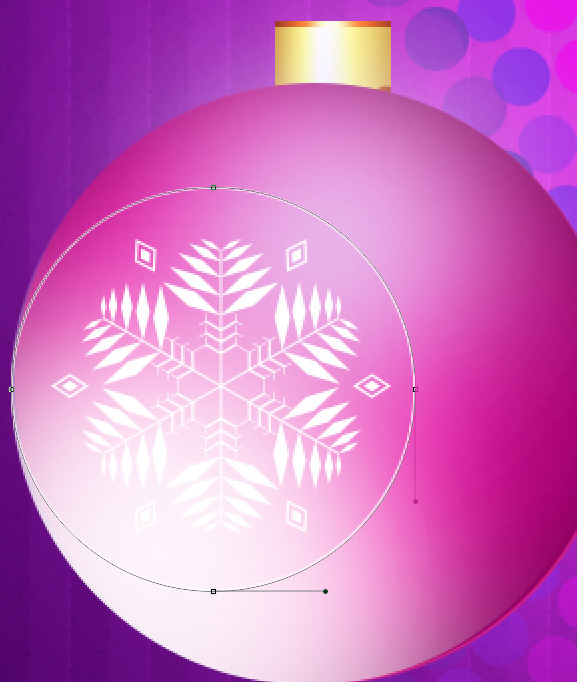
Select from Options bar the next Stroke options: Fill – None, Stroke color – white and Stroke type – Solid Line as shown:

Now we’ll represent a highlight on the top part of the Christmas ball, using the Ellipse Tool (U) draw the next ellipse.

Insert the mask on the layer by choosing Add layer mask on the bottom part of the Layers panel and choose the Soft Round brush of black color (set Opacity to 60% in Options bar).

Paint in the mask using this brush to make the highlight look the same with the one from the next picture.

Then we’ll apply again the Ellipse Tool (U) to draw a highlight element on the right part.

Insert the mask on the layer by choosing Add layer mask on the bottom part of the Layers panel . Press Ctrl+I to Inverse the color and choose the Soft Round brush of white color (set Opacity to 40% in Options bar).

Paint in the mask using this brush to hide out that part of the highlight that must be seen on the picture.

Select the Custom Shape Tool (U) in the Tools bar, in the Options bar click the Shape to open the selection menu. Find downloaded snowflakes’ set and draw the next snowflakes on the Christmas ball, to make it look like the next from below:

Make two copies of the layer containing the snowflake situated on the right top part.

Let’s represent now one more highlight, using in this case the Ellipse Tool (U). Firstly we need to represent a circle using the Ellipse Tool (U), then hold Alt button or select Subtract from shape area (-) from Options bar and draw 2 ellipses using the Ellipse Tool (U) to cut from circle shape exactly as on the picture below:

Insert the mask on the layer by choosing Add layer mask on the bottom part of the Layers panel and choose the Soft Round brush of black color (set Opacity to 60% in Options bar).
Paint in the mask using this brush to hide out the highlight the same way from below:

Set the Blending mode for this layer to Soft Light.

Comments