
Harman Kardon Stereo System
In this tutorial we will design an stereo system.
The next lesson I’ll show you how to represent an acoustic system (sub buffer and several music boxes). Let’s begin by creating a new file of 1024×768 px and 72 dpi.

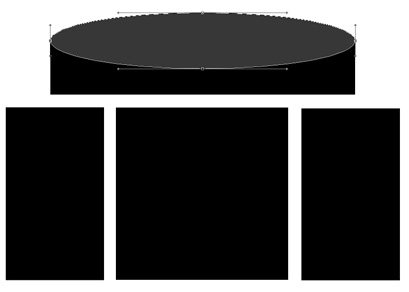
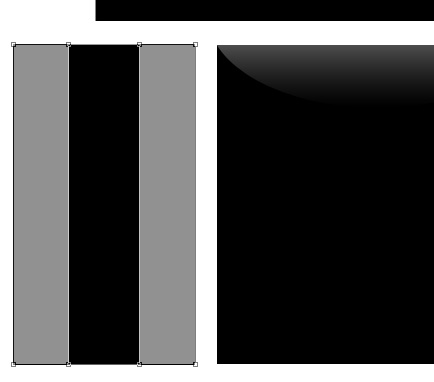
Take the Rectangle Tool (U) and represent a square and several rectangles as the next picture shows it:

Select then the Ellipse Tool (U) and make an ellipse which should be placed on the upper part of the upper rectangle.

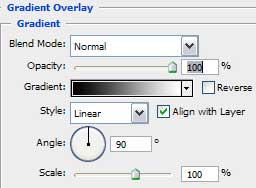
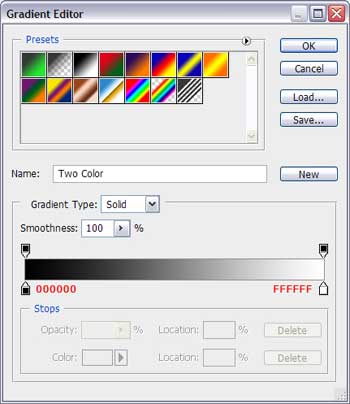
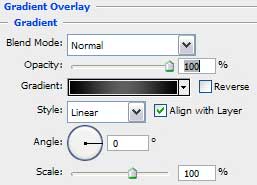
Select now the Blending options>Gradient Overlay and set the same parameters shown below.

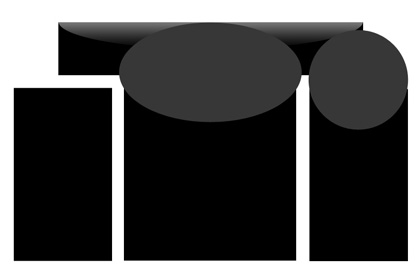
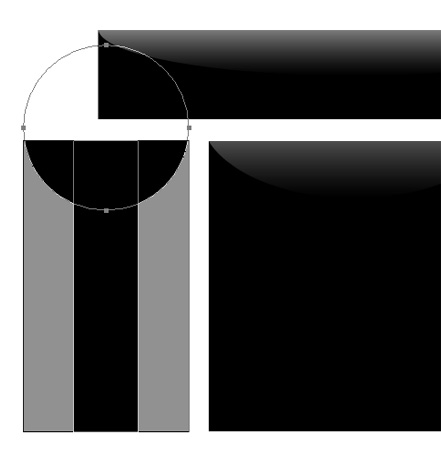
Press Alt button and make a left mouse’s click between the layers. It’ll help hiding a part of our ellipse, where it crosses the square. We’ll have only that part which gets on the square. As a result we’ll have such a nice flare, like that one from below:

Try to represent several more ellipses:
Apply for them the same parameters of Blending options>Gradient Overlay we used when creating the first one:

Press Alt button to combine the layers, applying the same method. It’s important for each ellipse to be situated above its figure on the layers.

The flare on the left music box we’ll represent by another method. Select firstly the Rectangle Tool (U) and represent two rectangles. Firstly press the Shift button to create the first rectangle and then – the second, for both of them to be on the same layer.
Now it’s time to select the Ellipse Tool (U) and press Alt button to represent a circle, the way it is shown below:
Blending Options>Gradient Overlay:
Comments