
Create a Futuristic Photo Illustration in Photoshop CS5
Learn how to combine brushes, shapes and blur effects in Photoshop CS5 to create a futuristic photo illustration in this step-by-step guide. Layered PSD file included. Let’s get started!
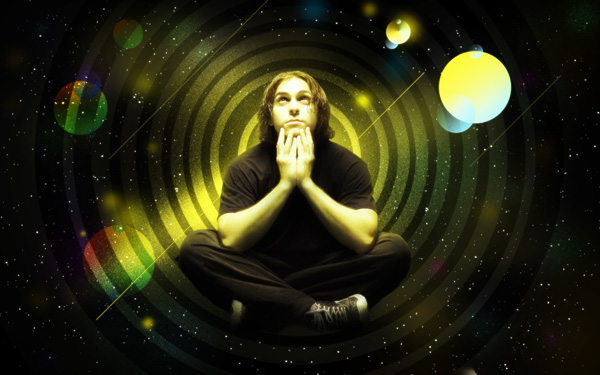
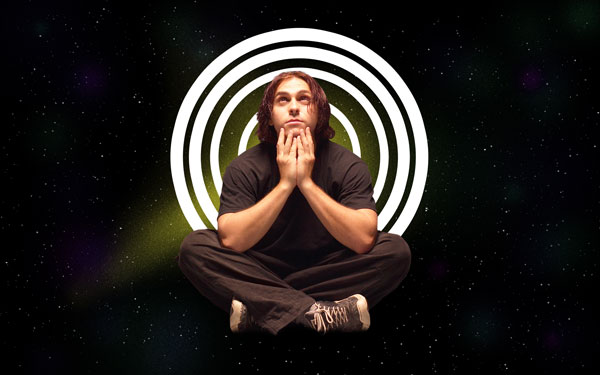
Final Image Preview
Start working by creating a new document (Ctrl+N) in Adobe Photoshop CS5 with the size 1920px by 1200px (RGB color mode) at a resolution of 72 pixels/inch. Use the Paint Bucket Tool (G) to fill with black color the new background layer.

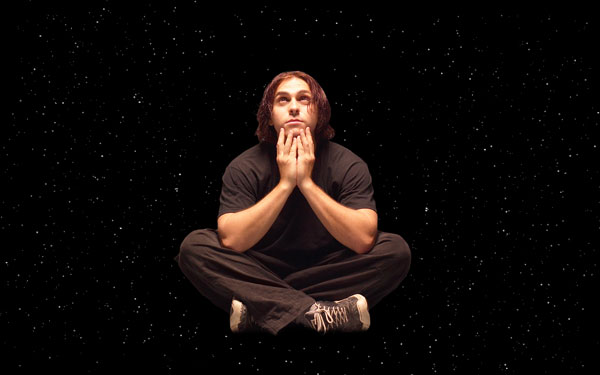
Find a stock photo with a model represented on it, I used this photo from deviantart. I would like to thank the author of this photo, or if you prefer, you can substitute similar image of your own.
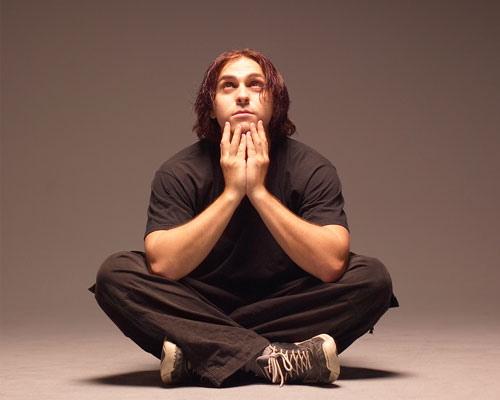

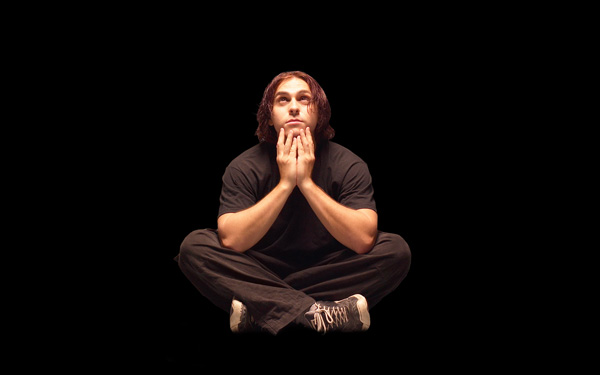
Remove the background using your favorite tools like Pen Tool (P), Magic Wand Tool (W), Magnetic Lasso (L) or even a simple Filter>Extract and insert it on a new layer in our main document.
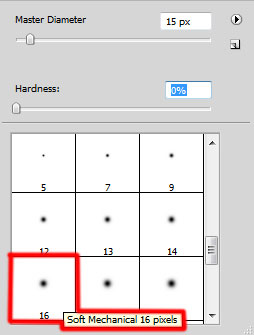
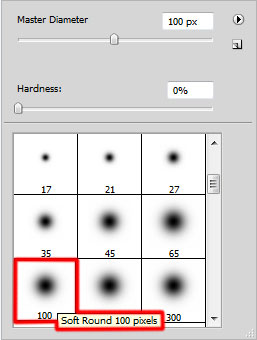
Create a new layer and select the Soft Mechanical brush of white color.
Changing the Opacity value and brush’s diameter try to represent something like the stars on the canvas. The layer will be situated lower than the man’s layer.

Make a copy of the last made layer and select the Free Transform (Ctrl+T) command to turn over the copy’s layer.

On the next new layer we’ll insert several more small stars, as it was described above. The layer should be placed also lower than the man’s layer.

Now we have to combine in a group all the stars’ layers (press CTRL button to select the necessary layers and hold on the left mouse’s button while dragging the selected layers on Create a new group icon from bottom part of the Layers panel). Set Opacity to 67% for this group.

Make a copy of the represented group and rasterize the copy (select firstly the group’s copy in Layers panel and then press CTRL+E to Merge Down), choose the Free Transform (Ctrl+T) command to turn around the copy’s layer.
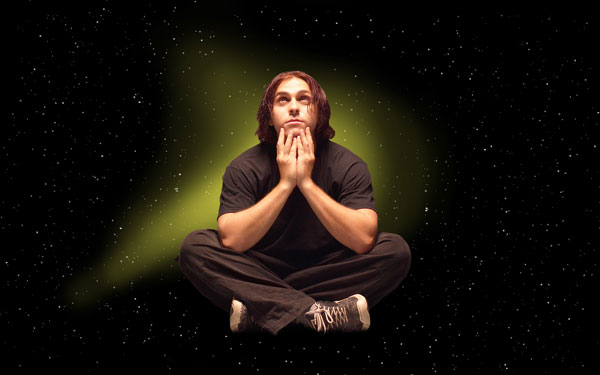
Create a new layer and select the Soft Round brush of the color #C4C240 (set Opacity to 20% in Options bar).

Use this brush to paint the next zone around the man. Place the layer under the man’s layer.
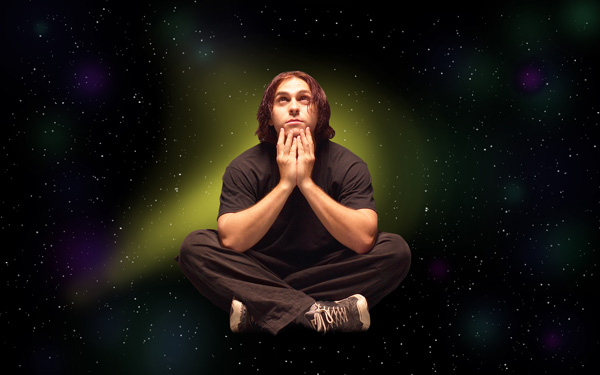
Creating the next new layer, we have to apply here the Soft Round brush of the next colors #972AFF, #5FEDFF, #60FFBB (Opacity – 10%) and represent many sposts.
Place this layer under the man’s layer.
Create a new layer again and use on it the Paint Bucket Tool (G) to fill the layer with black color. Place this layer under the man’s layer too.

Apply on the same layer the next filter: Filter>Noise>Add Noise.
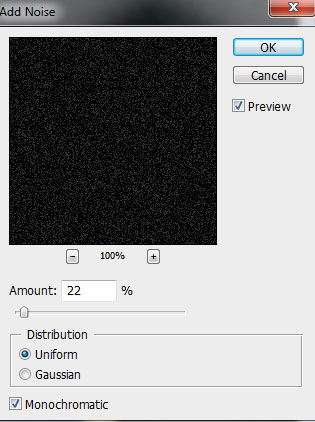
We’ve got the next result:
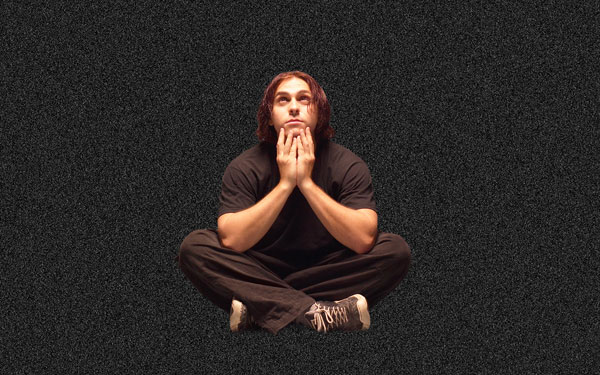
Set Fill to 75% for this layer and change the Blending mode to Soft Light.

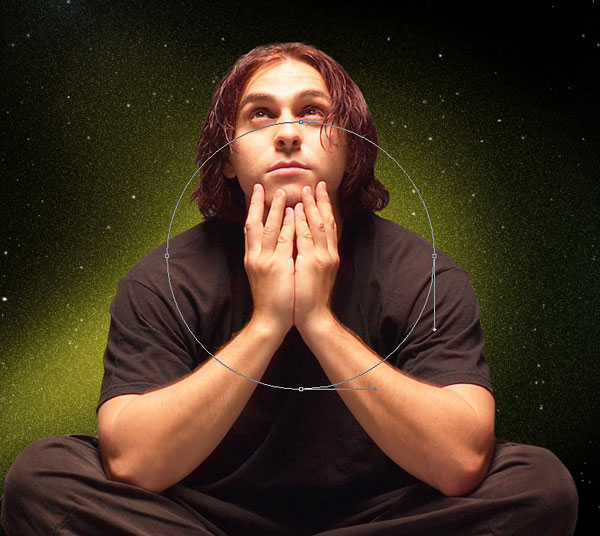
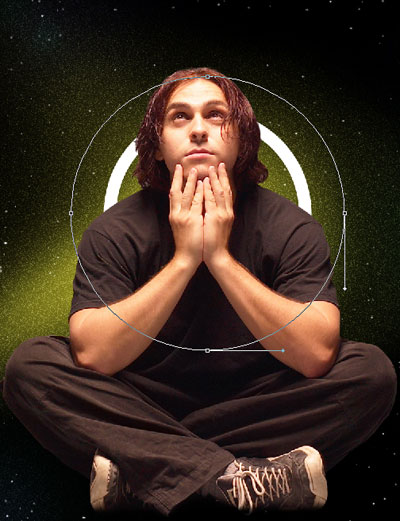
Now we have to use the Ellipse Tool (U) to represent several small circles by turn. The circles’ layers should be situated under the man’s layer too. Draw the first circle.
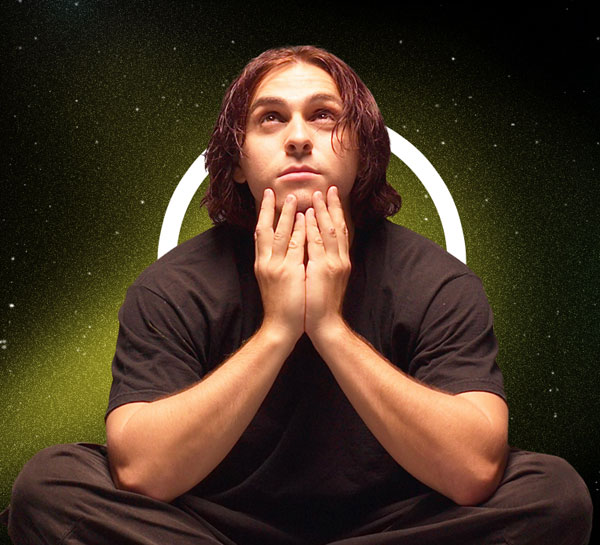
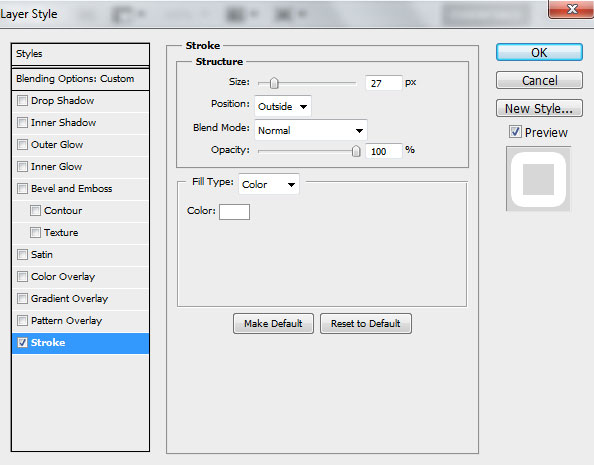
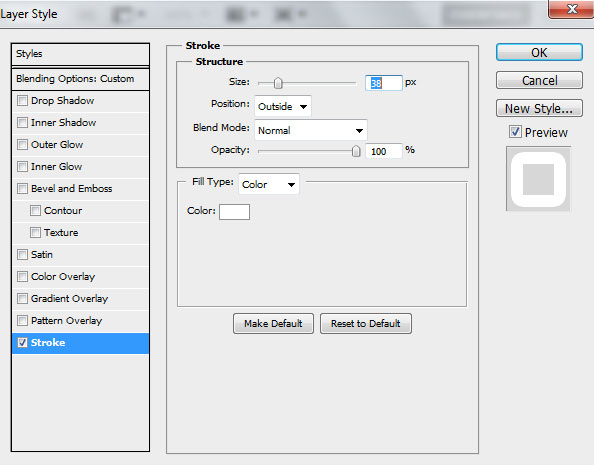
Set Fill to 0% and click on Add a layer style icon from bottom part of the Layers panel to select Stroke.

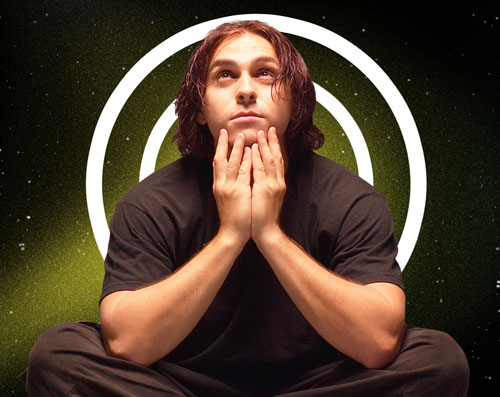
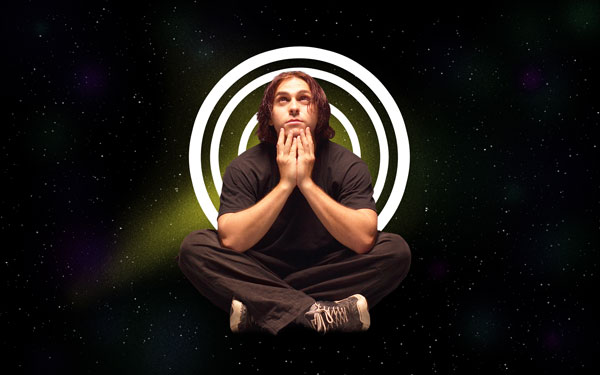
We’ve got the next result:
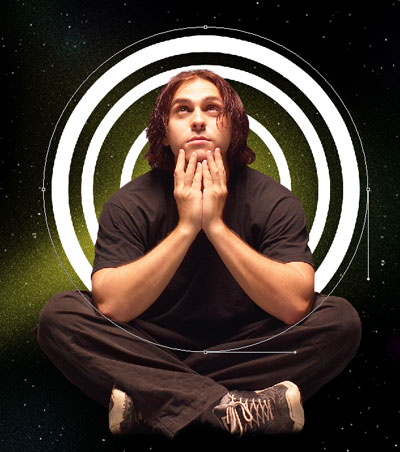
Make a copy of the last made layer and choose the Free Transform (Ctrl+T) command to enlarge the copy’s layer (click the Link icon in Options bar to maintain the aspect ratio).
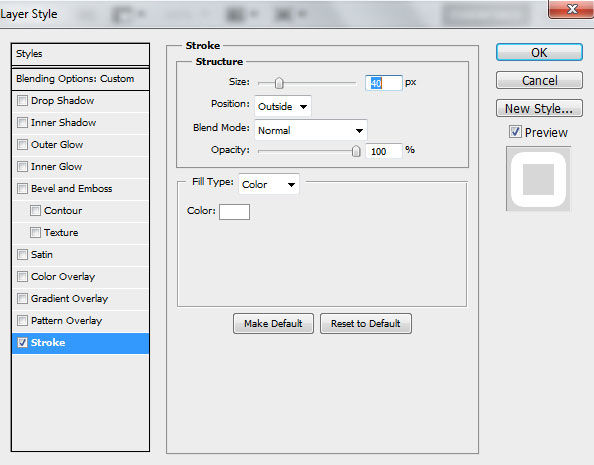
Set Fill to 0% and click on Add a layer style icon from bottom part of the Layers panel to select Stroke.
We’ve got the next result:
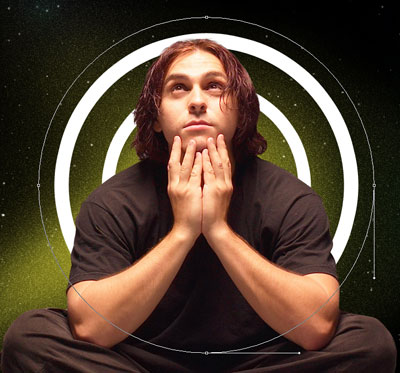
Continue copying the layers and enlarging after that the copied layers the same way described above.
Set Fill to 0% and click on Add a layer style icon from bottom part of the Layers panel to select Stroke.
We’ve got the next result:
Make another copy:
Set Fill to 0% and click on Add a layer style icon from bottom part of the Layers panel to select Stroke.
We’ve got the next result:
One more copy:

Set Fill to 0% and click on Add a layer style icon from bottom part of the Layers panel to select Stroke.

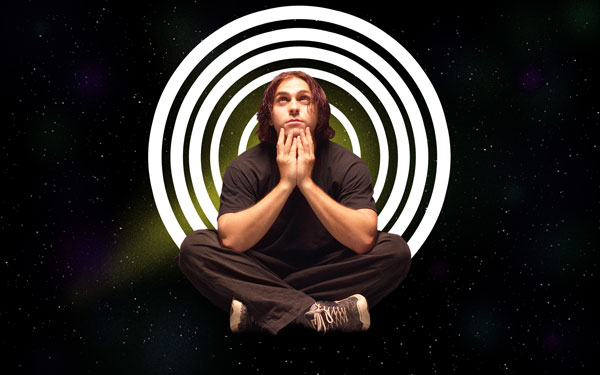
We’ve got the next result:
Comments