
Create a Futuristic Photo Illustration in Photoshop CS5
Make another copy:
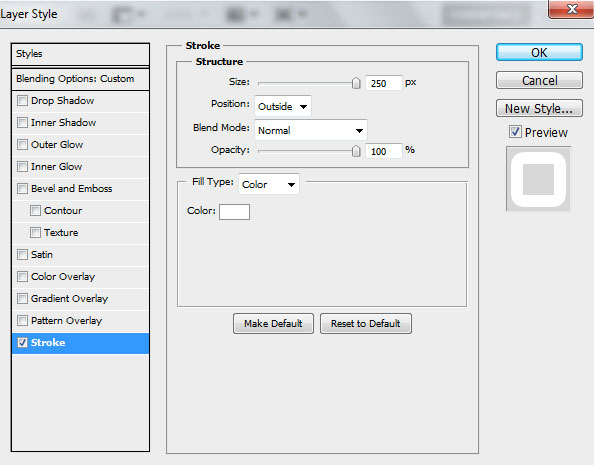
Set Fill to 0% and click on Add a layer style icon from bottom part of the Layers panel to select Stroke.
We’ve got the next result:


One more copy:
Set Fill to 0% and click on Add a layer style icon from bottom part of the Layers panel to select Stroke.
We’ve got the next result:

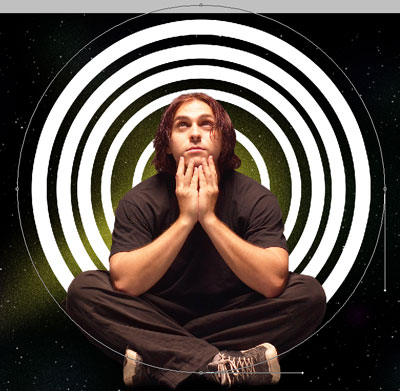
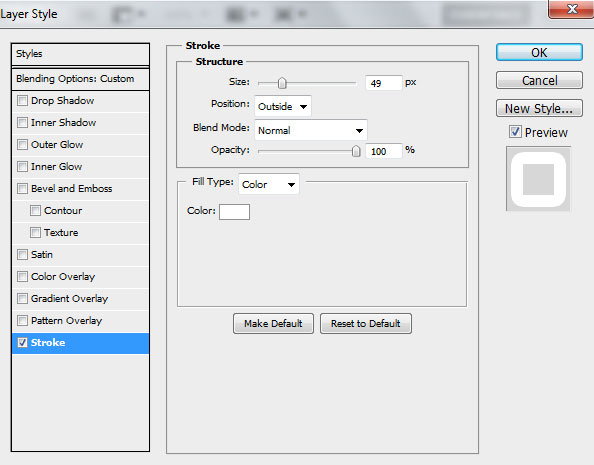
Make another copy:
Set Fill to 0% and click on Add a layer style icon from bottom part of the Layers panel to select Stroke.

We’ve got the next result:

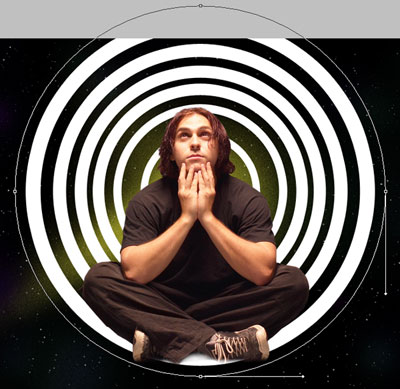
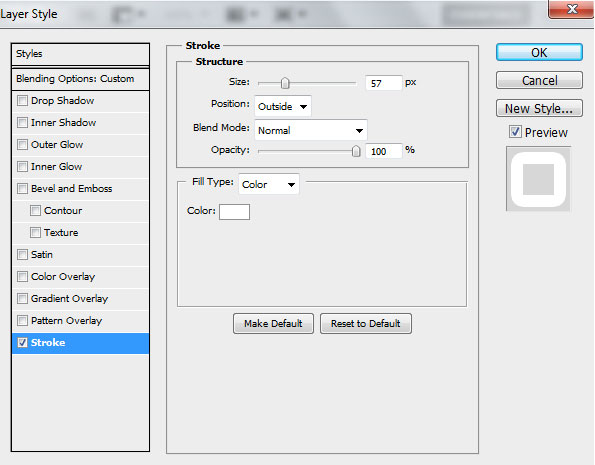
One more copy:
Set Fill to 0% and click on Add a layer style icon from bottom part of the Layers panel to select Stroke.
We’ve got the next result:

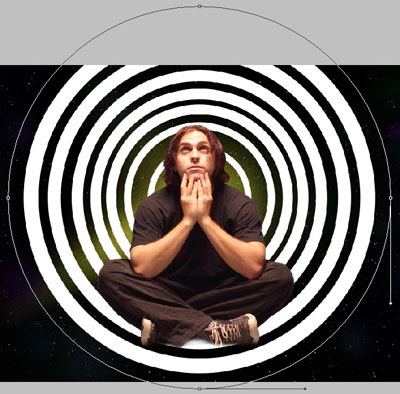
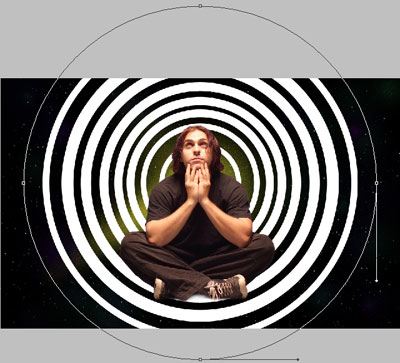
Combine in a group all the circles’ layers (press CTRL button to select the necessary layers and hold on the left mouse’s button while dragging the selected layers on Create a new group icon from bottom part of the Layers panel). Set Opacity to 67% for this group and change the Blending mode for this layer to Soft Light.

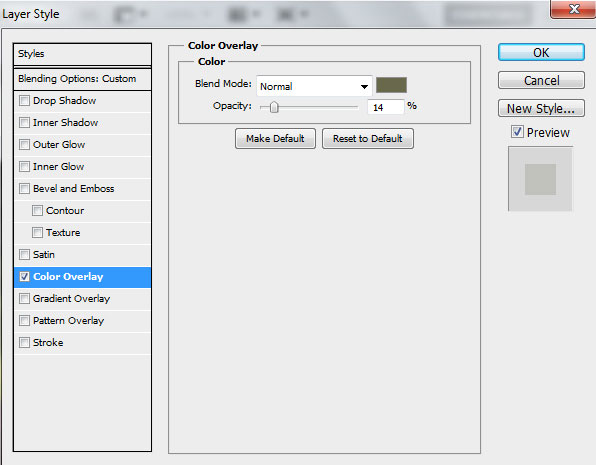
Rasterize the made group by selecting it firstly and then press CTRL+E to Merge Down. Set Fill to 57% for this layer and change the Blending mode for this layer to Vivid Light. Click on Add a layer style icon from bottom part of the Layers panel and select Color Overlay.
We’ve got the next result:

Create a new layer and select the Soft Round brush to represent several spots.
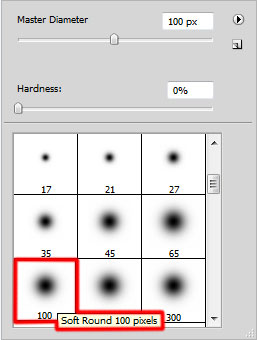
The brush has the color #FFEF4F (Opacity – 15%). The layer will be situated under the man’s layer.

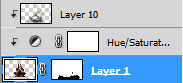
Click Create new fill or adjustment layer from bottom part of the Layers panel and click to Hue/Saturation.
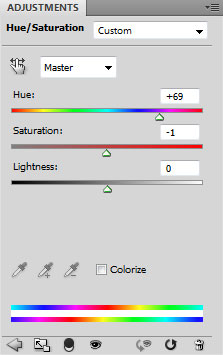
Drag the slider to the right to increase the Hue and drag to the left to decrease the Saturation of the color range.

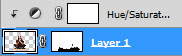
Hold down Alt (Windows) or Option (Mac OS) and click between the man’s layer and the adjustment layer in the Layers panel to create a clipping mask.
We’ve got the next result:

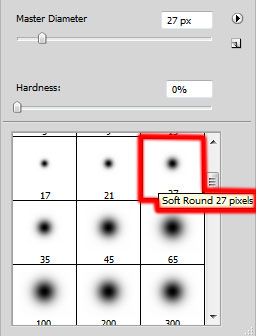
Next we’ll create a new layer and use again the Soft Round brush of yellow and black colors (Opacity – 15%) to paint the man’s contour.
We’ve got the next result:

Hold down Alt (Windows) or Option (Mac OS) and click between layers in the Layers panel to create a clipping mask.
We’ve got the next result:

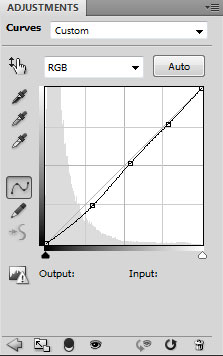
Click Create new fill or adjustment layer from bottom part of the Layers panel and click to Curves to adjust the curve shape as shown to make a little color corrections.
We’ve got the next result:

Hold down Alt (Windows) or Option (Mac OS) and click between layers in the Layers panel to create a clipping mask.

We’ve got the next result:

Comments