
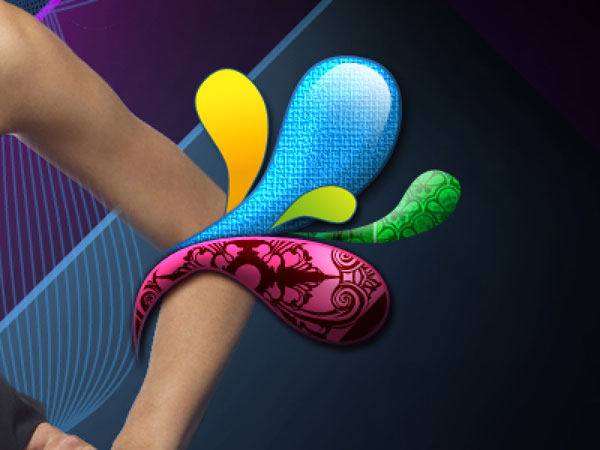
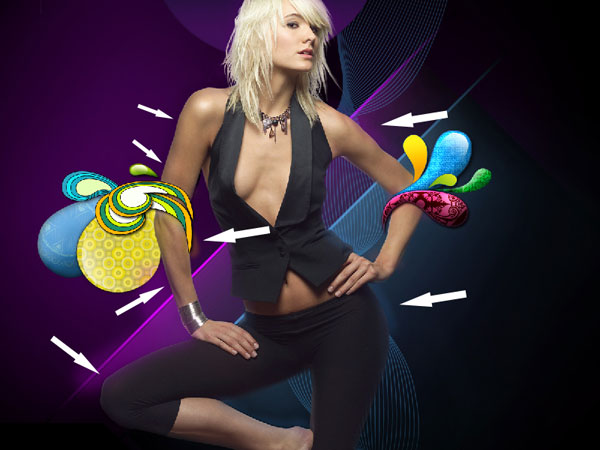
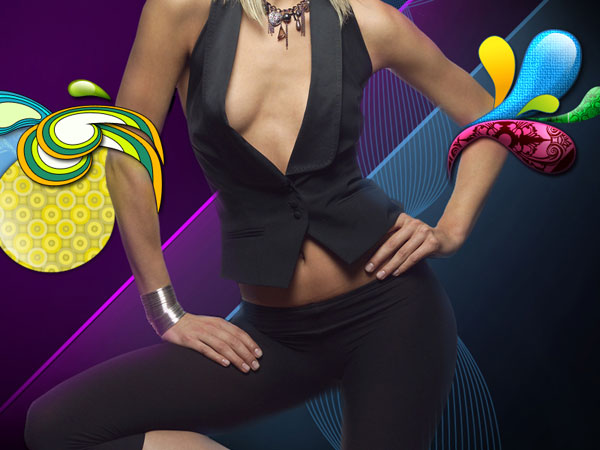
Swirl Girl in Photoshop
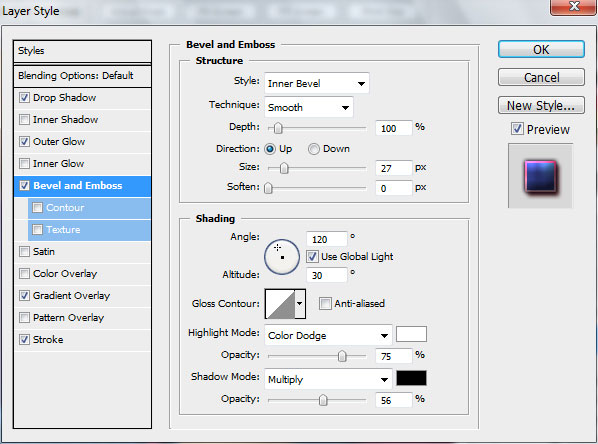
Blending Options>Bevel and Emboss
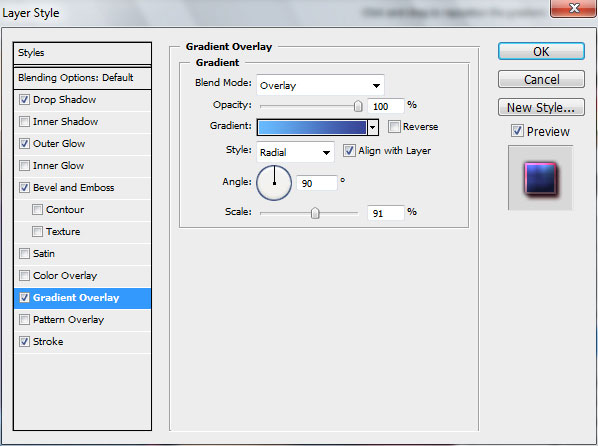
Blending Options>Gradient Overlay
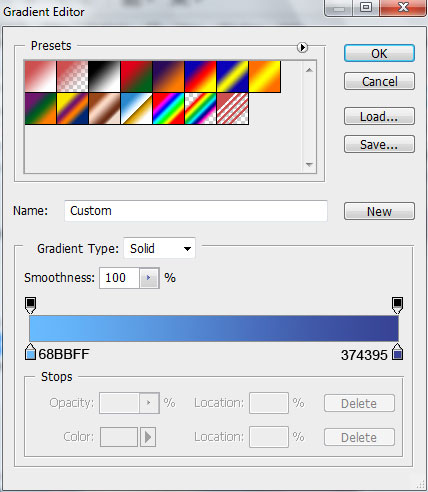
Gradient’s parameters:
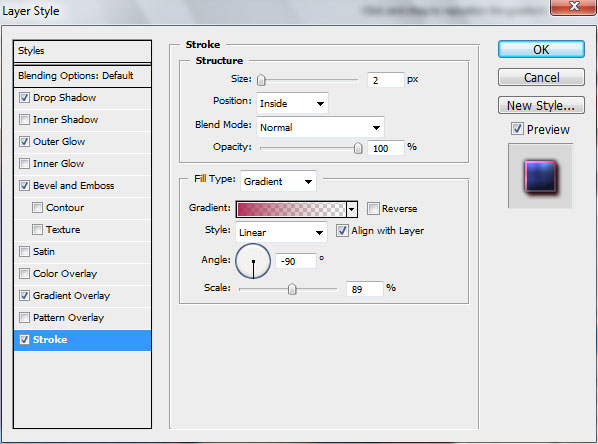
Blending Options>Stroke
Gradient’s parameters:


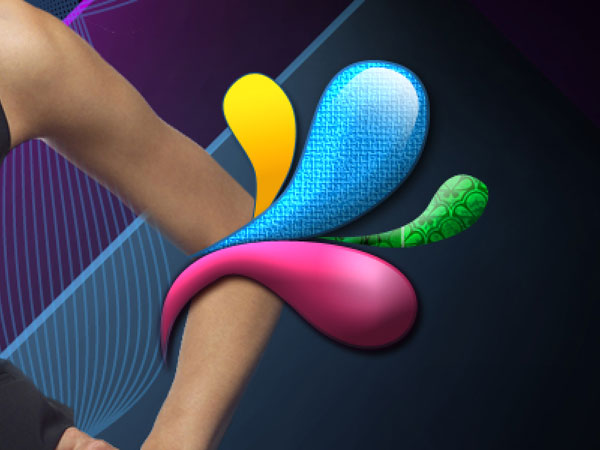
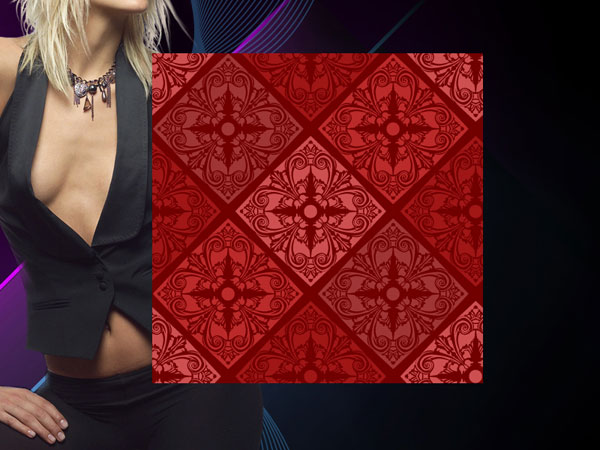
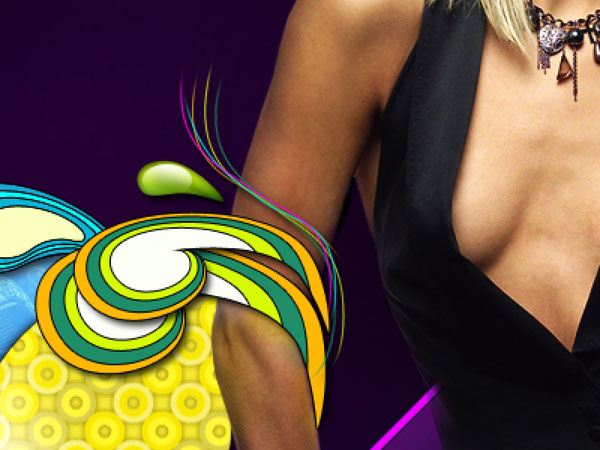
Insert the texture above the ornament:
Press Alt button and click between the texture’s layers and the layer containing the ornament’s element (on the layers’ panel).

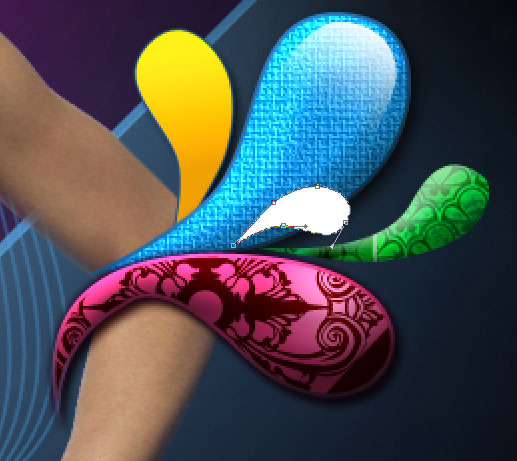
Next we’ll represent one more element of the same ornament, applying the Pen Tool (P) and the Convert Point Tool.
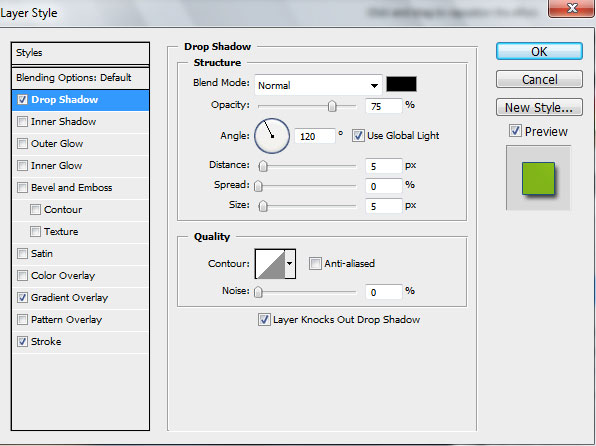
The Layer Style:
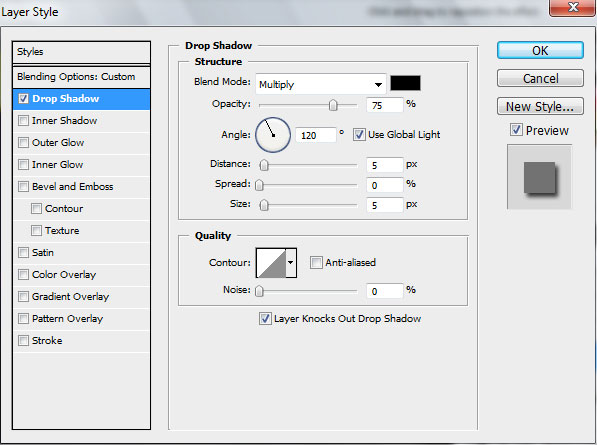
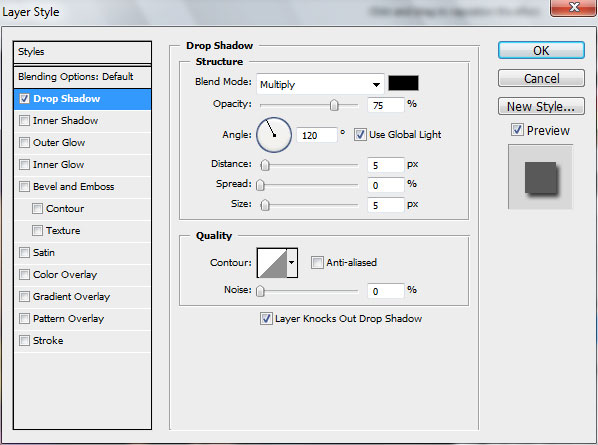
Blending Options>Drop Shadow
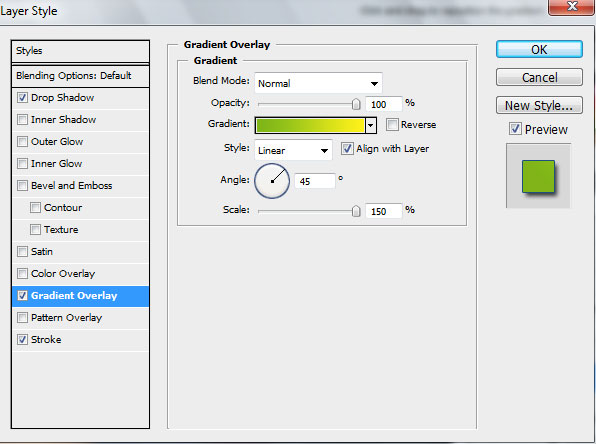
The Layer Style:
Blending Options>Gradient Overlay
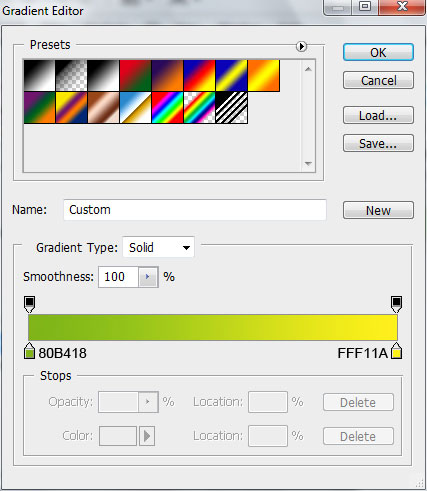
Gradient’s parameters:
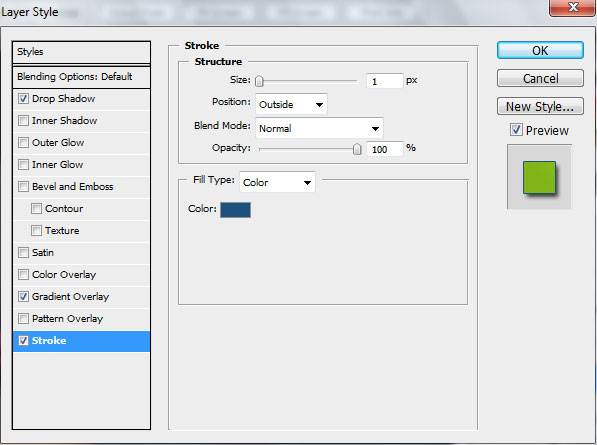
Blending Options>Stroke
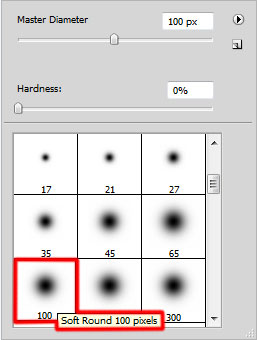
Choose a standard brush with the Opacity of 10% and select the Eyedropper Tool (I) on a new layer (Create new layer) to take some samples of the colors from the near situated objects around the girl’s body, representing the highlights on her body.
Press Alt button and click between the layers with the highlights on them and the girl’s layer (on the layers’ panel)
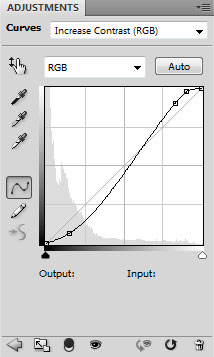
Click on the bottom part of the layers’ panel on Create new fill or adjustment layer>Curves

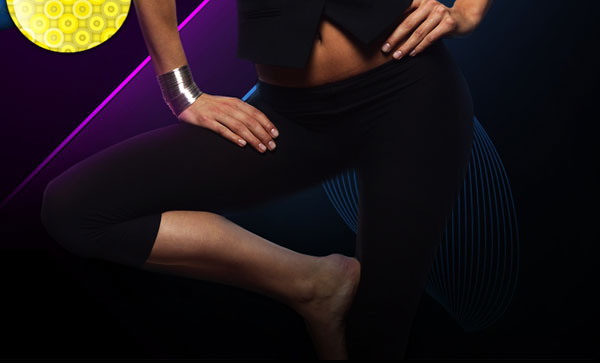
Create a new layer and choose a standard brush of black color (Opacity 20%) to dark out the girl’s leg.
The layer’s parameters:
Fill 80%
Blending Options>Drop Shadow
Next we’ll represent several lines for our ornament, drawing firstly their paths. Choose in this case the Pen Tool (P) (Path mode)


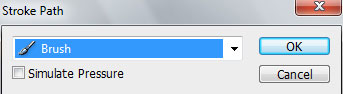
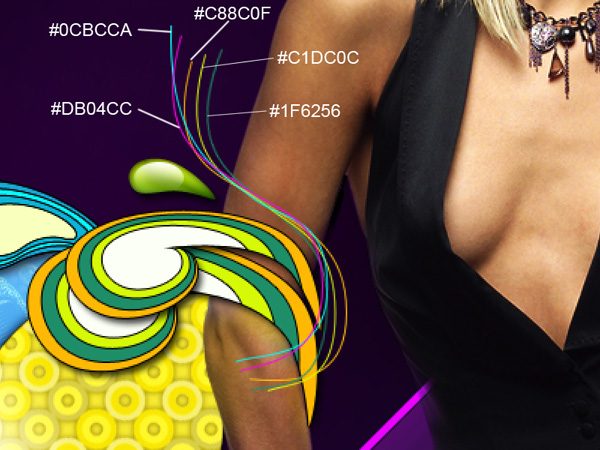
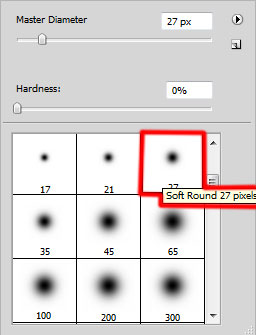
Next we’ll represent five new layers (Create new layer) for each line, using on them the standard brush and the colors indicated below (Diameter 3, Hardness 100%). Using the Direct Selection Tool (A), try to mark out the each line and then pass on the Pen Tool (P). Here make a right click on the marked line on Stroke Path (Brush mode).
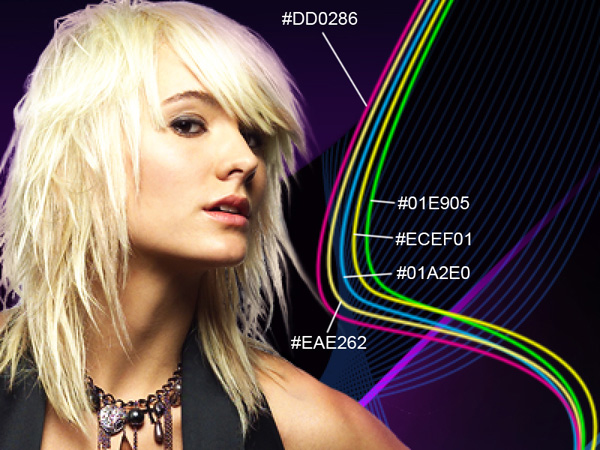
Repeat operation for each line.

Set the same parameters for each layer containing the line: Blending Options>Drop Shadow

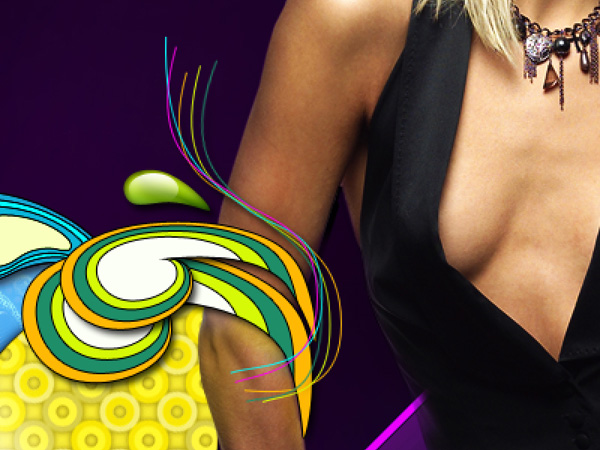
Click on each layer on the bottom part of the layers’ panel on Add a Mask selection and choose a standard brush of black color to clean out the zones of the near situated girl’s hands, cleaning the lines on the top part.

Combine in a group all the layers composing the colored lines (Press Ctrl button and mark out the corresponding layers and hold on the left mouse’s button while taking the marked layers on Create a new group option).
Set the next parameters for the group:
(Opacity 82%)

Next we need to apply the same technology for representing the lines on the other girl’s hand, the one applied earlier when representing the colored lines (create five new layers with the standard brush, using the color indicated below).
Set the same Layer Style for each layer Blending Options>Drop Shadow (the same we’ve applied for representing the lines on the other hand).
Clean out the lines on the hand the same way we did with the lines on the other hand (click on each layer with the line on Add a Mask option and choose the standard brush of black color to clean out the same zones on the lines demonstrated on the picture).

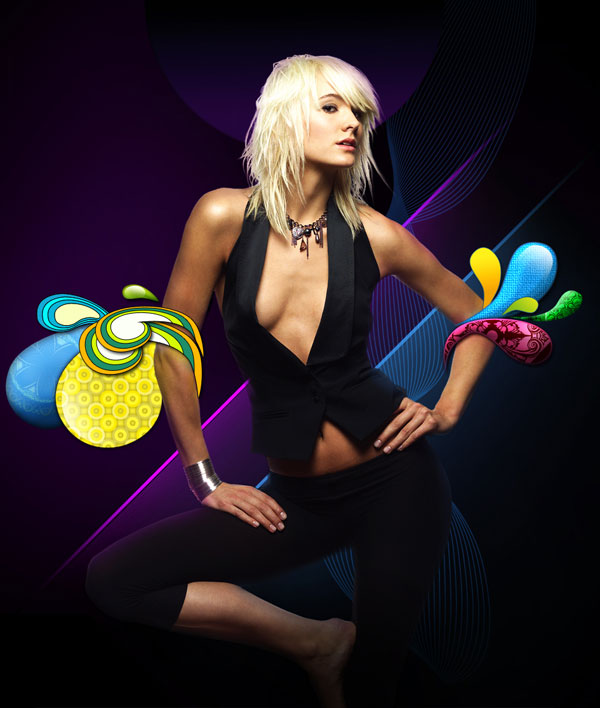
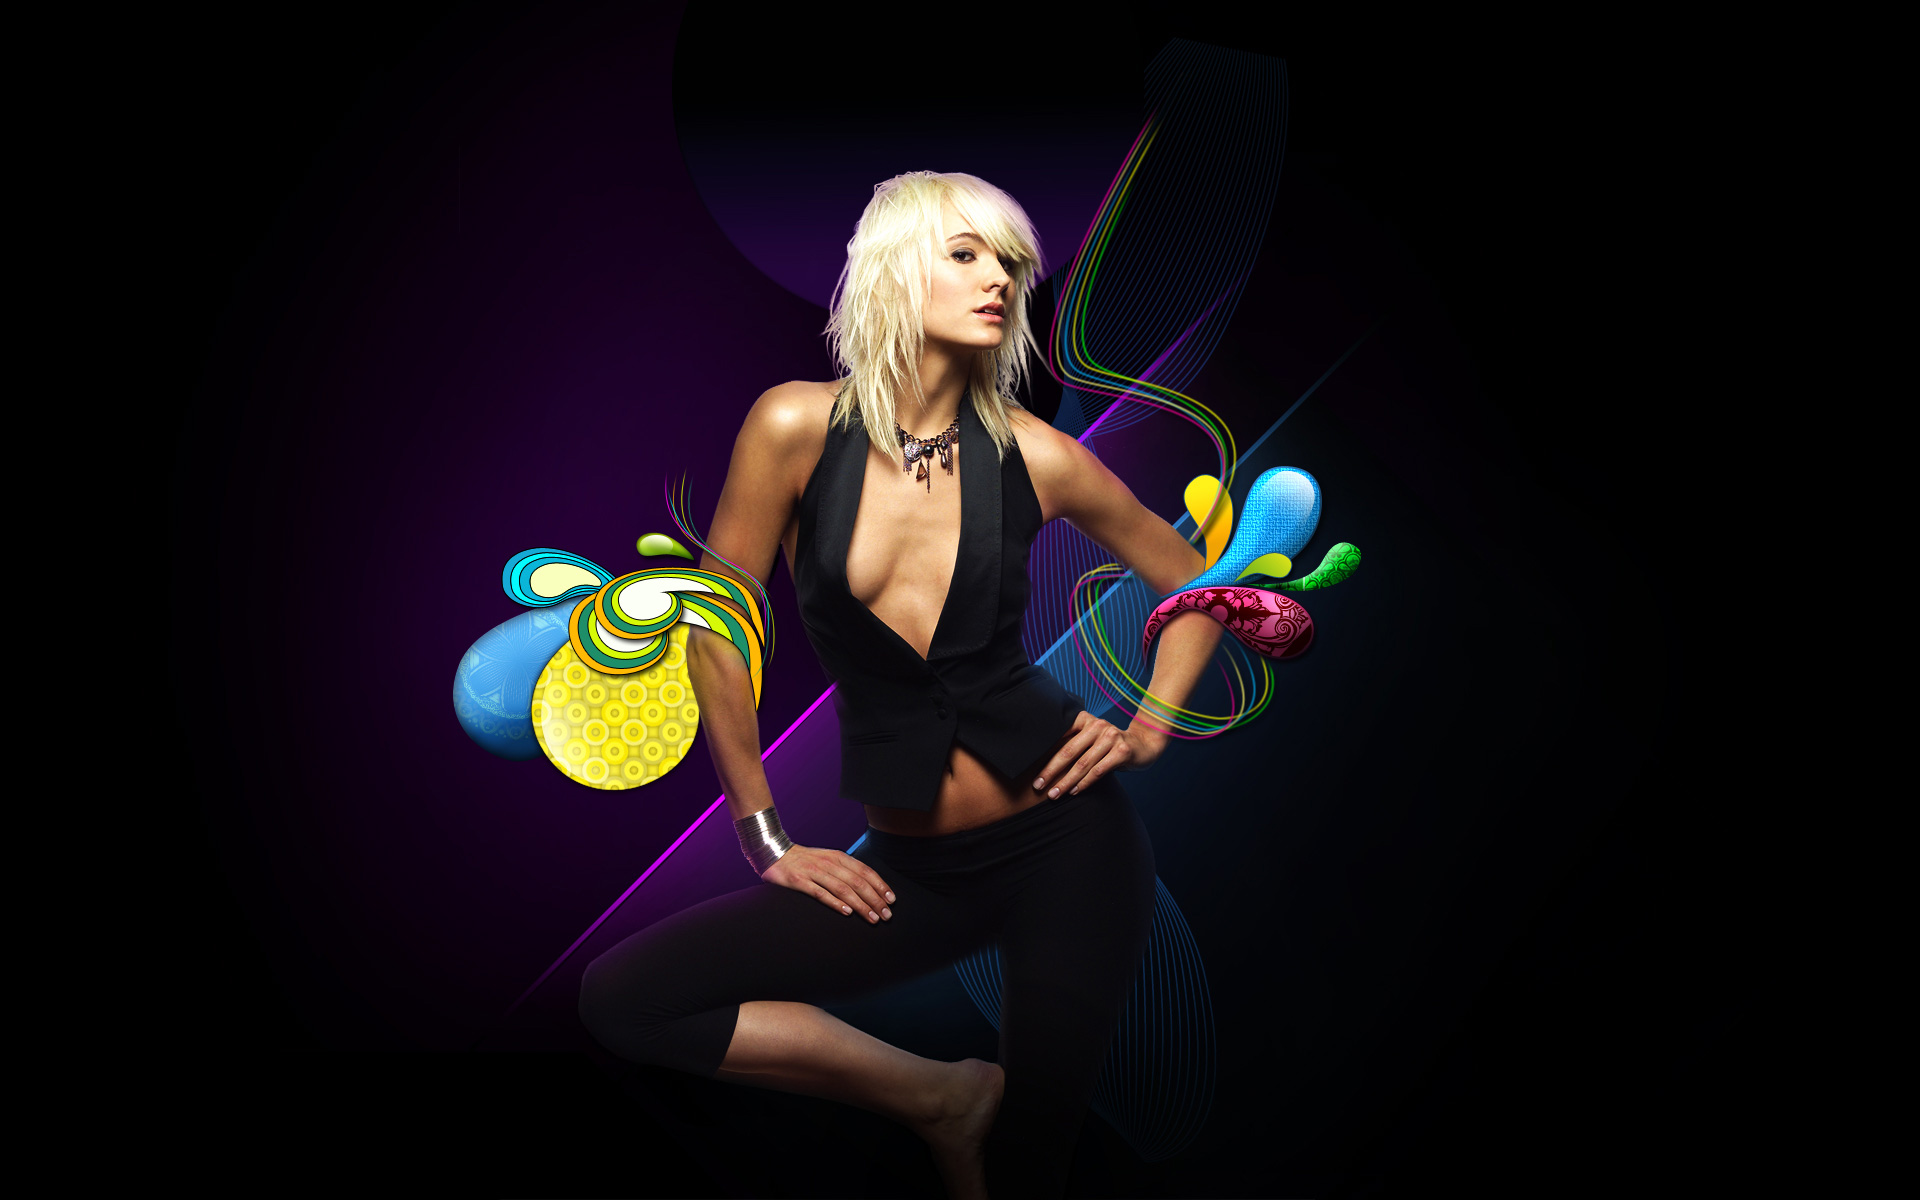
The final result!
View full size here.
Comments