
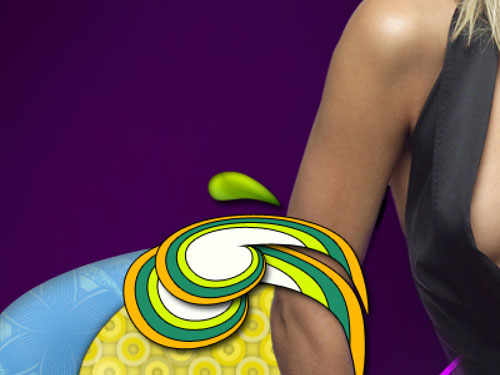
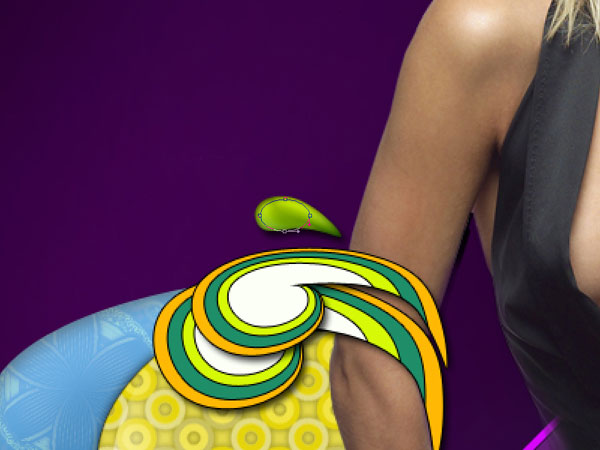
Swirl Girl in Photoshop
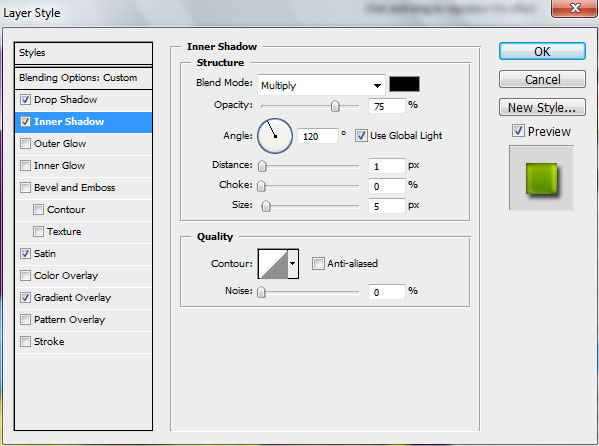
Blending Options>Inner Shadow
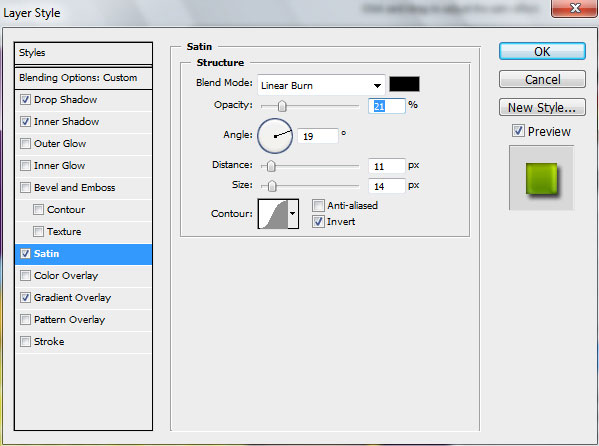
Blending Options>Satin
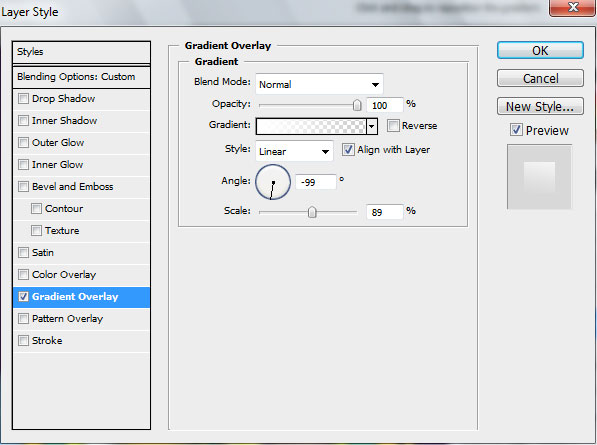
Blending Options>Gradient Overlay
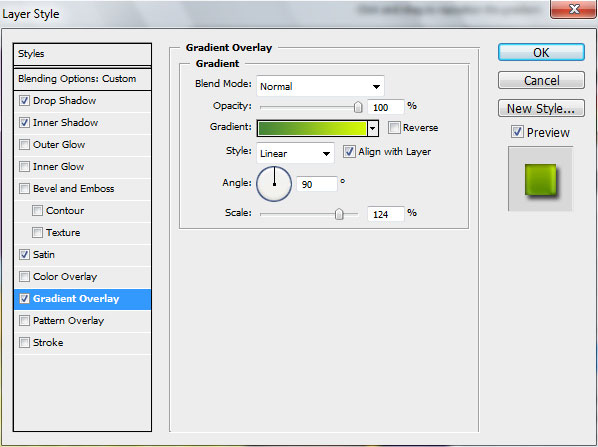
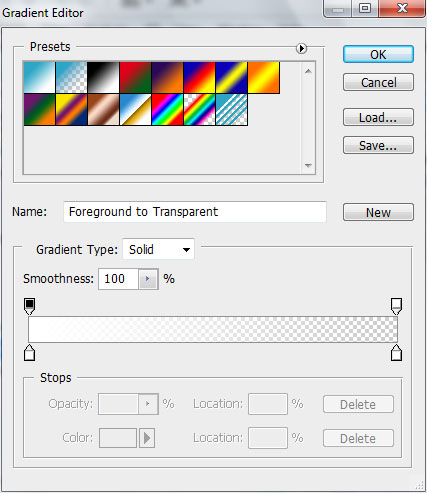
Gradient’s parameters:

Let’s represent a highlight on the ornament’s surface, applying the Ellipse Tool (U).

The layer’s parameters:
Fill 0%
Blending Options>Gradient Overlay
Gradient’s parameters:
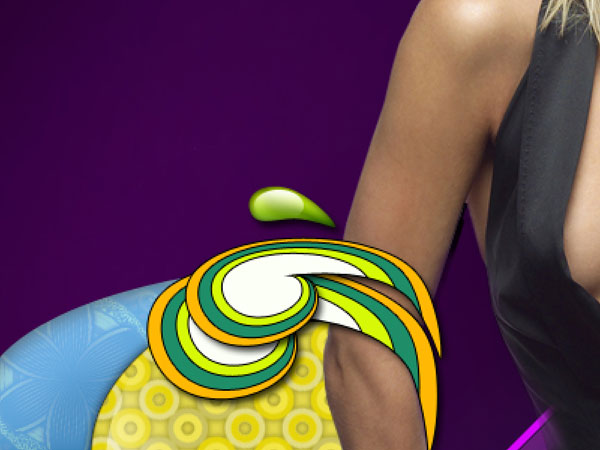
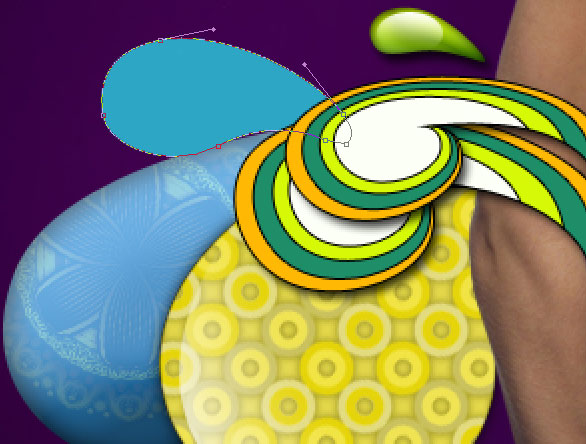
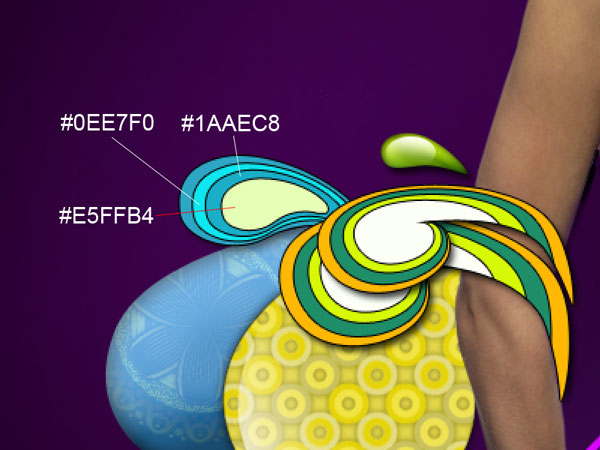
Next we’ll represent another element of the ornament, giving its layer the color #2DA6C5. This layer will be situated lower than all the previous layers of the same ornament.
The Layer Style:
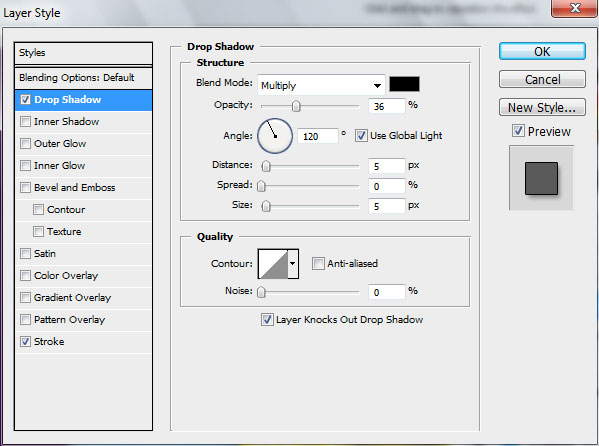
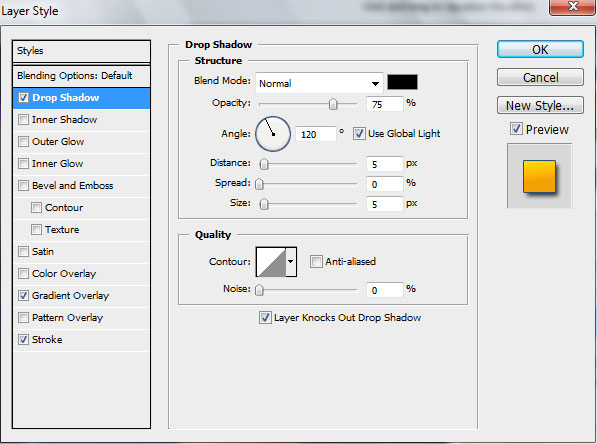
Blending Options>Drop Shadow
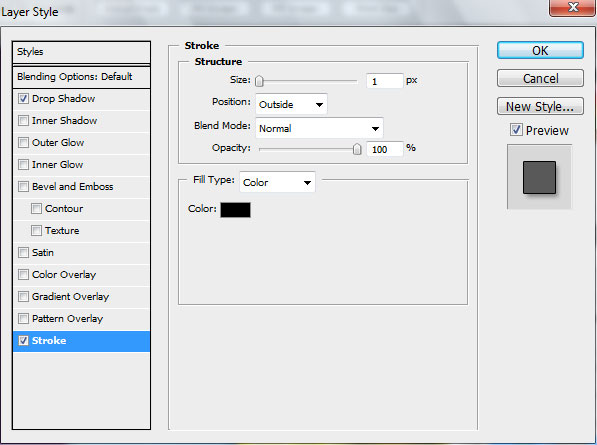
Blending Options>Stroke
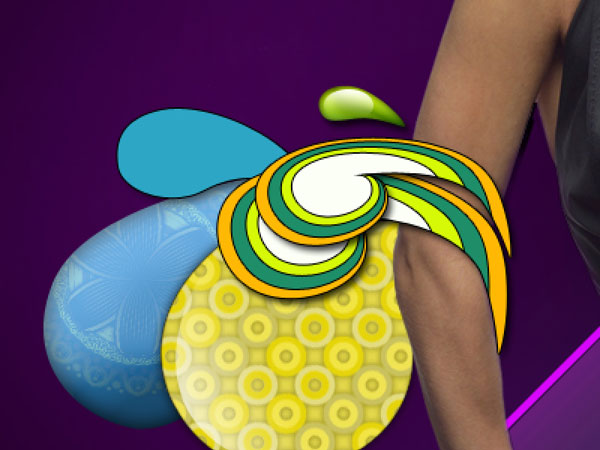
Make three copies of the earlier made layer and choose Free Transform option to make smaller each following copy proportionally. Also we need to change the colors for the copies’ layers. Leave only the Blending Options>Stroke parameter for the made copies.
Continue representing the ornament’s elements, applying the same Pen Tool (P) and the Convert Point Tool.

The Layer Style:
Blending Options>Drop Shadow
Blending Options>Gradient Overlay
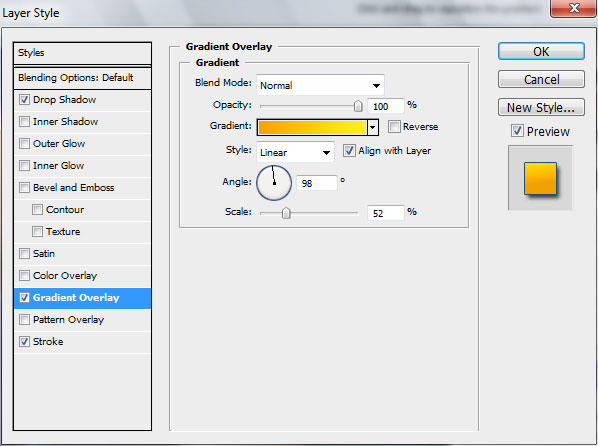
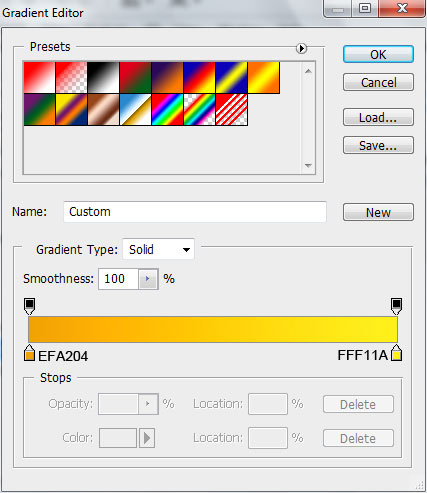
Gradient’s parameters:
Blending Options>Stroke


… and the next element with the same tools:

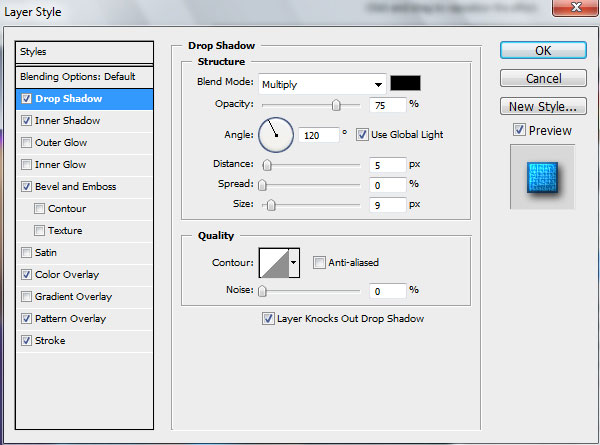
The Layer Style:
Blending Options>Drop Shadow
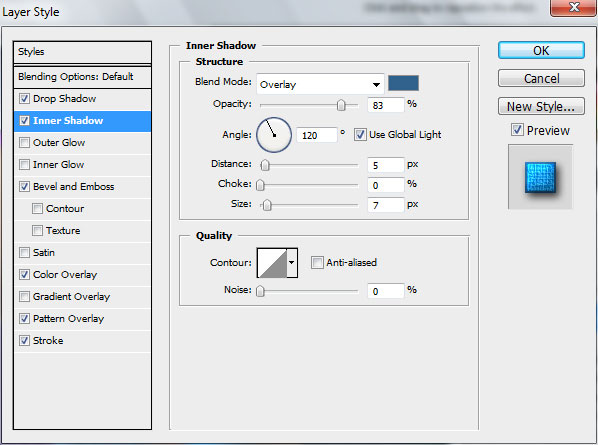
Blending Options>Inner Shadow
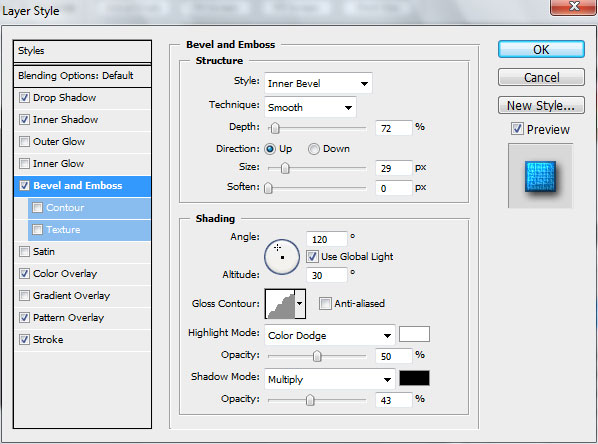
Blending Options>Bevel and Emboss
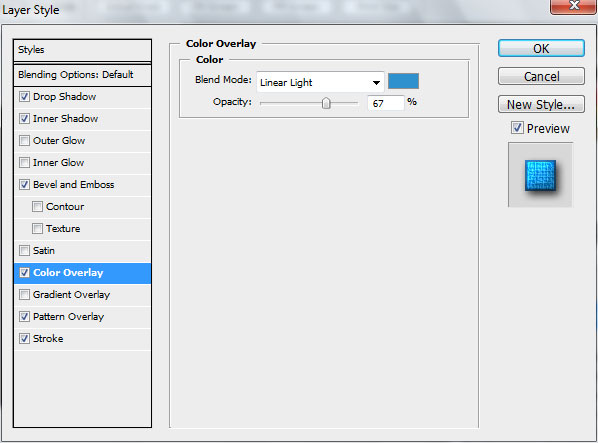
Blending Options>Color Overlay
Blending Options>Pattern Overlay (set Patterns 2)
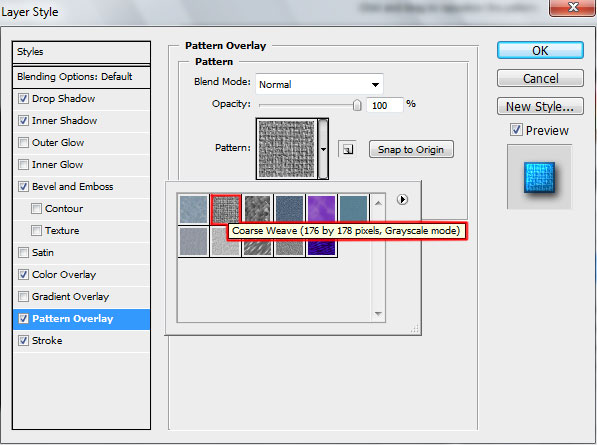
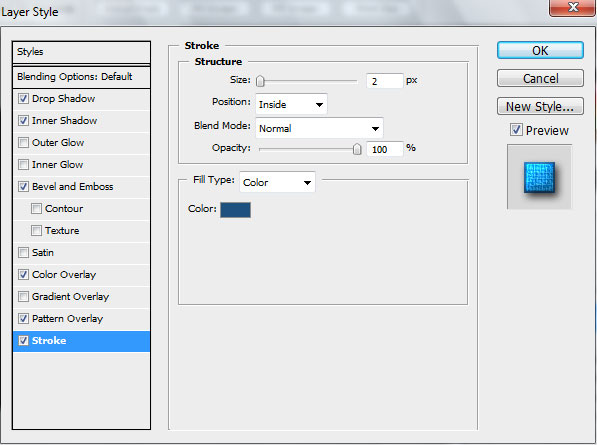
Blending Options>Stroke

Insert a highlight on the ornament’s element, choosing the Pen Tool (P) and the Convert Point Tool.

The layer’s parameters:
Fill 0%
Blending Options>Gradient Overlay
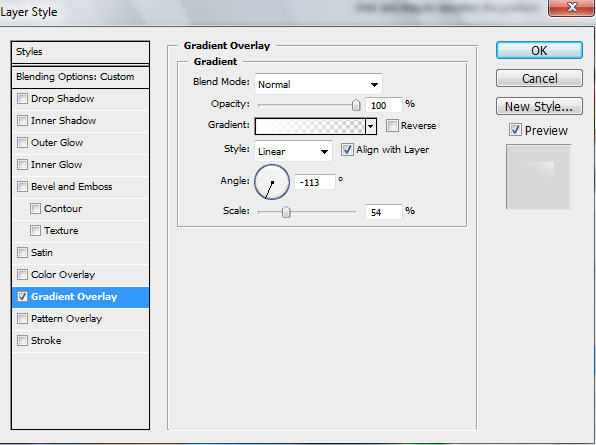
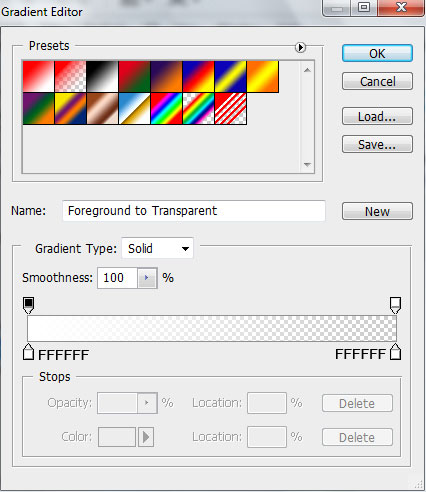
Gradient’s parameters:

The next ornament’s element must be represented the same with the previous one, having the color #CD5050
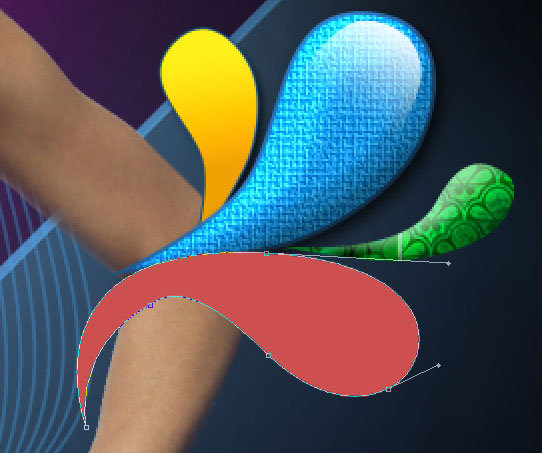
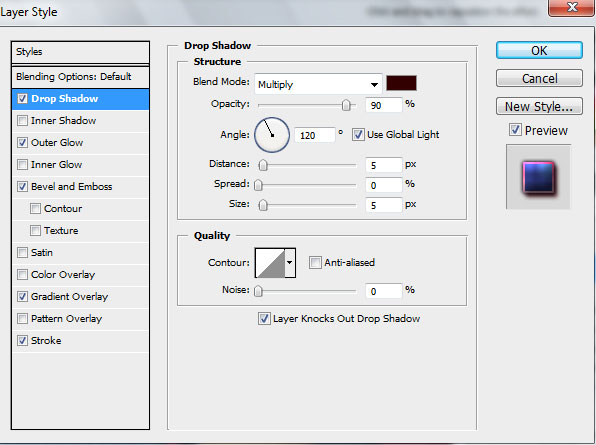
The Layer Style:
Blending Options>Drop Shadow
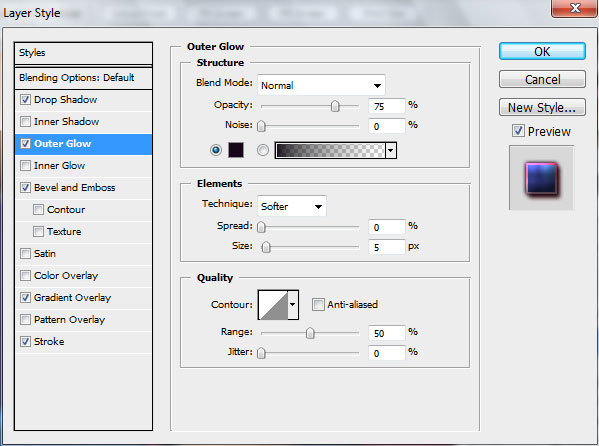
Blending Options>Outer Glow
Comments