
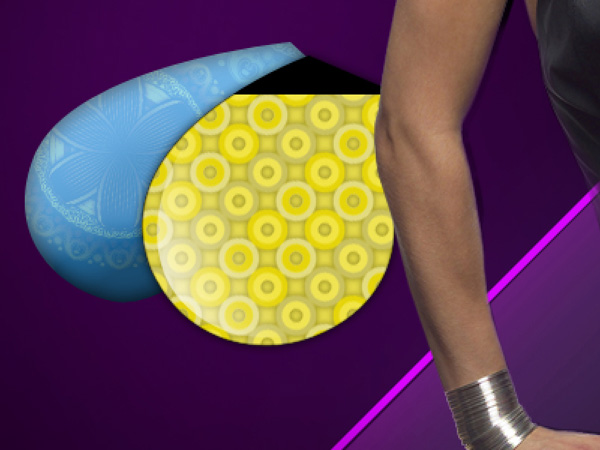
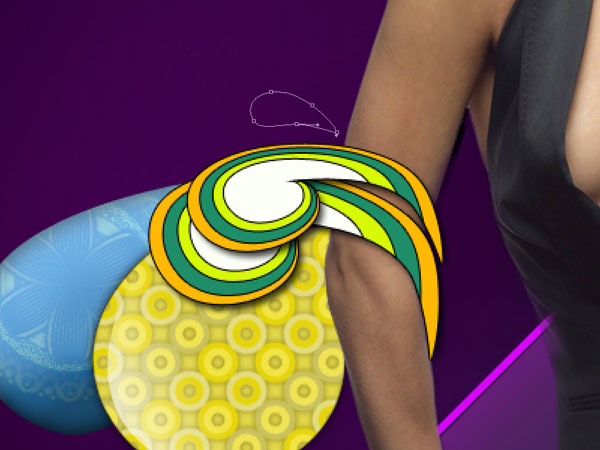
Swirl Girl in Photoshop
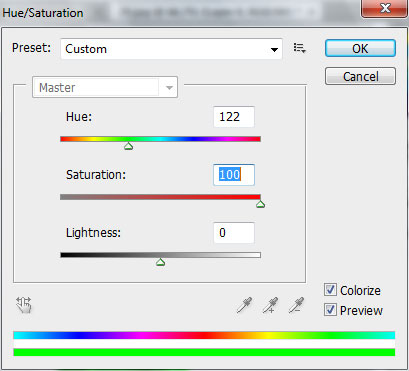
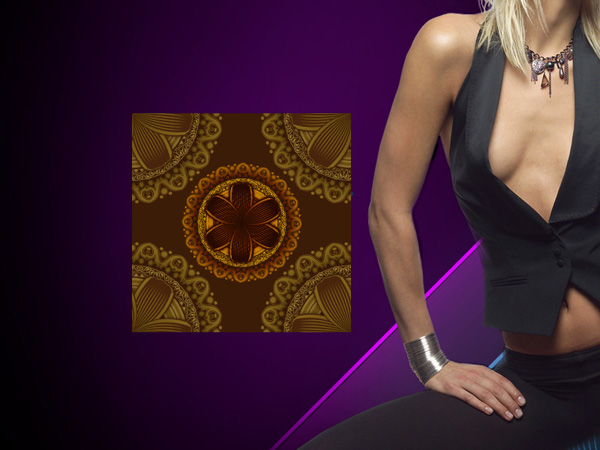
Next we’ll insert with the new layer the earlier saved texture, applying on it CTRL+U. Place the texture’s layer above the swirl’s layer.

Press Alt button and click between the texture’s layers and the previous layer (on the layers’ panel).

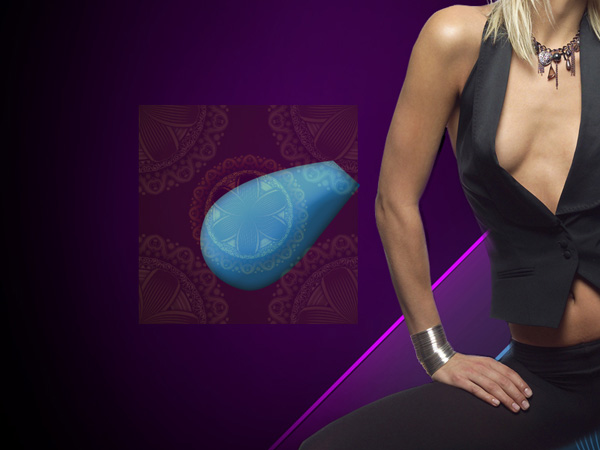
Continue representing the ornaments, using the earlier applied instruments – Pen Tool (P) and the Convert Point Tool. The layer has the color #1685D4

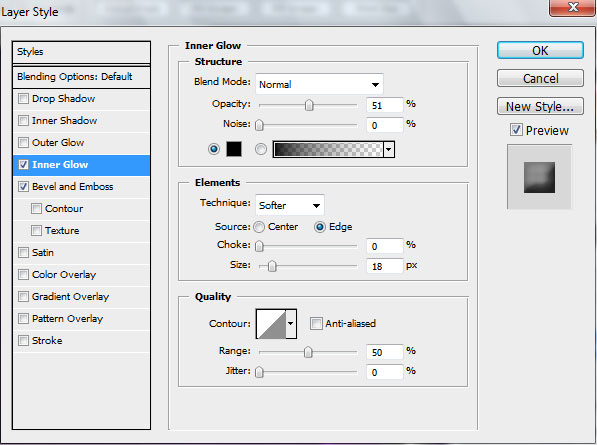
The Layer Style:
Blending Options>Inner Glow

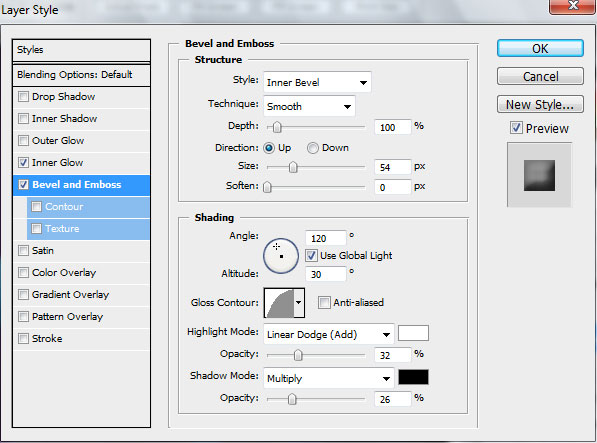
Blending Options>Bevel and Emboss

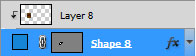
Insert the texture’s layer:
The layer’s parameters:
Fill 30%
Press Alt button and click between the texture’s layers and the previous layer on the layers’ panel.

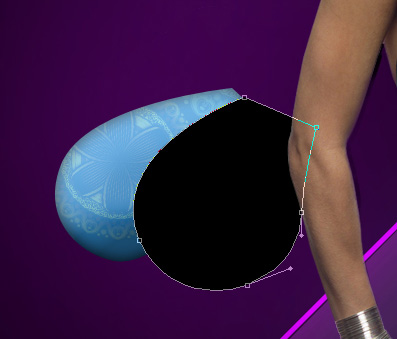
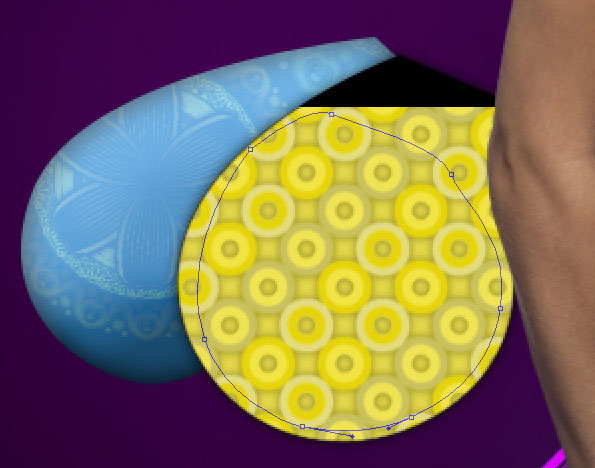
This way we’ll represent the next element of our ornament, applying the Pen Tool (P) and the Convert Point Tool.
The Layer Style:
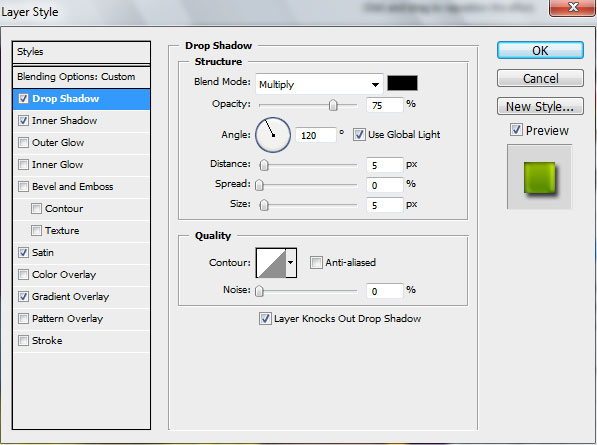
Blending Options>Drop Shadow
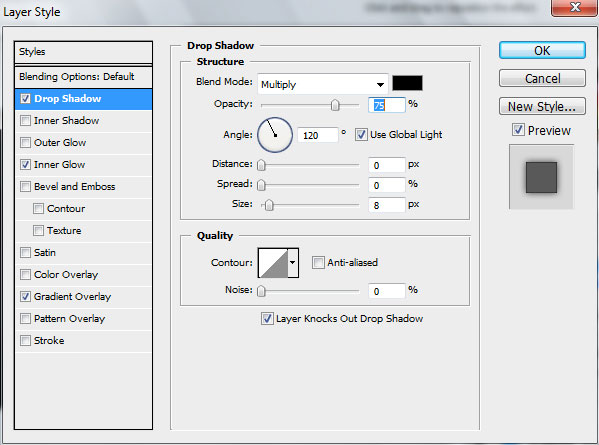
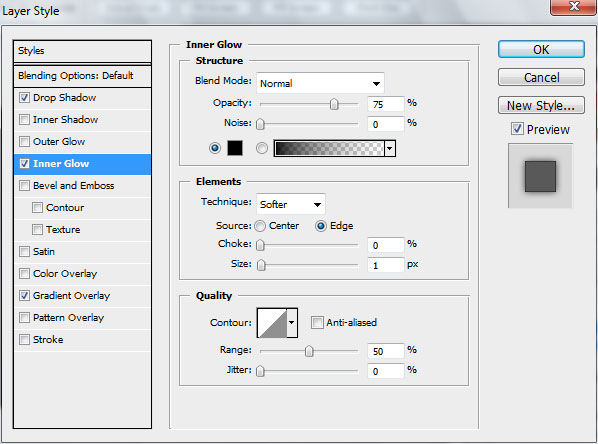
Blending Options>Inner Glow
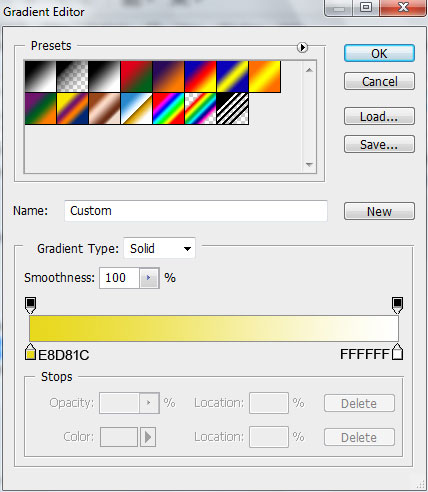
Blending Options>Gradient Overlay

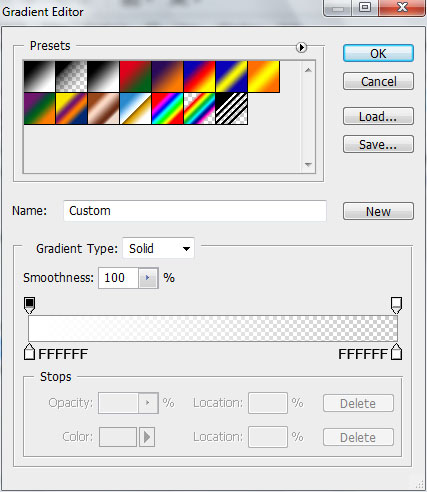
Gradient’s parameters:

Place the texture above the layer, but the texture’s layer should be placed lower than the girl’s layer.

Press Alt button and click between the layers:
Let’s represent a highlight inside the drawn element of the ornament, applying the Pen Tool (P) and the Convert Point Tool.
The layer’s parameters:
Fill 0%
Blending Options>Gradient Overlay
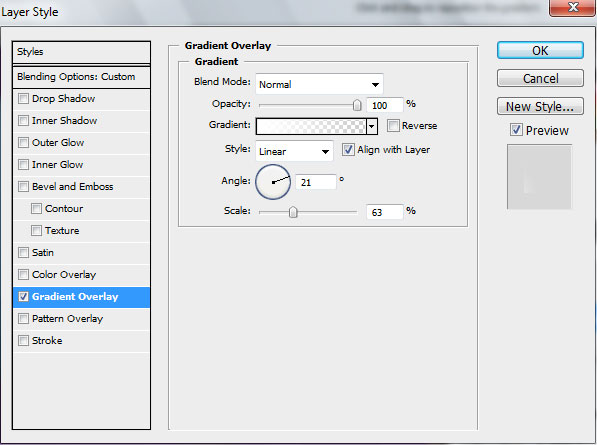
Gradient’s parameters:
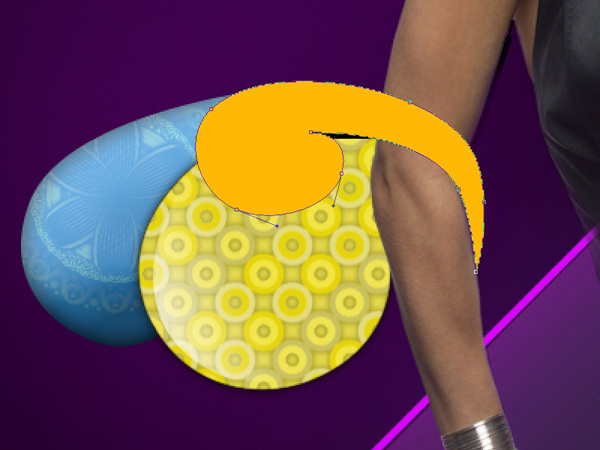
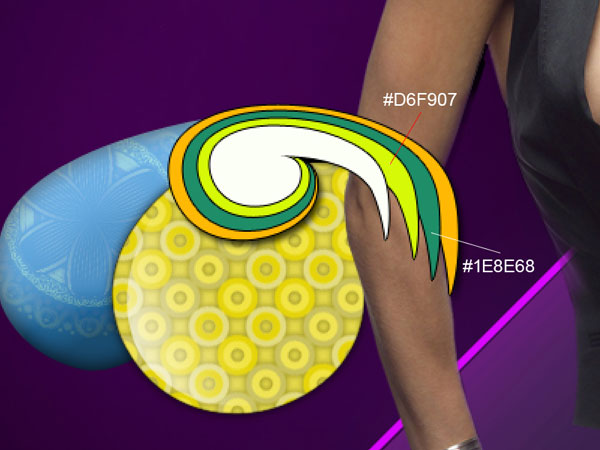
Using the same Pen Tool (P) and the Convert Point Tool, try to represent the next element of the ornament, giving it the color #FFB904
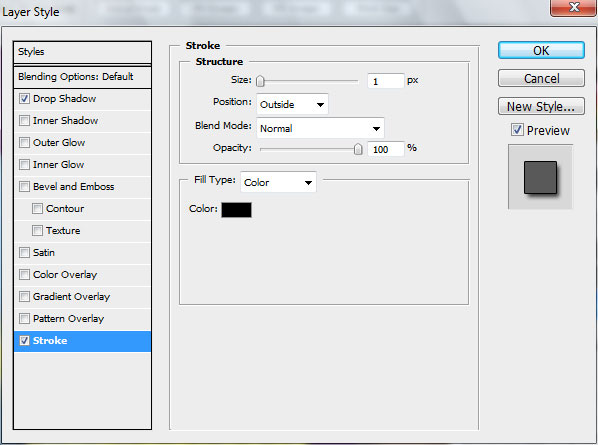
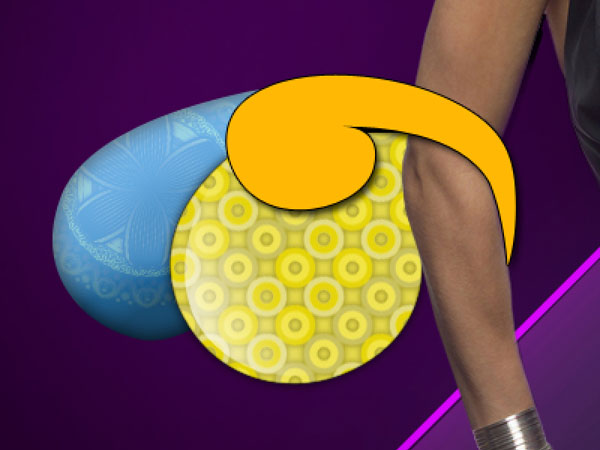
The Layer Style:
Blending Options>Drop Shadow

Blending Options>Stroke
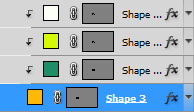
Make three copies of the last made layer and choose Free Transform option to make smaller each following copy proportionally. Change the colors of the copies’ layers. The layer on the top layer has white color. Leave only this parameter on all the copies – Blending Options>Stroke
Press Alt button and click between the copies’ layers and the very first layer:
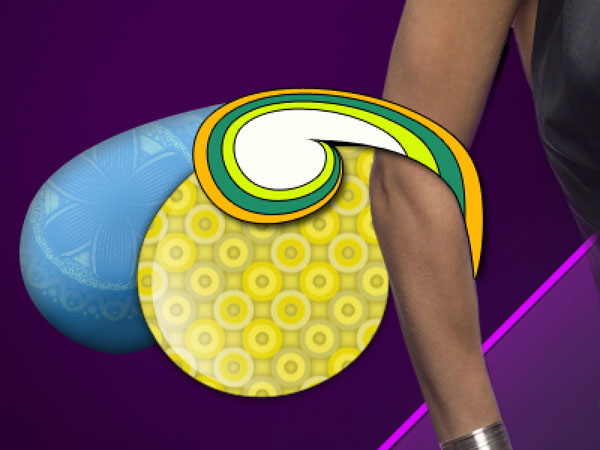
Combine in a group all the layers composing the copies and the very first layer of the recently made ornament (press Ctrl button and mark out the corresponding layers and hold on the left mouse’s button while moving the marked layers on Create a new group option).
Make a copy of this group and choose Free Transform option to change its sizes, placing it as below:
Continue representing the ornament’s elements with the earlier used instruments – the Pen Tool (P) and the Convert Point Tool.
The layer’s parameters:
Fill 0%
Blending Options>Drop Shadow
Comments