
Star Wars Poster
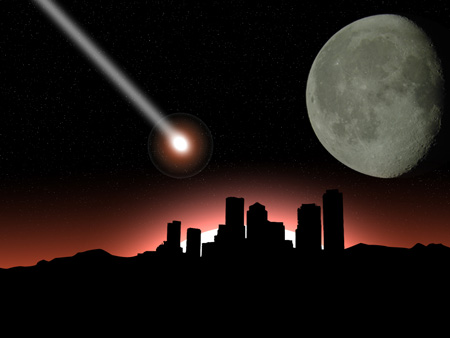
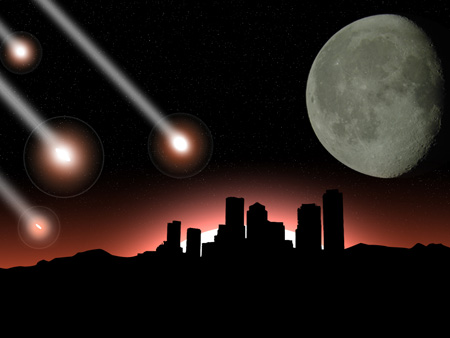
For a better result we have to combine in a group all the layers composing the meteorite (press on Ctrl button to mark out the necessary layers and click on the left mouse’s button to take the marked layers down on Create a new group option). Make three copies of the last made group and select the Free Transform option to change the copies’ sizes and the meteorites’ layers’ dimensions.
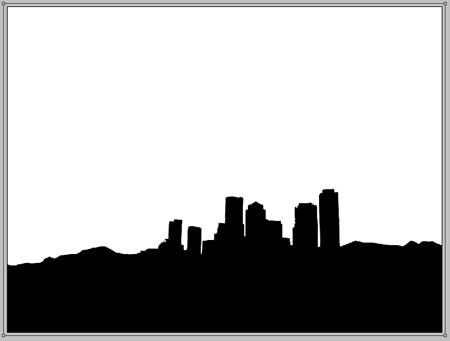
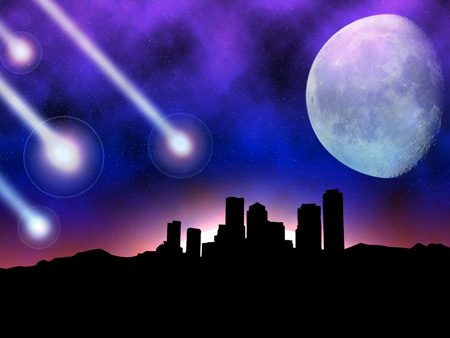
Using the Rectangle Tool (U), try to represent a layer reserved for the sky, having the white color. The layer must be placed lower than the city’s layer and the landscape’s surface.
Make a mouse’s click on Add a Mask option on the layers’ palette and select the filter’s option: Filter>Render>Clouds
The layer’s parameters: Fill 0%
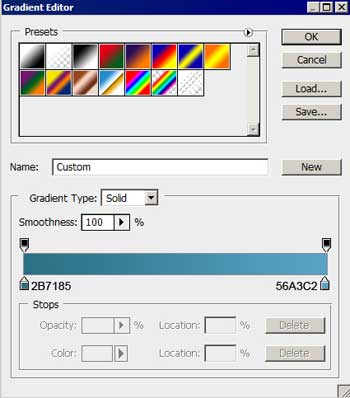
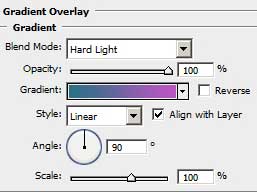
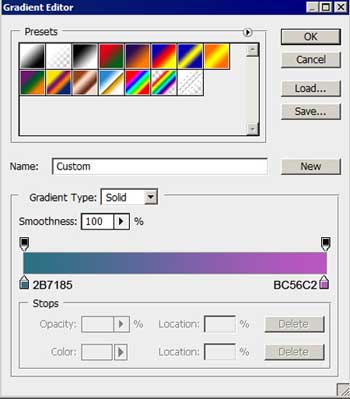
Blending Options>Gradient Overlay


Gradient’s parameters:
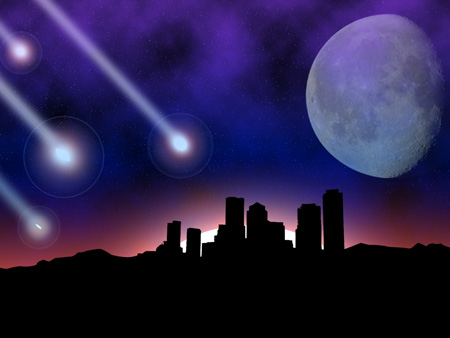
Make a copy of the last made layer and change the parameters of the copied layer.
The layer’s parameters: Fill 0%
Blending Options>Gradient Overlay
Gradient’s parameters:
Make a copy of the last made layer and move off the parameter indicated next:
Blending Options>Gradient Overlay
Change Blending mode-Normal on Overlay
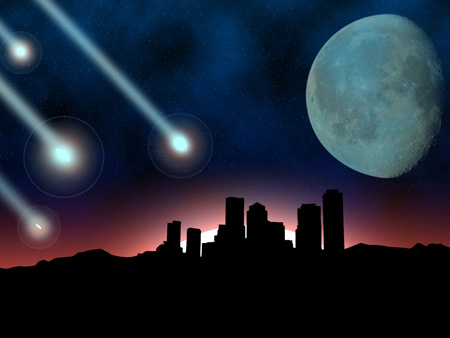
The picture is finished!
View full size here.
Comments