
Security Icon
April 23, 2007 | 0 comments
Make a mouse’s click between the layers, pressing simultaneously the Alt button and the new layer will be applied on the indicator’s limits.
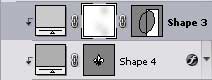

Make a copy now of the first layer (the black indicator created with Custom Shape Tool (U)). Select after that the Free Transform option to make the copy smaller the same way it is demonstrated next image.

Apply the next parameters for the layer.
Fill 0%
Blending Options>Stroke

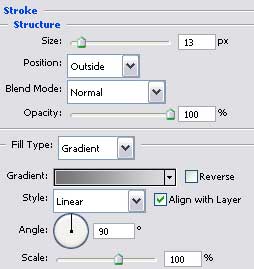
Gradient’s parameters: 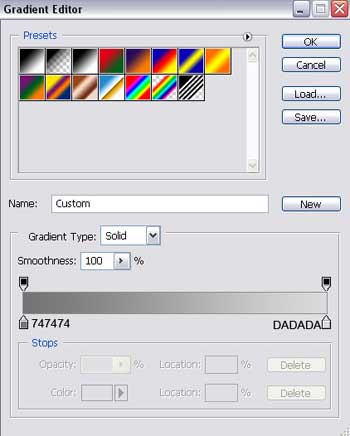

Finished!
View full size here.
Comments