
Security Icon
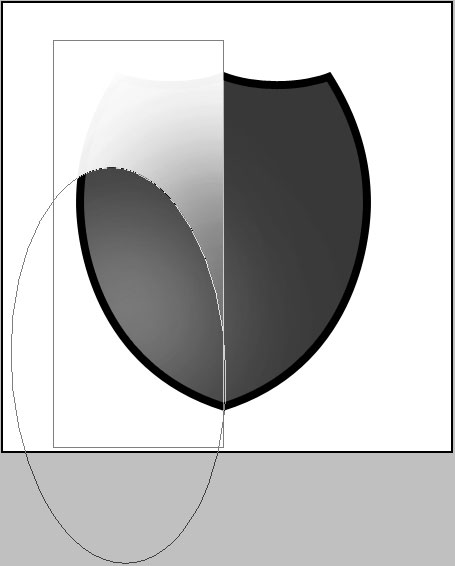
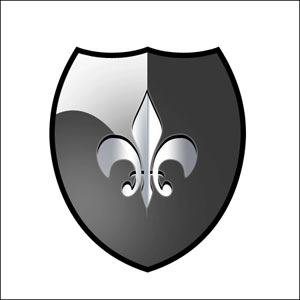
Choose now the Rectangle Tool (U) and represent a rectangle of white color and then press the Alt button to cut out an ellipse (using the Ellipse Tool (U)).
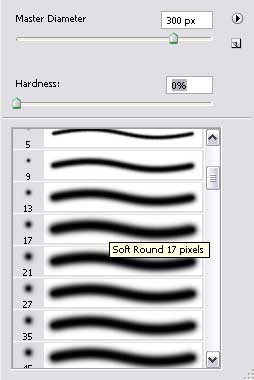
Click on Add a Mask option on the layers’ panel and choose a standard brush (Brush Tool (B)) and Opacity of 10%. Dark out the lowest part of the picture the same way it is shown below:
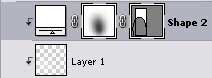
Click on Alt button firstly and then make a click between the flare’s layer and the cut out ellipse’s layer and the layer will lay over the indicator.
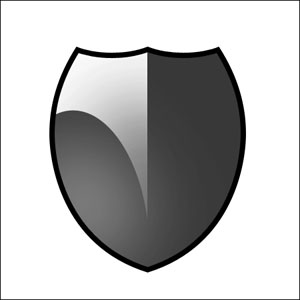

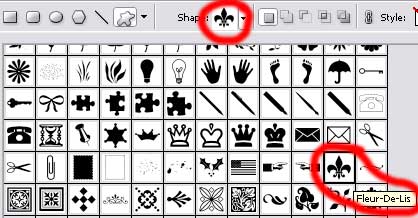
Select again the already known Custom Shape Tool (U) for representing the next indicator’s layer.
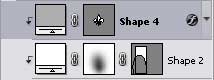
Set the layer’s parameters:
Fill 0% on the layers.
Blending Mode-Overlay
Click also on Alt button, making another mouse’s click between the layers and the new layer will be transformed into a mask.
Comments