

“Red Dream” photo manipulation tutorial
Step 30
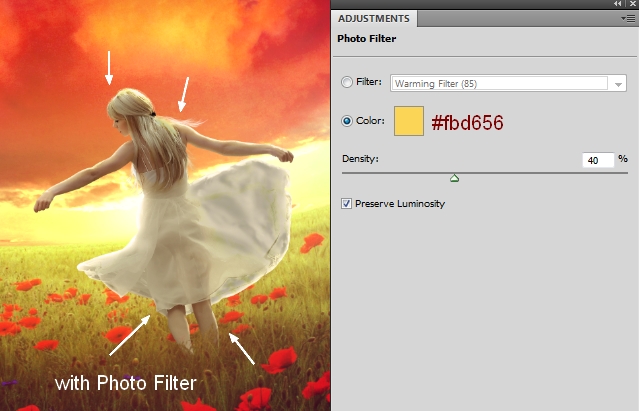
I used Photo Filter to add more yellow light to the model:
Step 31
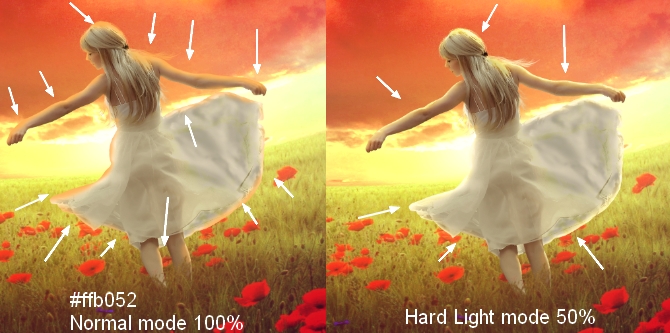
In this step I used a new layer, take a soft brush with the color #ffb052 to paint on the model outline. Change this layer mode to Hard Light 50%:
Step 32
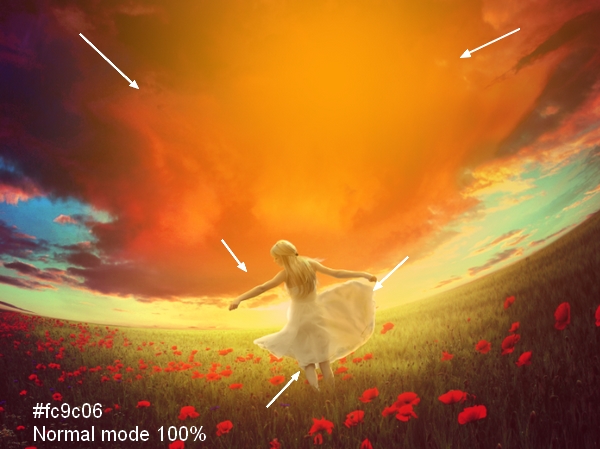
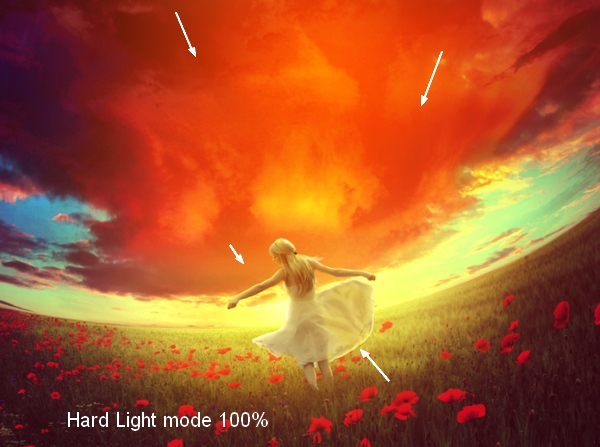
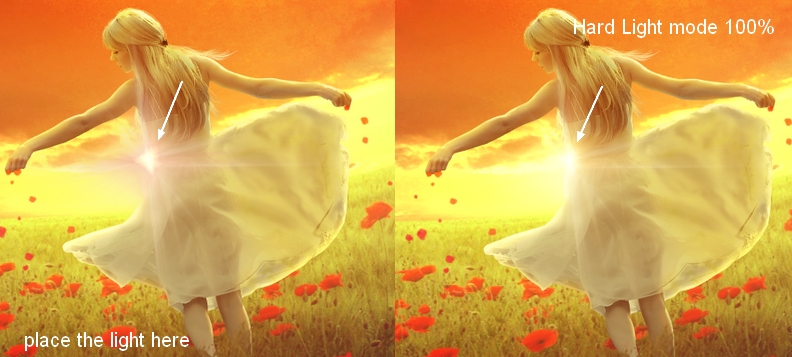
Make a new layer on the top. Use a soft brush with the color #fc9c06 to paint over the center of the pic then alter the mode to Hard Light 100%. It will create a vibrant light for the whole scene:

Step 33
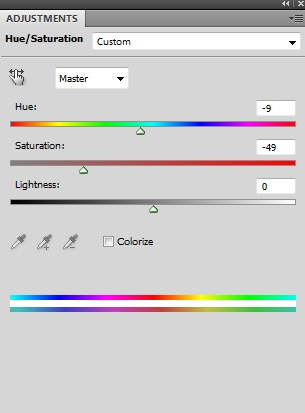
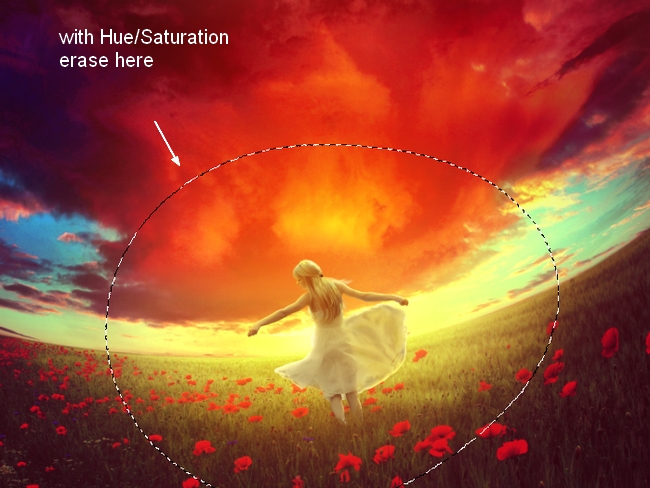
I used Hue/Saturation to change the light color a little:
On this layer mask use a soft black brush to erase the area around the model :
Step 34
It’s time to add the petals. Create a new layer on the top. Change the foreground to #e2161b (similar to the poppy color on the field) and brush to the petal ones. Choose the number 149 and press F5 to change the settings for this brush:
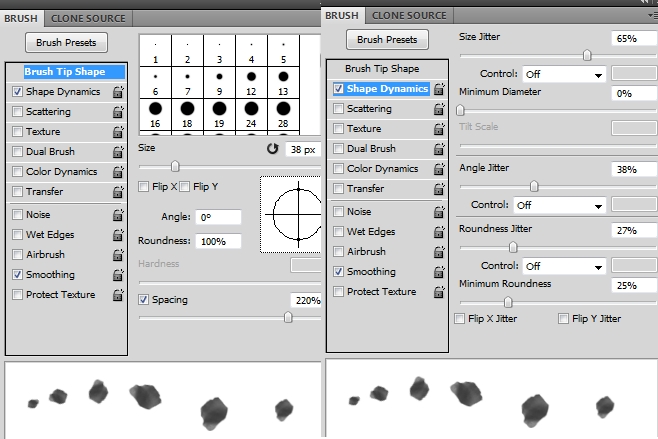
Paint the petals under the model hands to make them look like being spreaded out of her hands. Also paint more flying petals over the picture, try to achieve a random effect:

Step 35
Make a new layer and paint the bigger petals on the edges:

Go Filter > Blur > Gassian Blur and set the radius to 8 px:
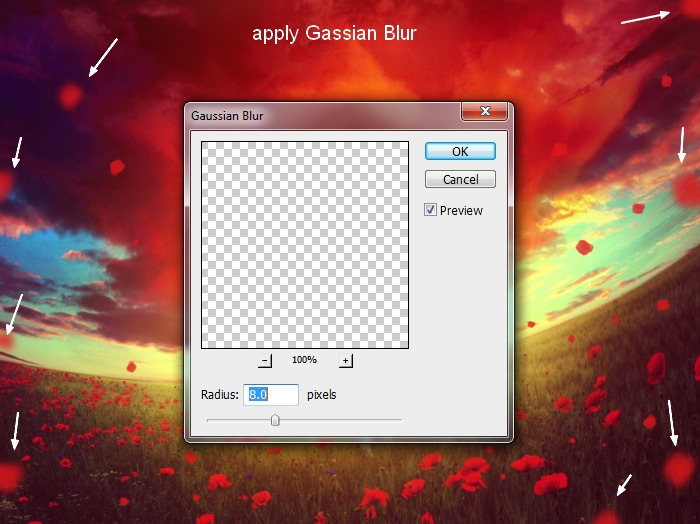
This step is to add some depth to the scene.
Step 36
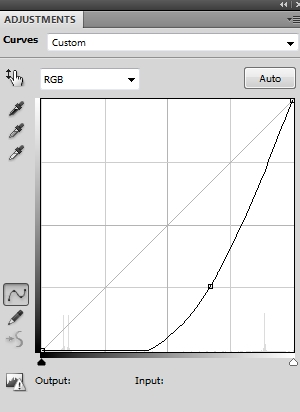
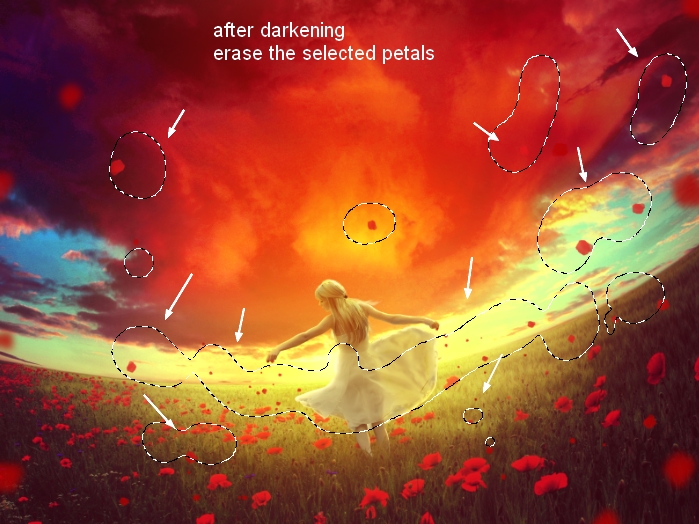
Make the petals layers selected then press Cmd/Ctrl+G to group them. Change the mode of this group from Pass Through (default group mode) to Normal 100%. Make a Curves adjustment layer within this group to darken the petals at the edges:
On this layer mask use a soft black brush to remove the dark effect of the petals in the light area:
Step 37
Make another Curves adjustment to brighten the petals in the light part:
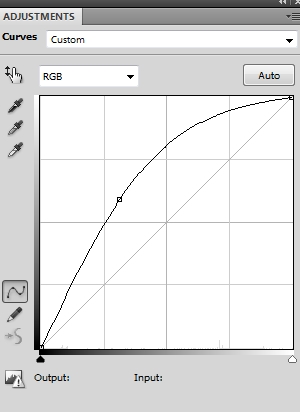
On this Curves layer mask use a soft black brush to erase the dark ones at the edges, also create some contrast for them:

Step 38
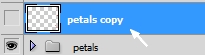
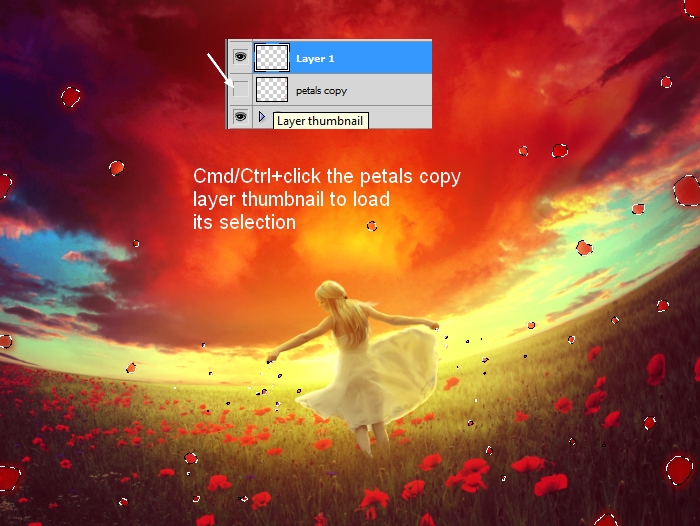
Right click petals group, choose Duplicate Group. Right click duplicated group, choose Merge Group. Now we have the petals selection on a new layer. Turn off this layer.
Step 39
Create a new layer on the top. Hold down the Cmd/Ctrl while clicking the petals copy layer to load its selection:
Use a soft brush with the color #ffb052 to paint on some of the petals especially the ones in the brighter area to make more light for them. I altered this layer mode to Hard Light 100%:

Step 40
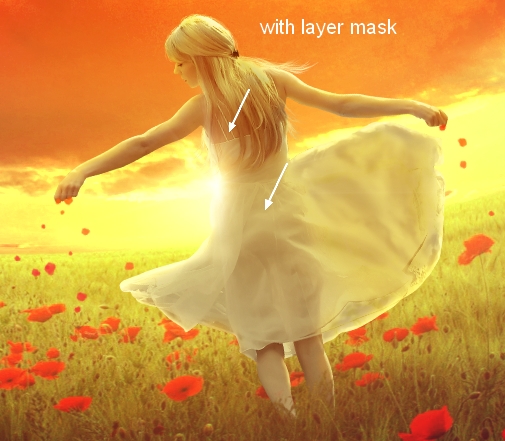
Final step: Open the light stock. Position it at the left waist of the model and change the mode to Hard Light 100%:
Add a mask to this layer and use a soft black brush to remove the light on the model back:
Download the layered PSD file.
Jenny Le
Self-taught artist from Vietnam who loves drawing and doing photo manipulation. See more of my work at http://jennyle88.deviantart.com/
Comments