
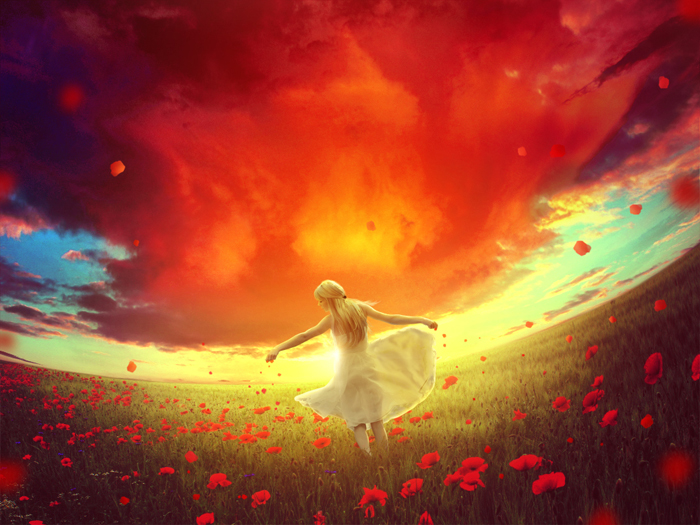
“Red Dream” photo manipulation tutorial
Step 10
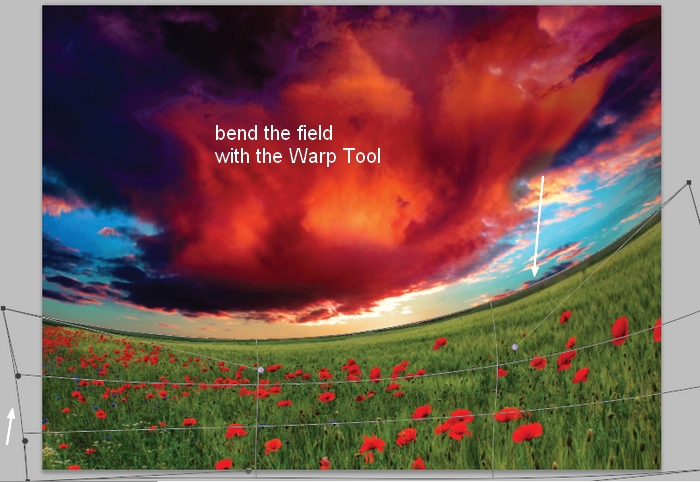
Open the field image. Use the Retangular Marquee Tool (M) to select the field :

Place the field at the bottom of our working document and bend it using the Warp Tool:
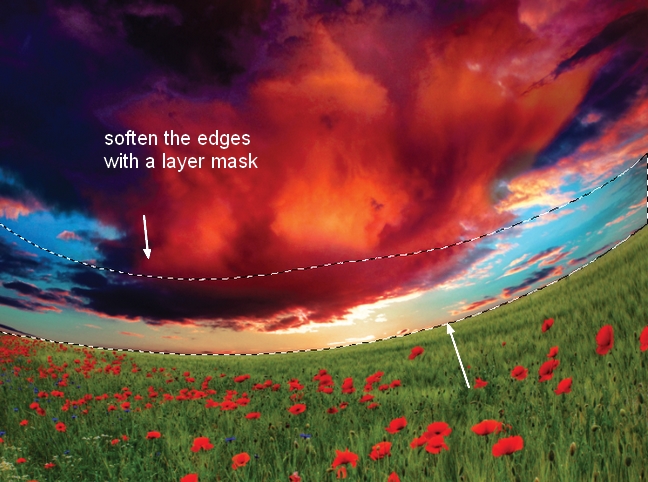
Add a mask to this layer and use a soft black brush to soften the edges of the field at the horizon area:

Step 11
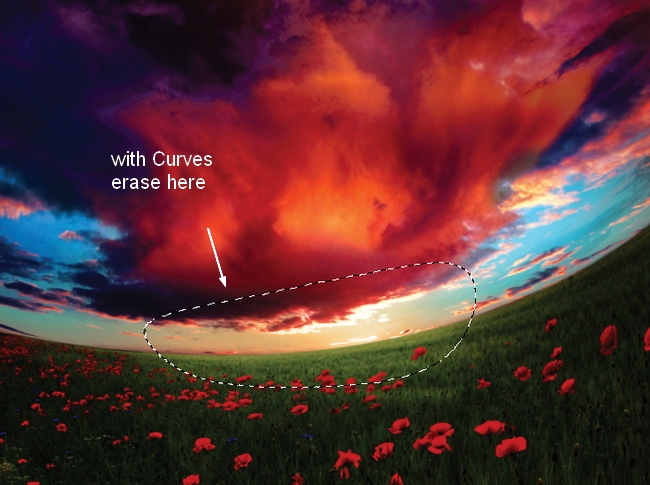
I used Curves to darken the field:
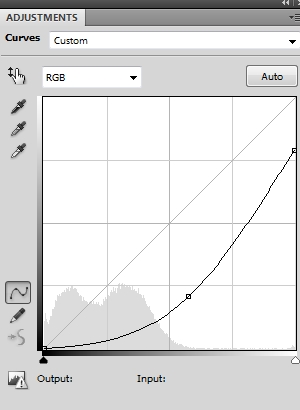
On this layer mask use a soft black brush to erase the center of the furthest part of the field (horizon) to make a contrast for it:
Step 12
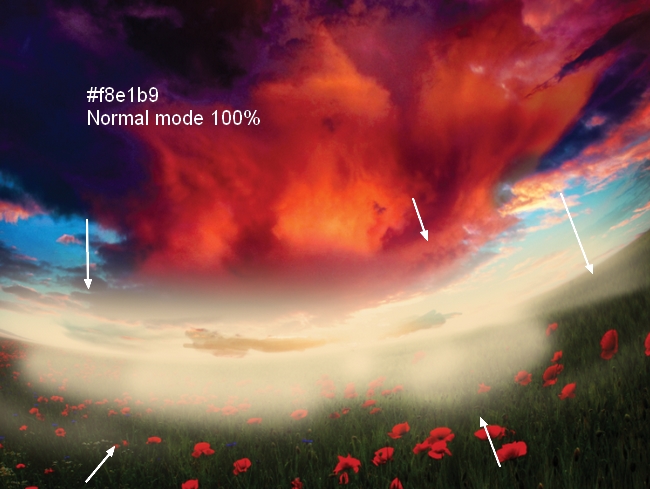
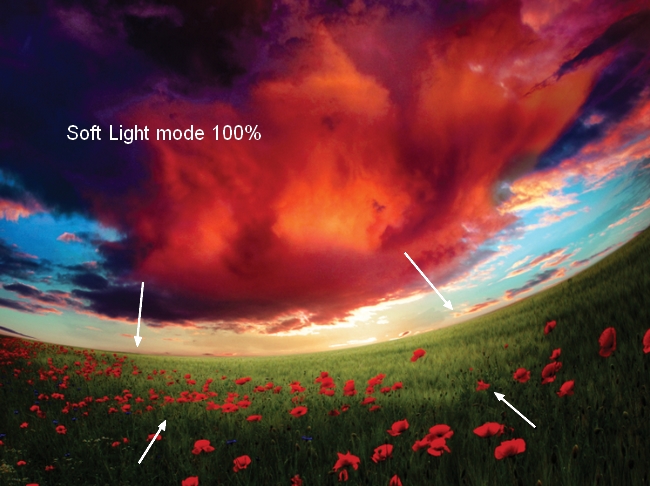
Make a new layer on the top. Use a soft brush with the color #f8e1b9 to paint over the field and the part where the field meets the horizon. Change this layer mode to Soft Light 100%:
Step 13
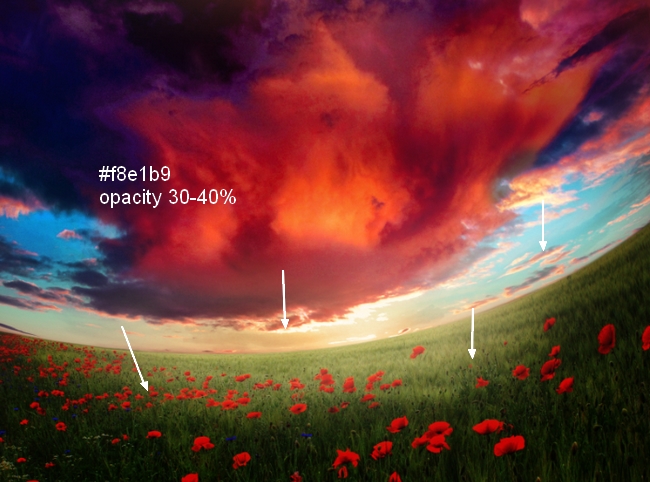
On a new layer, use the same brush but lower the opacity to 30-40% to paint over the horizon again to make a dreamy effect there:
Step 14
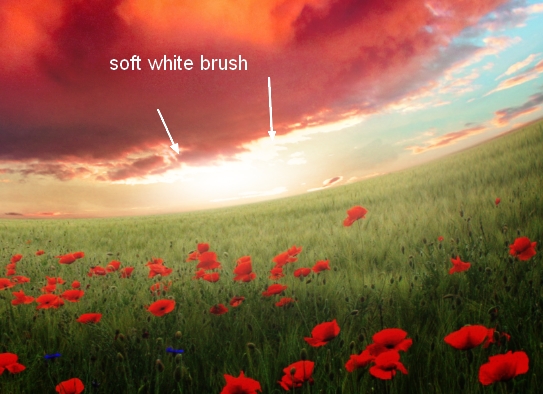
Make a new layer and use a soft white brush to paint the sun highlight :
Step 15
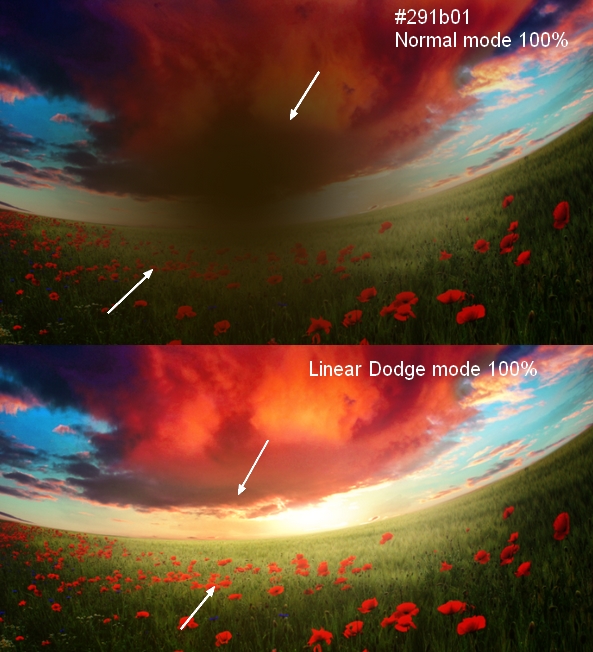
I used a new layer with a soft brush and the color #291b01 to paint more sunlight for the scene. Alter the mode to Linear Dodge 100%:
Step 16
To make the light more vibrant I used a soft brush with the color #ffc863 to paint on the middle section of the image. Change this layer mode to Soft Light 100%:

Step 17
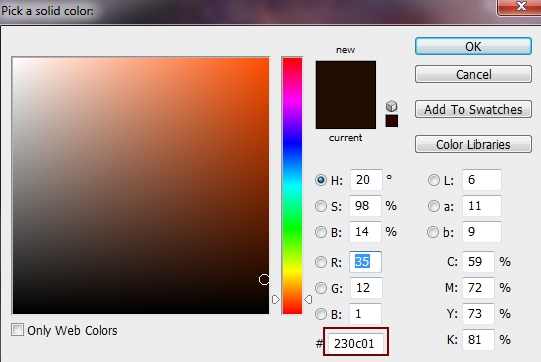
Create a Color Fill layer on the top (Layer > New Fill Layer > Solid Color):
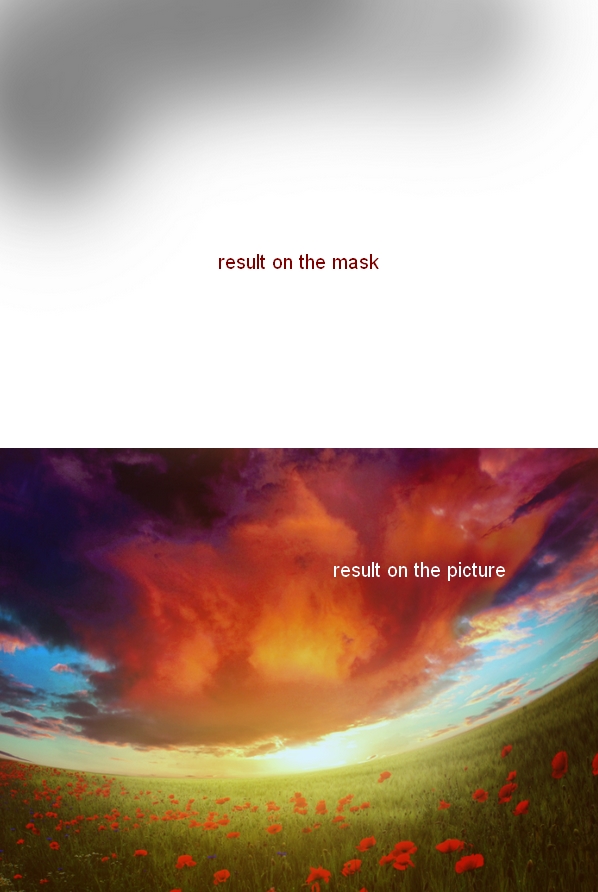
Change this layer mode to Exclusion 100%. On this layer mask use a soft black brush with the opacity about 15-20% to erase the top of the sky to reduce the magenta there:
Step 18
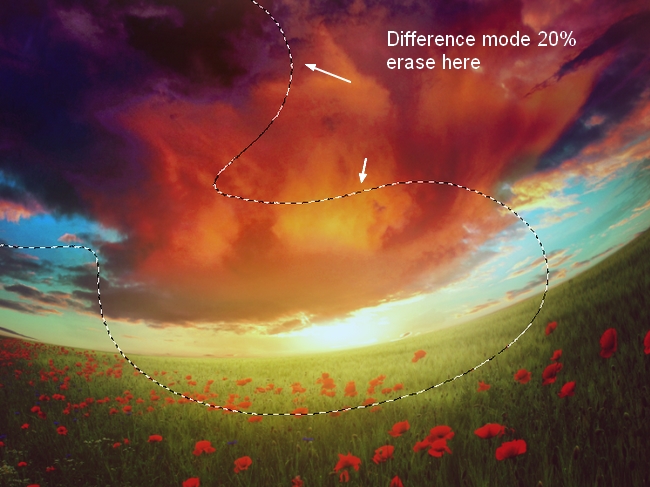
Create another Color Fill layer:
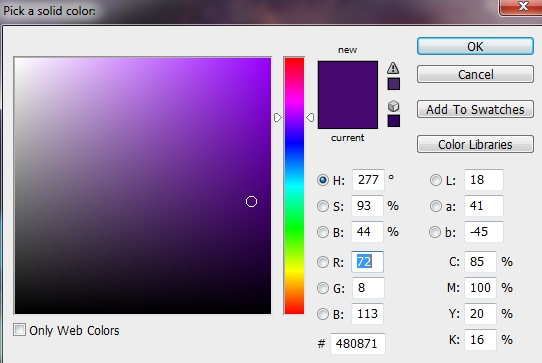
Alter the mode of this layer to Difference 20%, also use a soft black brush to erase the top left and the center of the pic as I don’t want them to be affected by this adjustment layer:
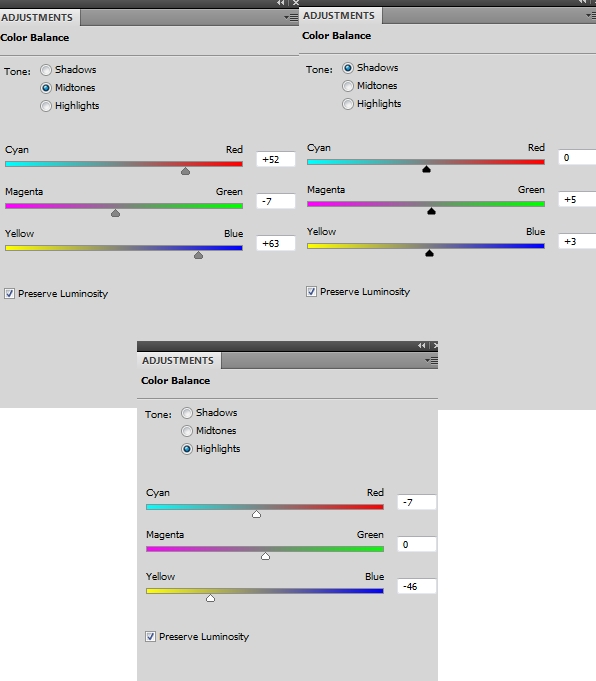
Step 19
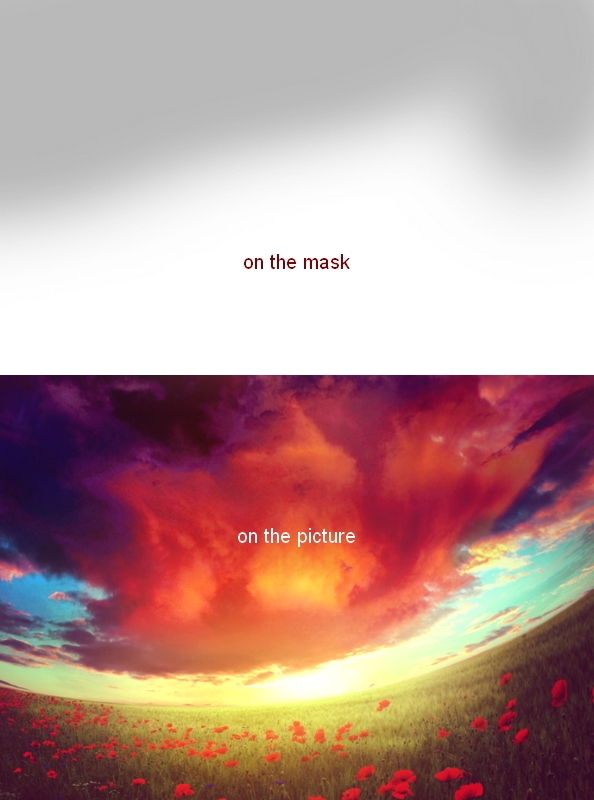
To add more dreamy effect to the scene I used Color Balance:
On this layer mask use a soft black brush with a very low opacity (10-15%) to erase gently the top:
Jenny Le
Self-taught artist from Vietnam who loves drawing and doing photo manipulation. See more of my work at http://jennyle88.deviantart.com/
Comments