
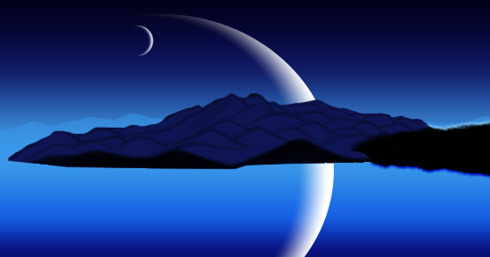
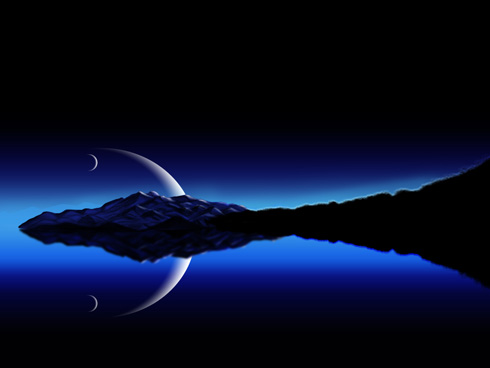
Night Sky
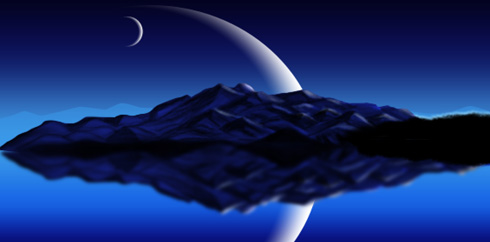
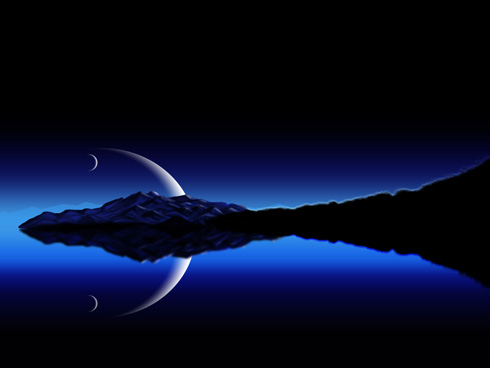
Using the Burn Tool (O), it’s possible to represent the mountains’ silhouettes.
Continue to use the same instrument and apply another one – Dodge Tool (O) to continue picturing the mountains.
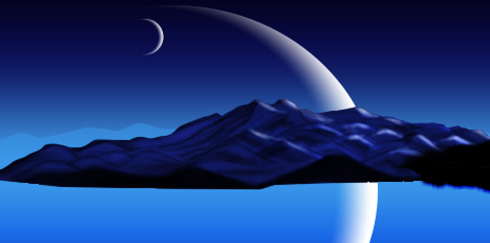
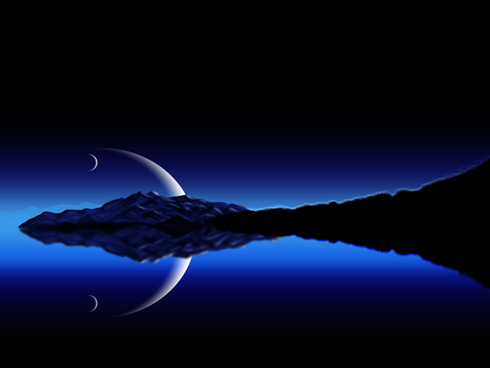
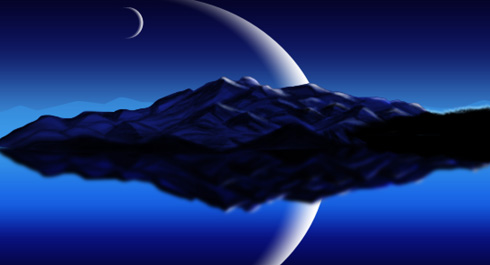
Represent now the shadows.

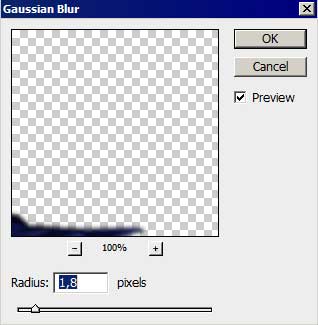
Make a copy of the mountains’ layer and select one more time the Free Transform option to turn it over and apply for it this selection – Filter>Blur>Gaussian Blur
Make a mouse click on Create new fill or adjustment layer>Curves on the lowest part of the layers’ panel.
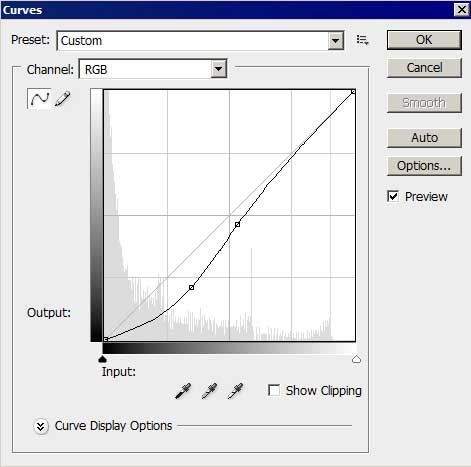
Press Alt button and make a mouse’s click between the layers of Curves effect and the layer in reflection of the mountains for the effect to be applied in the limits of the mountains’ layer.
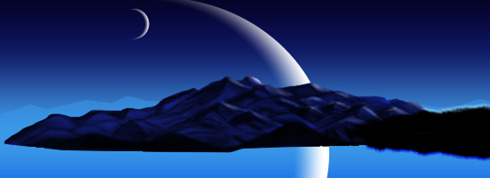
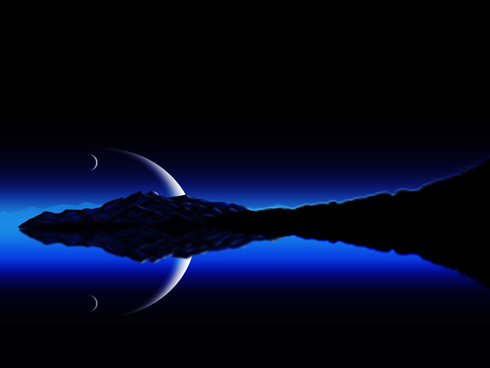
Make a copy of the last made mountains’ layer and place the layer upper than the Curves effect layer (on the layers’ panel). Use after that the Dodge Tool (O) to light up a little the mountains tops.
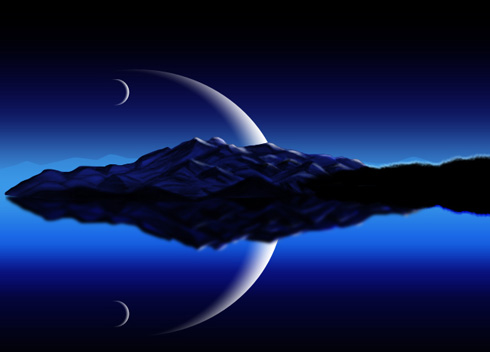
Take now the Brush Tool (B) and the color shown here: #3E9FD8 to represent the horizon’s highlight (placing this layer lower than the mountains’ layer and the layer of the black forest).
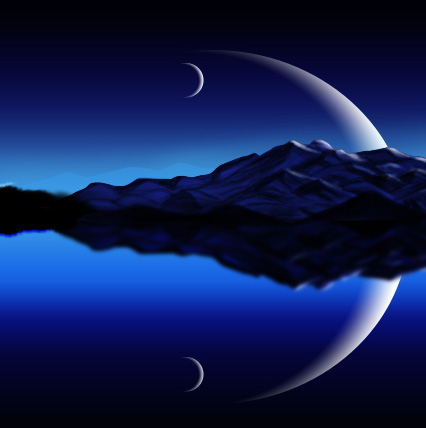
Combine in a single group both groups of black forest, make a copy of it and choose the Free Transform option to turn over the copy and to place it the way it shown below.


Comments