
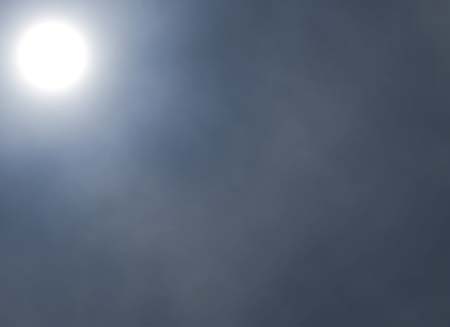
Night Sky
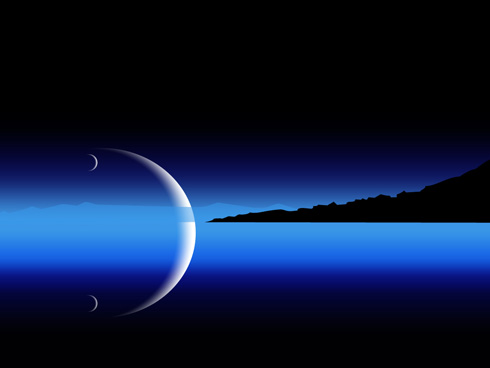
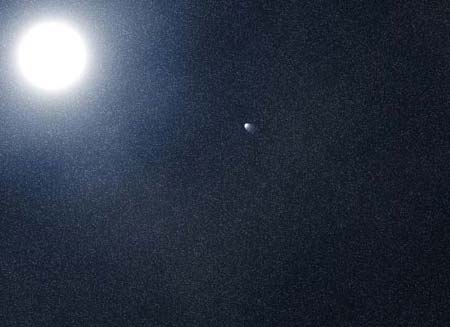
Make a copy of the last made layer and select the Free Transform option to place the copy as it is done on the next picture:
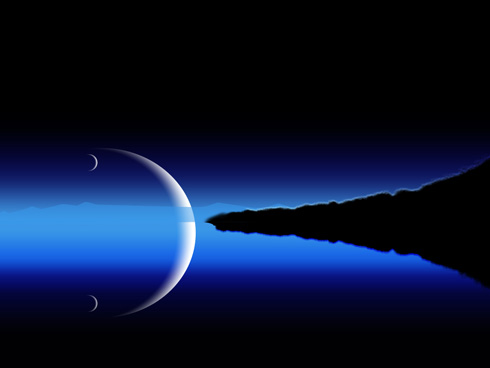
Try to divide horizontally in your mind the big planet in two parts and select after that the Pen Tool (P) to represent the layer of the remote horizon, colored with #3899EA
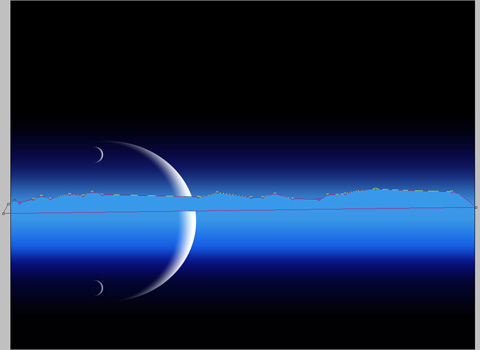
The layer’s parameters: Fill 50%

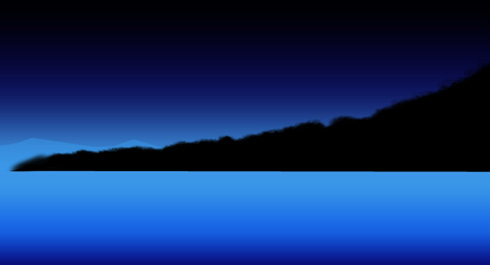
Use next the Pen Tool (P) to represent the first layer, reserved for the forest that would have the black color.
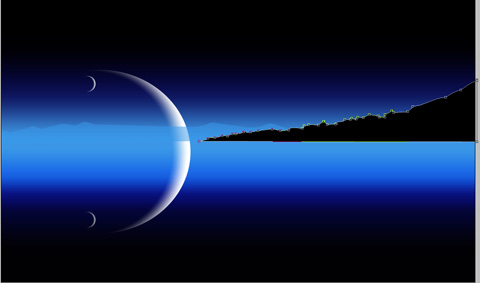
Create a new layer now and select the Brush Tool (B) out of the standard set Dry media brushes and use it on the upper forest’s edge.
The Opacity is 23% and the color is black.
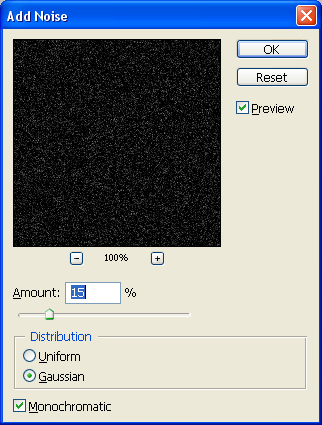
Apply for the layer also the next selection: Filter>Blur>Blur

Make a copy of the last made layer and change the color on white. Use the Free Transform selection to lift a little the copied layer. Next use the same brush, but this time of white color to make several patches along the upper layer’s edge. Place this layer lower than the previous one on the layers’ panel.
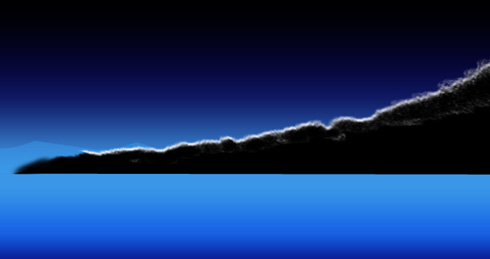
The layer’s parameters: Blending mode-Soft light
Combine in a group all the layers composing the black forest’s silhouette (press on Ctrl button to mark out the necessary layer and keep the left mouse’s button pressed when taking down the marked layers on Create a new group option).
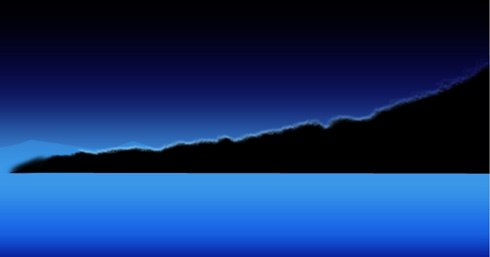
Make a copy now of the last made group and select the Free Transform option to turn it over and place it the way it is shown on the picture. Move off the copied group the brush’s layer of white color and make a copy of the first brush’s black layer. Use next the Free Transform option again to pull it down, applying for it the layer’s parameter shown here: Blending mode-Overlay
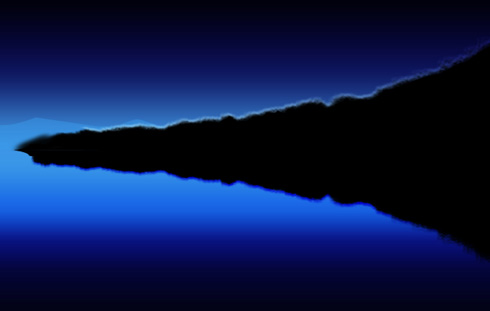
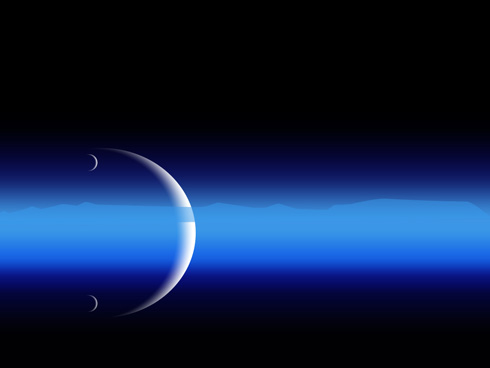
Create a new layer and use on it a standard brush to represent the primary layer reserved for the mountains’ range on the horizon. The color in this case is #0E1552
Place this layer lower than the black forest’s layers.


Comments