
Luxurious Hotel
Hi! This lesson I’ll tell you how to create a very simple Header for the site. So, let’s begin!
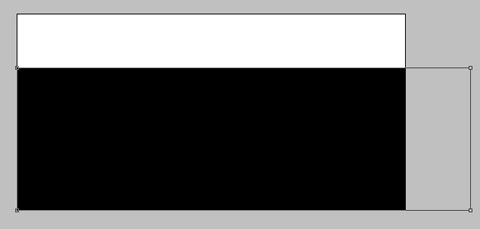
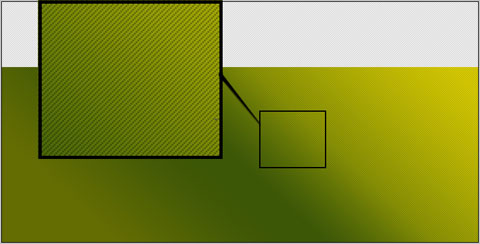
Open the Photoshop and create a new file with 768×387 px. Choose now the instrument  to represent a rectangle (it just must get outside of the working territory, like it is indicated in the next image).
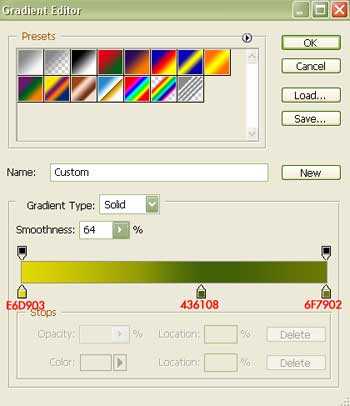
This space is reserved for the picture and the menu, but firstly we have to apply Gradient Overlay in the Blending Options. Set the same colors from the next picture.
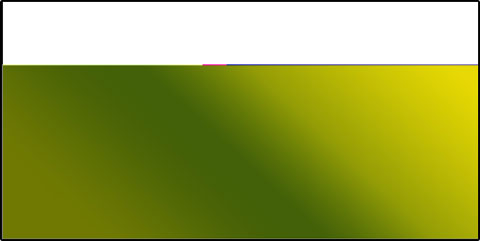
As a result we must get such a Gradient:

Create now one more file with 3×3 px with a transparent background. Choose the following instrument  to insert three dots along the diagonal, like it is shown below:

Choose Define Pattern from Edit menu and you’ll get a window where you should click OK.
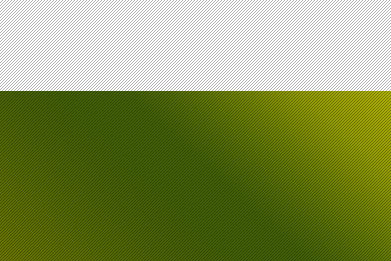
Create a new layer now and place it above the gradient’s layer.
Open Edit menu again and choose Fill or just click on the SHIFT+F5.
In the Custom Pattern menu you should choose a pattern with our 3 px that we’ve created it recently. Click OK and the new layer we’ll get the same texture, as you may see below.
Close by it looks like this:
Comments