
Illustrated City
Fill 0% on the layers.
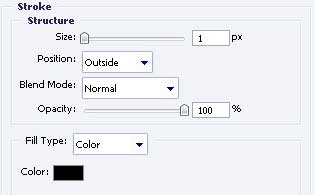
Blending Options-Stroke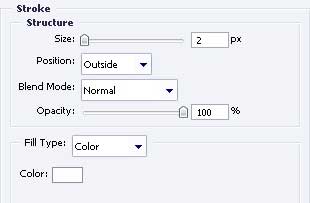
Apply again the already known instrument  and draw another circle of white color, like the next one.
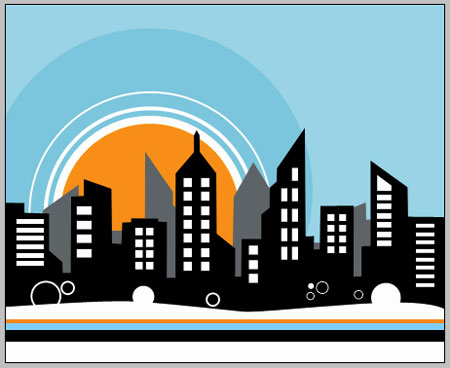
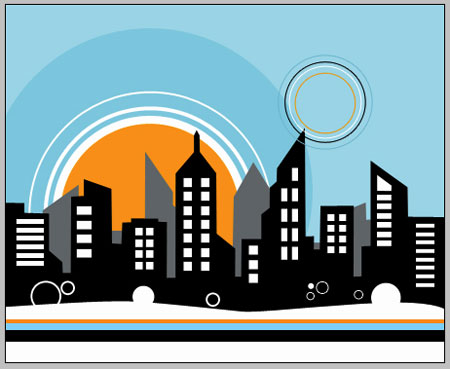
Further we’ll picture several circles that will be merged in a group later.
Apply this instrument again to picture a circle with the demonstrated parameters.

Fill 0% on the layers.
Blending Options-Stroke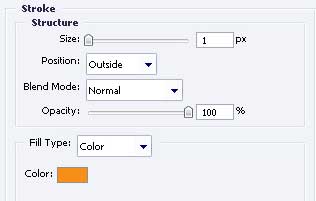

Make use again of the next tool to represent another circle with the shown sizes next picture.
Fill 0% on the layers.
Blending Options-Stroke

Take the next instrument to represent another circle. The sizes are the same with those form the next picture.

Fill 0% on the layers.
Blending Options-Stroke
The same instrument will be helpful in picturing one more circle with the parameters shown below.
Fill 0% on the layers.
Blending Options-Stroke
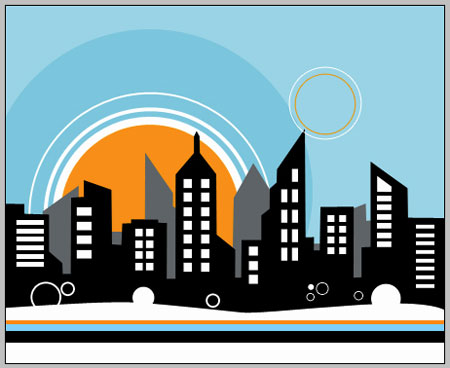
Merge now all the layers in a group, containing the recently pictured circles.
Copy the new made group 6 times and make use of the nest option Free Transform to minimize it where the picture indicates to do it and don’t forget to place out correctly the layers.
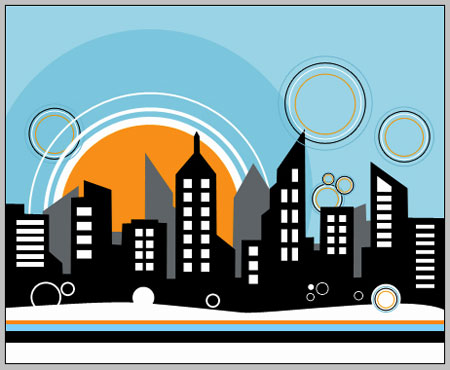
The final result!
+ practice this tutorial in the topic “Illustrated City“
Comments