
How to create holiday card with Christmas balls on the abstract background in Photoshop CS5
If you want to learn how to create a card for the holiday, then we have an awesome tutorial for you. We will learn how to create an abstract background using brushes and Pen Tool then we’ll create Christmas ball using Ellipse Tool and Layer Styles in Adobe Photoshop CS5. Read on to learn more.
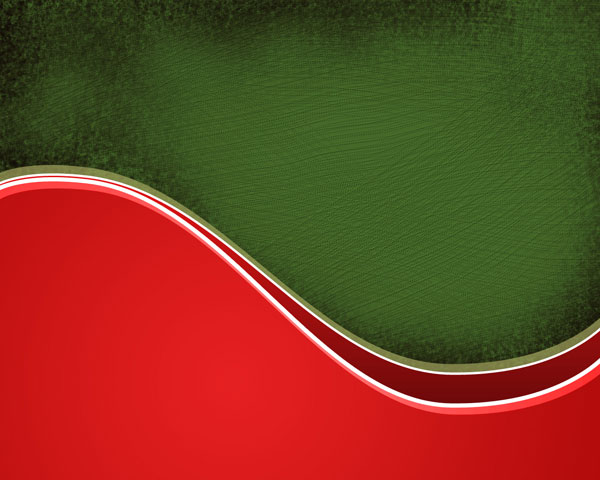
Final Image Preview

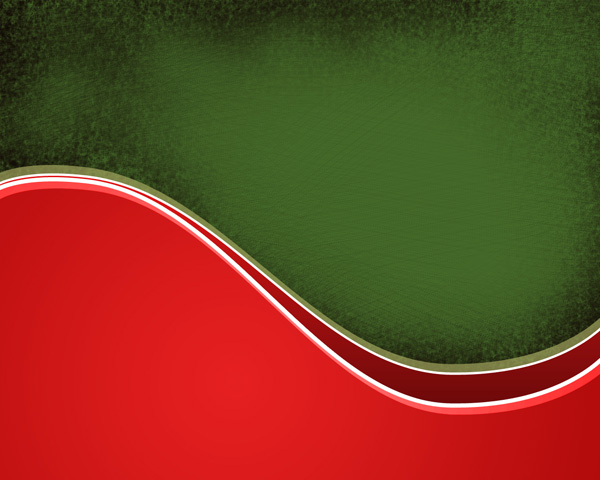
Start working by creating a new document (Ctrl+N) in Adobe Photoshop with the size 1280px by 1024px (RGB color mode) at a resolution of 72 pixels/inch. Use the Paint Bucket Tool (G) to fill with #446828 color the new background layer.

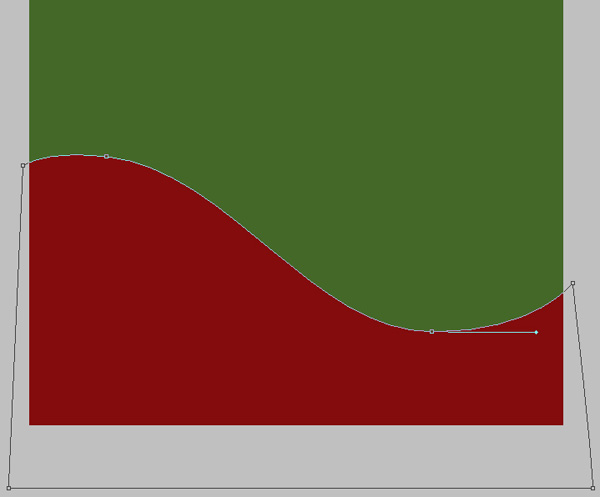
Next we’ll decorate our background, choose the Pen Tool (P), set the drawing mode on Shape Layers in Options bar and draw the next shape as shown. The Foreground color is #830C0C.

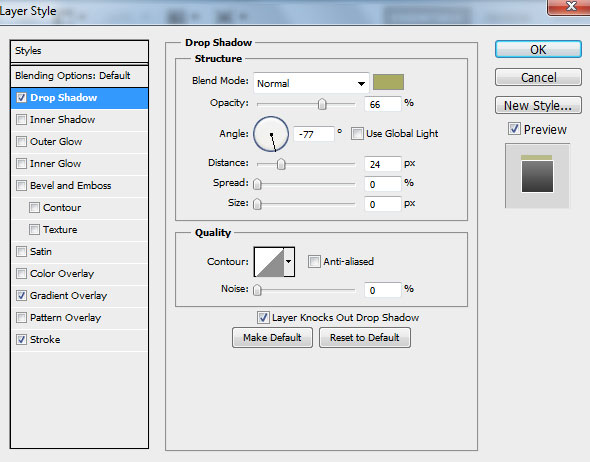
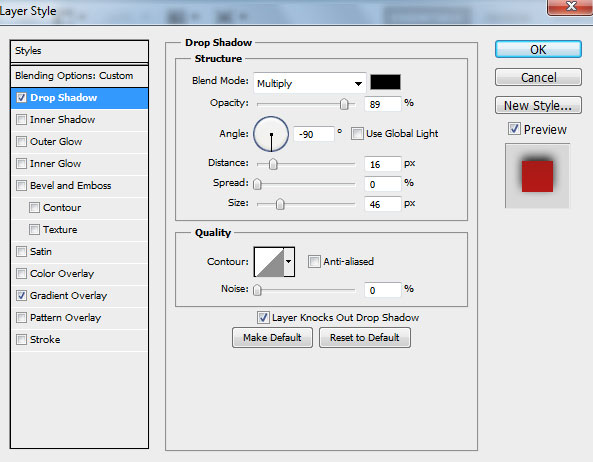
Click on Add a layer style icon from bottom part of the Layers panel and select Drop Shadow.
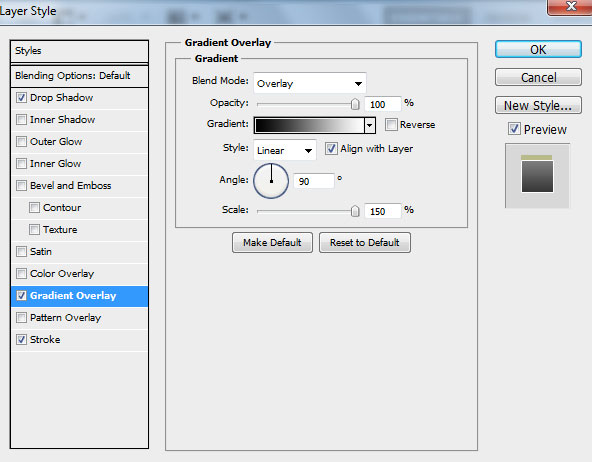
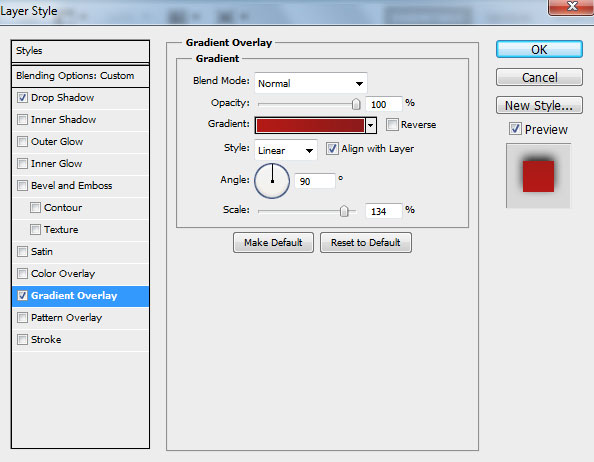
Add Gradient Overlay:
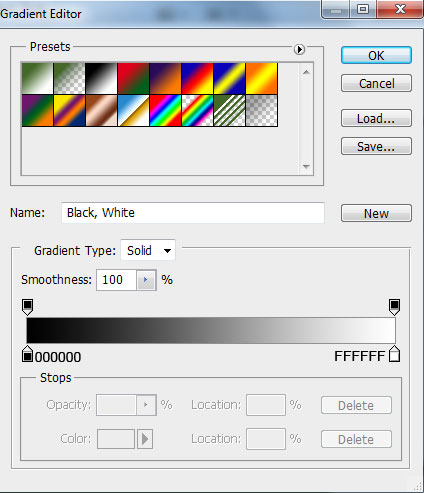
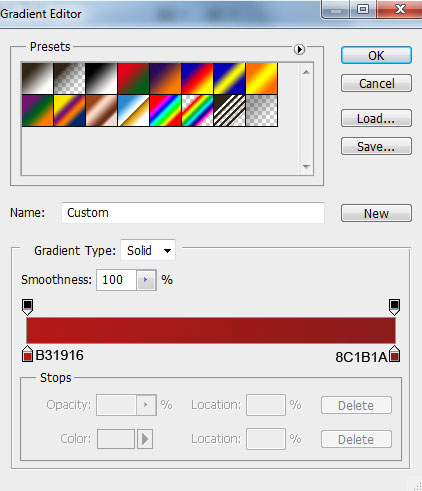
Click in the color bar to open the Gradient Editor and set the color stops as shown. Click OK to close the Gradient Editor dialog box.
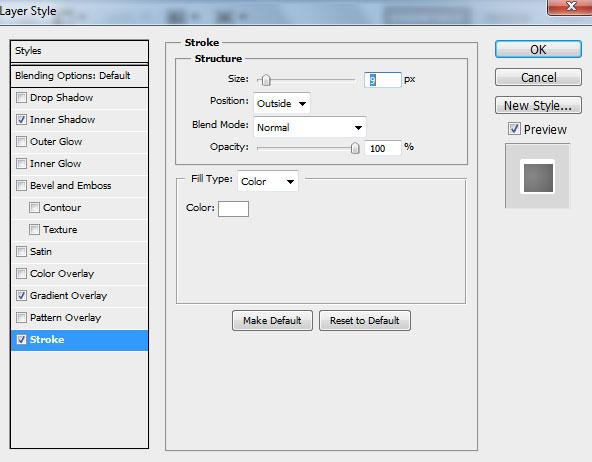
Settings for Stroke:

We’ve got the next result:

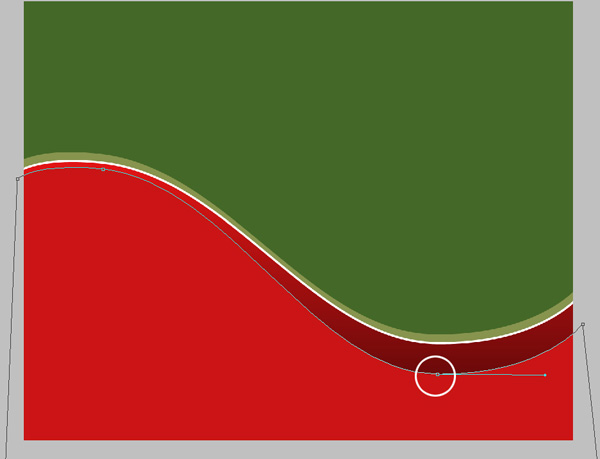
Make a copy of the last made layer and select the Free Transform (Ctrl+T) command to put lower a little the copy’s layer and select the Direct Selection Tool (A) to put lower the indicated anchor point. Choose the next color for the layer #CA1515.
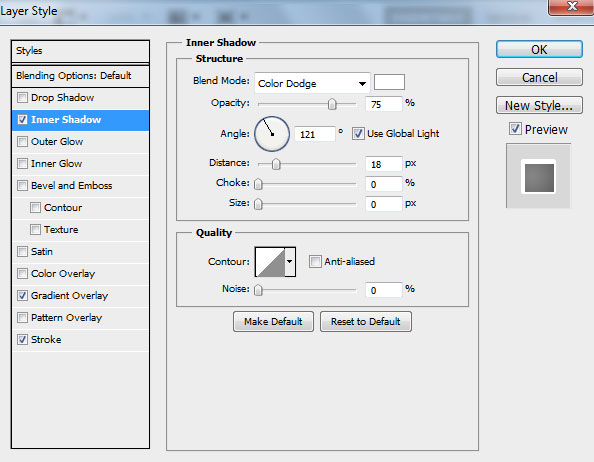
Click on Add a layer style icon from bottom part of the Layers panel and select Inner Shadow.
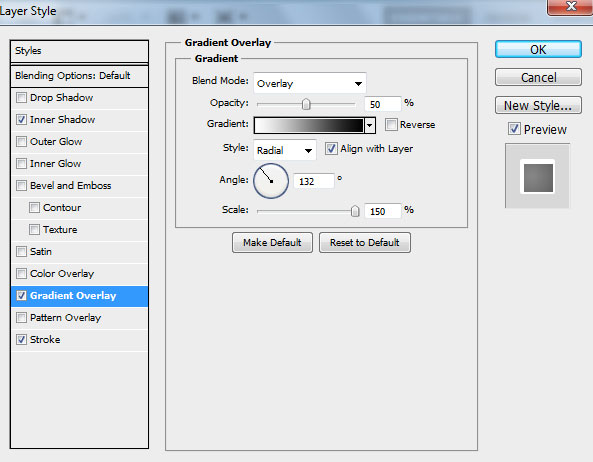
Add Gradient Overlay:
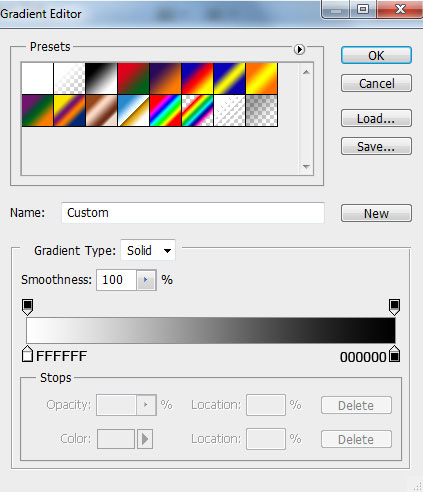
Click in the color bar to open the Gradient Editor and set the color stops as shown. Click OK to close the Gradient Editor dialog box.
Setting for Stroke:
We’ve got the next result:

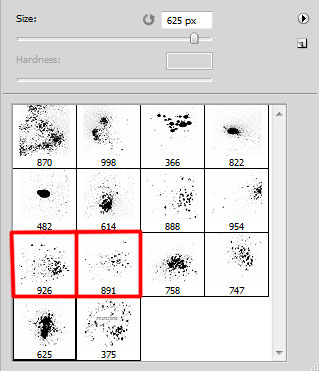
Next step we’ll download set of brushes for Adobe Photoshop, named: c130_splatter.
Create a new layer and select the next brushes from c130_splatter set, having the color #302517.
Paint using this brush and change the Opacity value to get the same effect as on the next picture. Place this layer under the layer containing two red shapes.

Set the Blending mode for this layer to Overlay.

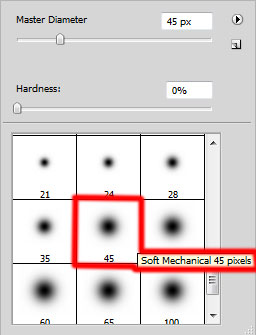
Insert the mask on the layer by choosing Add layer mask on the bottom part of the Layers panel and choose the Soft Mechanical brush of black color (set Opacity to 30% in Options bar).
Paint in the mask using this brush to hide the next zones on the layer.

Make a copy of the last made layer:

Create a new layer and select the Flat Curve Thin Stiff brush of white color.
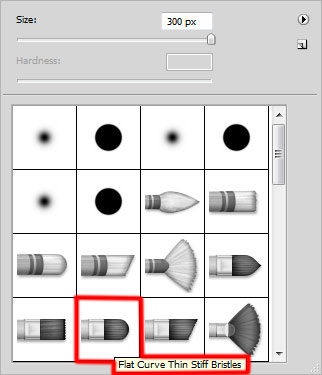
Add some scratches on the canvas as shown and place this layer under the layers with the red shapes.

Set Fill to 43% for this layer and change the Blending mode for this layer to Overlay. Click on Add a layer style icon from bottom part of the Layers panel and select Drop Shadow.

We’ve got the next result:
Insert the mask on this layer by choosing Add layer mask on the bottom part of the Layers panel and choose the Soft Mechanical brush of black color (set Opacity to 20% in Options bar). Paint in the mask ushing this brush to change the visibility of the scratches as shown.

Make a copy of the last made layer, make a righ-click on the layer mask in Layers panel and select Delete Layer Mask from the copy’s layer. Insert another mask on the layer by choosing Add layer mask on the bottom part of the Layers panel and choose the Soft Mechanical brush of black color (set Opacity to 10% in Options bar). Paint in the mask using this brush to change the visibility of the scrateches as shown:
Create a new layer and select the Soft Round brush of white color (set Opacity to 15% in Options bar).
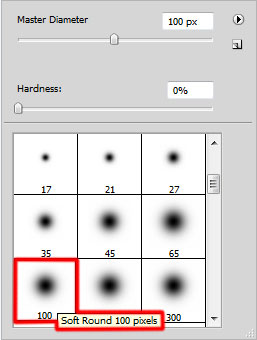
Use this brush to paint the canvas as on the next picture is shown:

Set the Blending mode for this layer to Overlay.

Now we have to represent a Christmas ball, use the Ellipse Tool (U) to draw the next ellipse.
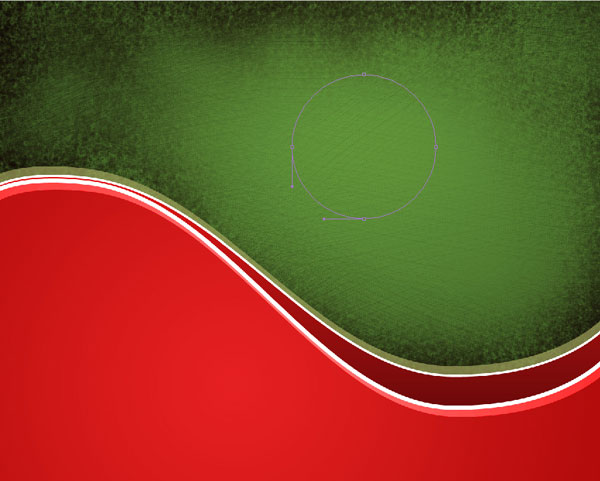
Set Fill to 0% for this layer and click on Add a layer style icon from bottom part of the Layers panel and select Drop Shadow.
Add Gradient Overlay.
Click in the color bar to open the Gradient Editor and set the color stops as shown. Click OK to close the Gradient Editor dialog box.
We’ve got the next result:

Page: 1 2
Comments