Showcase and discover digital art at yex

Follow Design Stacks

Subscribe to our free newsletter to get all our latest tutorials and articles delivered directly to your inbox!

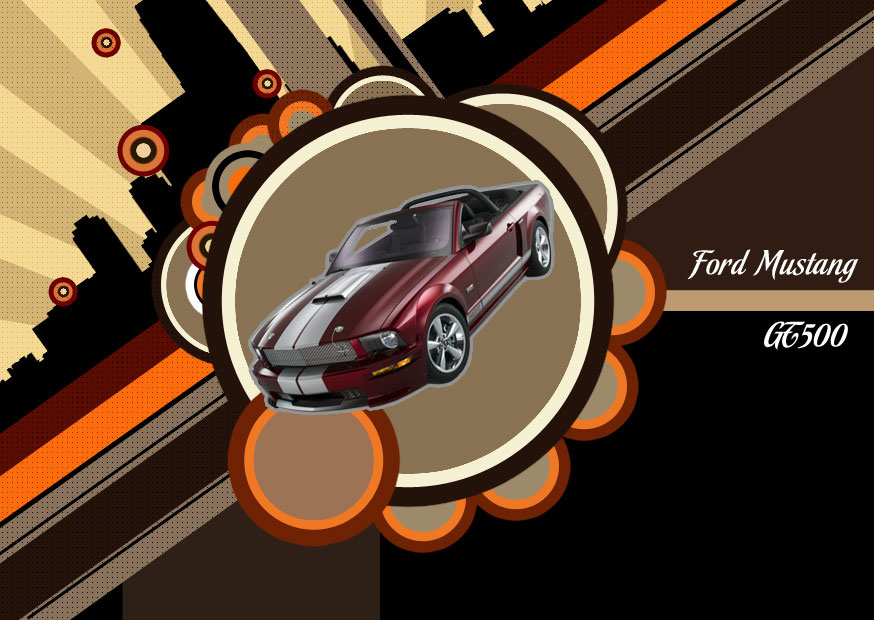
Ford Mustang GT500 – Abstract design

The layer’s parameters: Blending mode-Overlay

Create Ford Mustang GT 500 - Abstract design in Photoshop CS3

Make a mouse click on the same layer on Add a mask solution situated on the bottom part of the layer’s palette and using a standard brush of black color, try to erase the texture’s parts we don’t need.

Create Ford Mustang GT 500 - Abstract design in Photoshop CS3

Create Ford Mustang GT 500 - Abstract design in Photoshop CS3

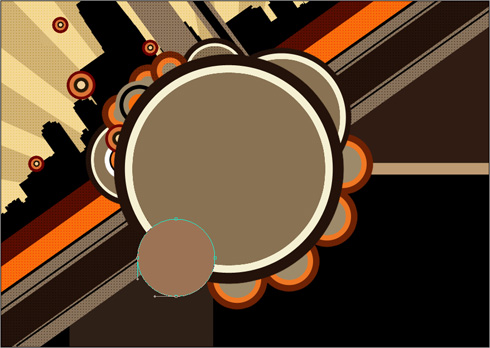
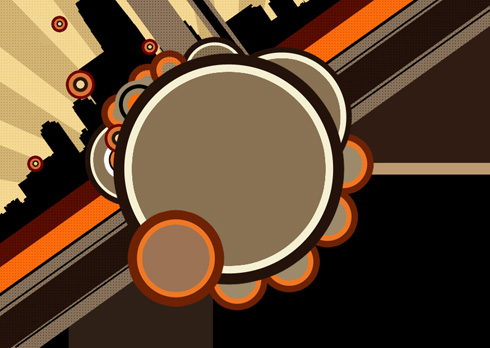
Take the Ellipse Tool (U) to draw one more circle, colored with #9C7355

Create Ford Mustang GT 500 - Abstract design in Photoshop CS3

The layer’s parameters: Blending Options>Outer Glow

Create Ford Mustang GT 500 - Abstract design in Photoshop CS3

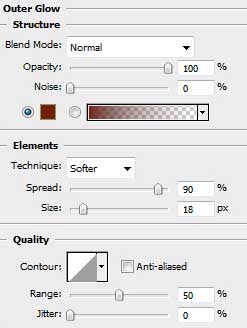
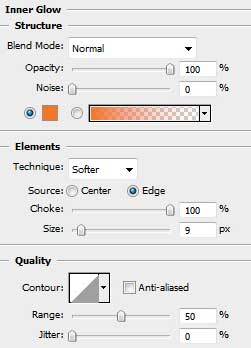
Blending Options>Inner Glow

Create Ford Mustang GT 500 - Abstract design in Photoshop CS3

Create Ford Mustang GT 500 - Abstract design in Photoshop CS3

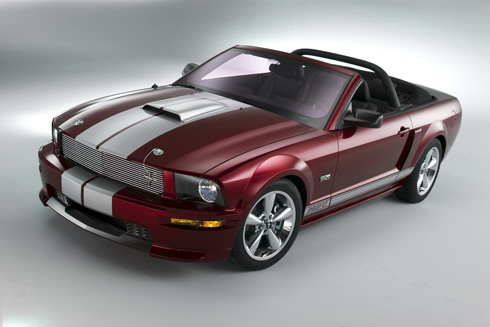
Now we have to find in Internet a photo containing a Mustang car.

Create Ford Mustang GT 500 - Abstract design in Photoshop CS3

Cut out the car.

Create Ford Mustang GT 500 - Abstract design in Photoshop CS3

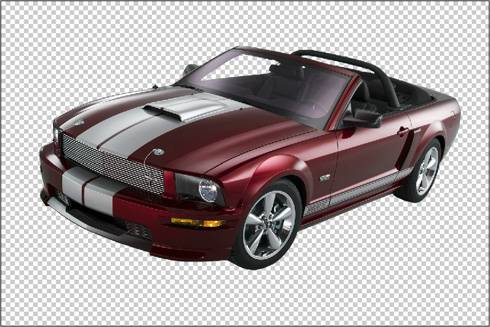
Insert it on our basic picture, changing the car’s sizes with Free Transform selection.

Create Ford Mustang GT 500 - Abstract design in Photoshop CS3

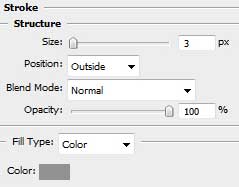
Set the next shown parameters for the layer containing the car: Blending Options>Stroke

Create Ford Mustang GT 500 - Abstract design in Photoshop CS3

Create Ford Mustang GT 500 - Abstract design in Photoshop CS3

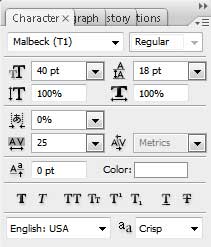
It’s time to introduce on our picture the car’s name, keeping the demands from the next demonstrated table:

Create Ford Mustang GT 500 - Abstract design in Photoshop CS3

Create Ford Mustang GT 500 - Abstract design in Photoshop CS3

Finished!

View full size here.

Page: 1 2 3 4 5

Comments