
Ford Mustang GT500 – Abstract design
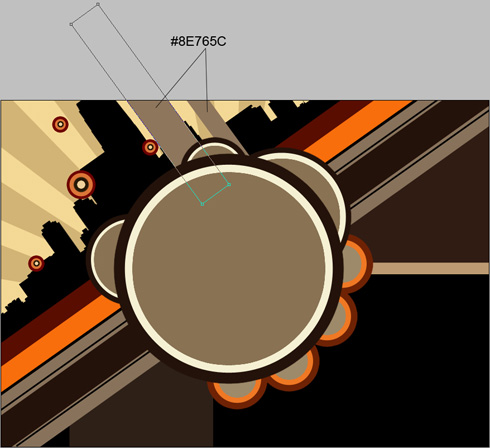
Make three copies of the layer containing the circle and choose again Free Transform option to place the copies as below.

Choose once again the Ellipse Tool (U) to draw an element of the ornament on the city’s silhouette, as you may see on the picture from below:

The layer’s parameters: Blending Options>Gradient Overlay
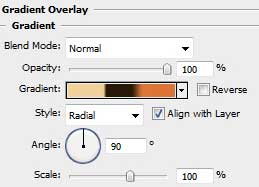

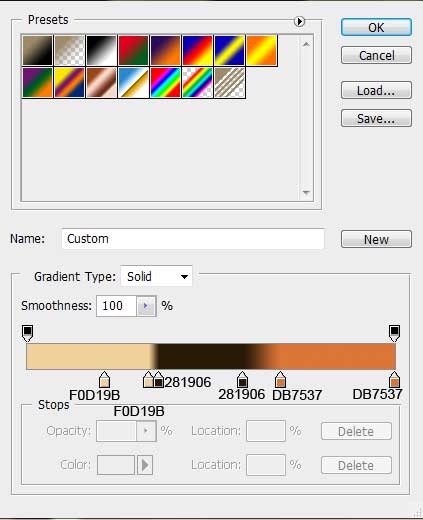
Gradient’s parameters:
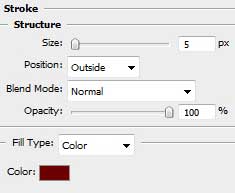
Blending Options>Stroke

Make three copies of the last made layer and using Free Transform selection, try to situate the copies the same way demonstrated next picture, changing also the copies’ sizes.

Next step includes creating two small lines above the layer containing the city’s silhouette. This operation must be done with the Rectangle Tool (U). The Free Transform option will be used for turning the elements around. The layers with the lines should be placed lower than the layer containing the big circle and the layers containing the attached circles to the biggest one.
Applying the same tool and the same method try to make another small black line which layer should be positioned lower than the layer with the big circle and the layers with the circles attached to the biggest one.
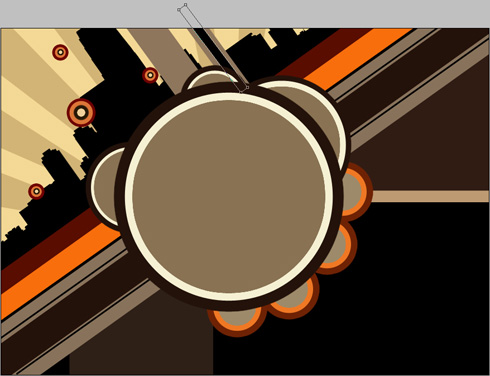
Select again the Ellipse Tool (U) to represent several small circles, placing them lower than the layer containing the big circle.

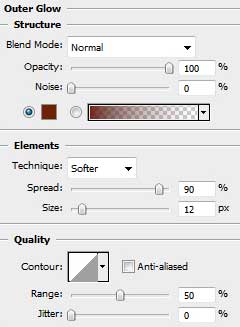
The layer’s parameters: Blending Options>Outer Glow
Blending Options>Inner Glow


Comments