
Ford Mustang GT500 – Abstract design
Make two copies of the layer containing the newly made circle and choose the Free Transform option to situate the copies as it is demonstrated next picture.

Continue drawing the circles. The layer’s color this time is #9D8A6A

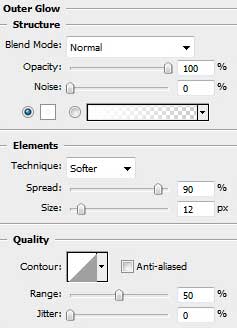
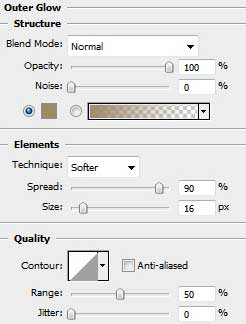
The layer’s parameters: Blending Options>Outer Glow

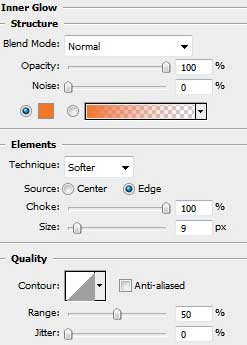
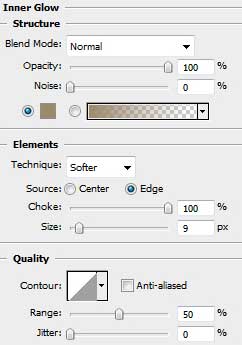
Blending Options>Inner Glow
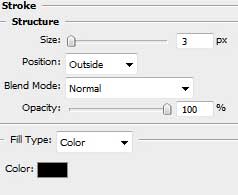
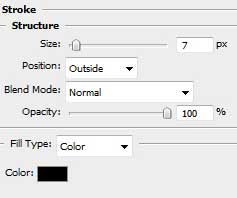
Blending Options>Stroke

Make a copy of a circle situated above the city’s silhouette and choose again the Free Transform option to place the copy lower than the layer with the big circle.
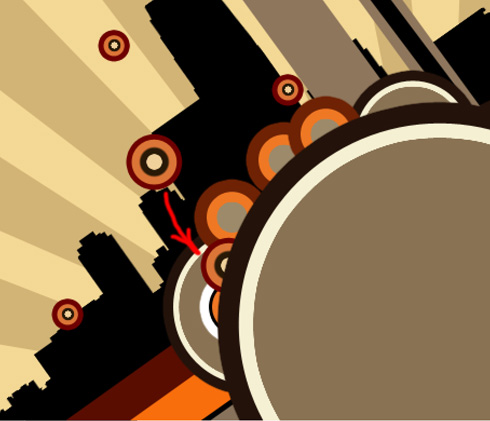
Continue representing the circles. This time choose for them the color #F86E0C

The layer’s parameters: Blending Options>Outer Glow
Blending Options>Inner Glow
Blending Options>Stroke

Next we shall create a new document of 5×5 px and 72 dpi, applying on it the Pencil Tool (B) (brush of 1 px) to represent a pattern of black color, the same way indicated next picture.

Save the pattern: Edit>Define Pattern.
Create a new layer and make a mouse click on Edit>Fill, selecting the earlier saved pattern.

Comments