
Designing Canon Digital Camera
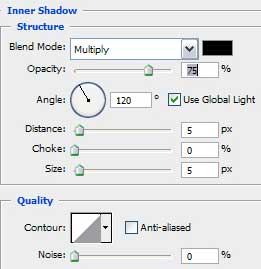
It’s necessary to represent now the inside shadow Blending Options>Inner Shadow:

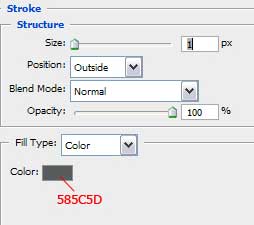
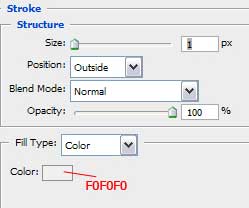
Blending Options>Stroke with the color’s code #585C5D

Represent now the glass. Make a copy of this layer and let it be of the same size. Fill 0% on the layer’s parameters:

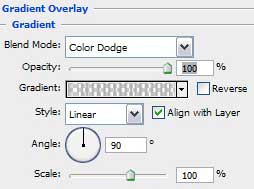
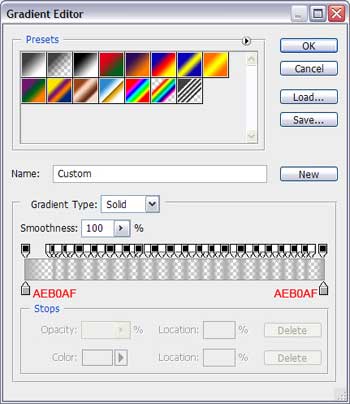
Represent the glass’ texture Blending Options>Gradient Overlay:
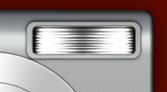
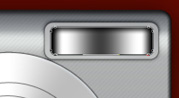
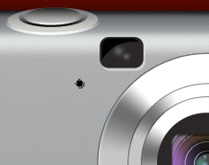
Now we should represent the window of video searcher, selecting the Rounded Rectangle Tool (U) with the color’s code #2A2727, getting a small window as the next one:

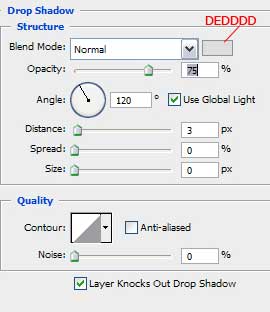
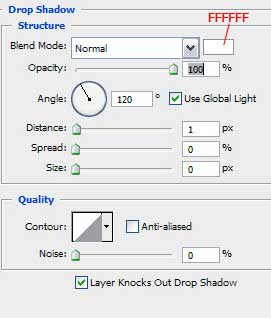
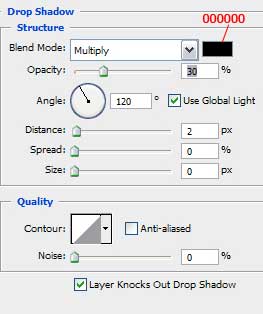
Try to make the window looking pressed a little and that is why we should select Blending Options>Drop Shadow:

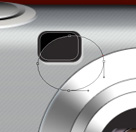
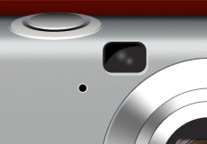
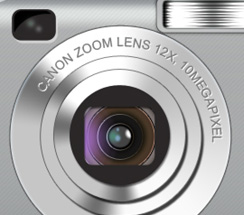
Make a copy of the window’s layer and make it look black. Choose after that the Ellipse Tool (U). Press the Alt button and hide a part of the black layer to represent the flare, as it is demonstrated next image:
Insert with the appropriate brush several colored flares and the video searcher’s window is finished.
 The Ellipse Tool (U) will be helpful in representing roundness, placing it the same way shown below:
Select Blending Options>Stroke and set the parameters from below:
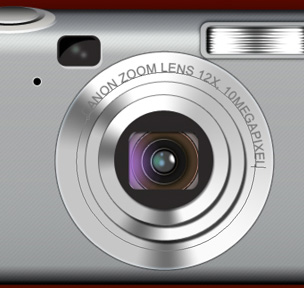
We have to insert several inscriptions now, just for the camera to be totally finished. The first one: The inscription will be situated on the objective glass. Select the Ellipse Tool (U) and represent the roundness on the objective. Next select the corresponding instrument for writing the text – Horizontal Type Tool (T). Make a click on the roundness’ edge and write the text, colored with #777676, as it is shown below:
Make the text look more in relief, so it’s necessary to select Blending Options>Drop Shadow
It’s necessary to insert the Canon logotype, because we have entitled the camera Canon. This should be the second inscription. Find the original type and place it as it is represented below:
Apply several effects on it: Blending Options>Gradient Overlay
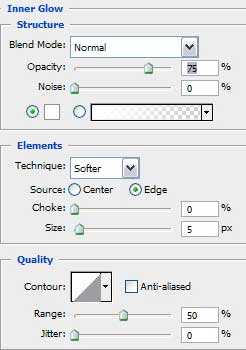
 Blending Options>Inner Glow:
The last effect should be Blending Options>Drop Shadow:
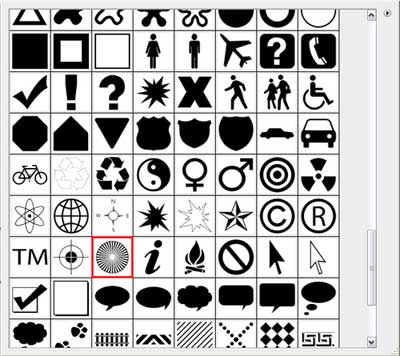
Working on photo camera came to end, but for another effect, let’s insert on the back background several rays. Find the Custom Shape Tool (U) and select the next pattern from below:
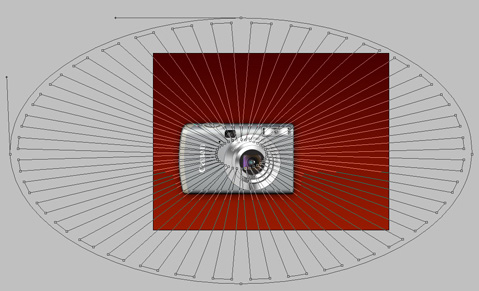
Place the pattern the way it is shown on the picture, behind the camera. Fill 0% on the layer’s parameters:
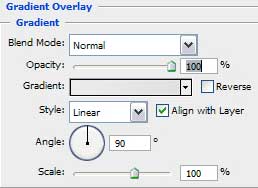
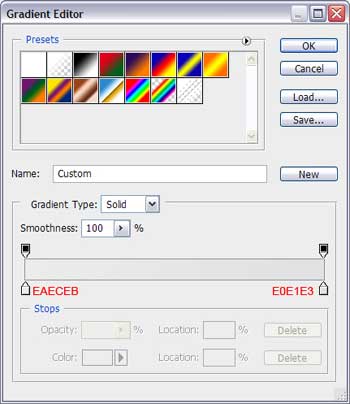
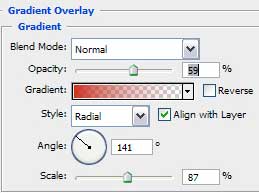
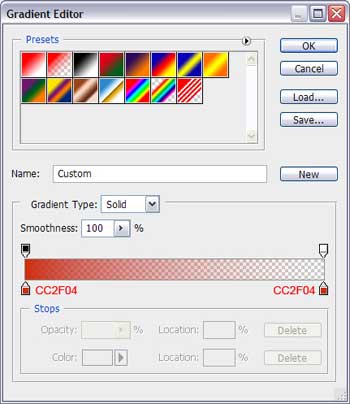
Apply now Blending Options>Gradient Overlay:
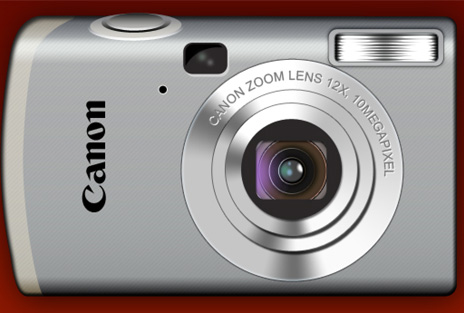
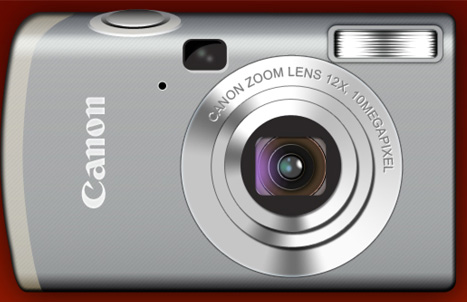
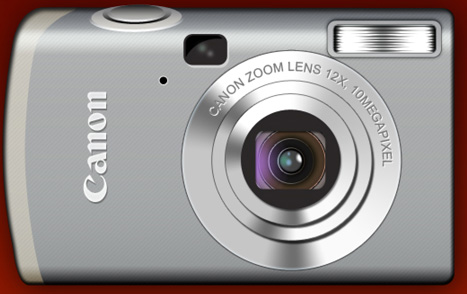
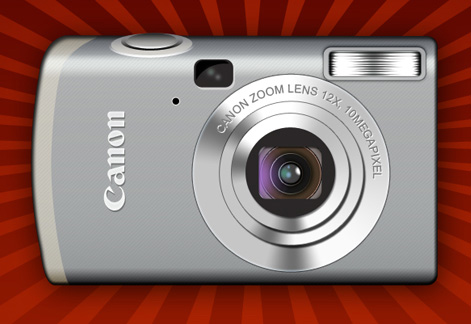
The lesson is finished! If making everything correctly, you should get such a nice camera as the next one of Canon brand.
Good Luck!
View full size here.
Comments