
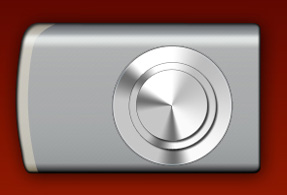
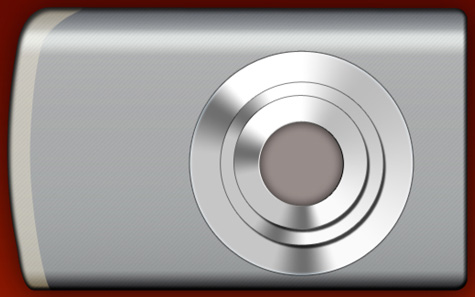
Designing Canon Digital Camera
Make a copy of the layer and shift the gradient’s colors:
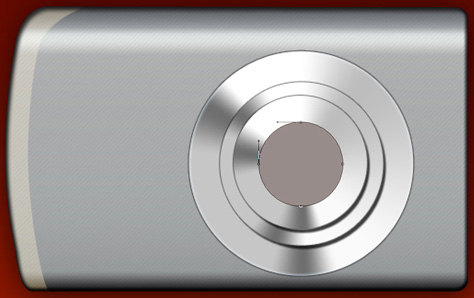
 Create another roundness inside the first one, having the color #988C89:
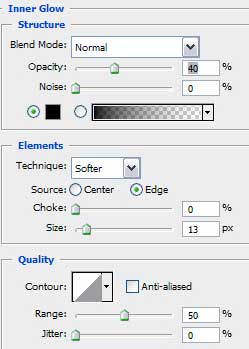
Apply for it Blending Options>Inner Glow with the next adjustments:


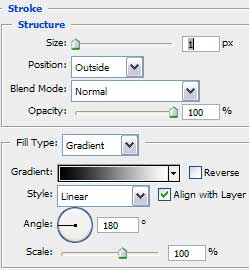
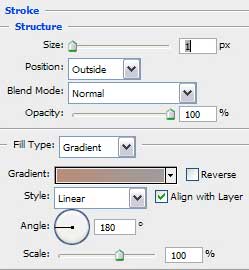
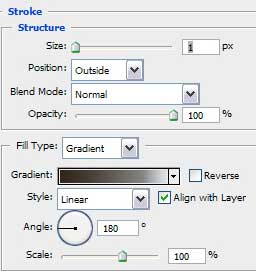
Apply also Blending Options>Stroke:
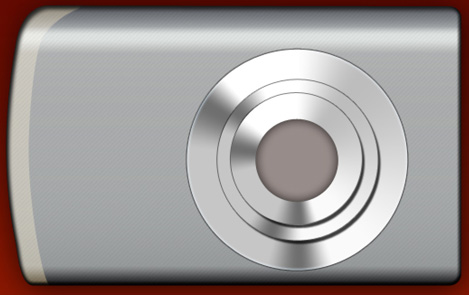
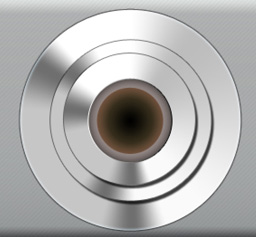
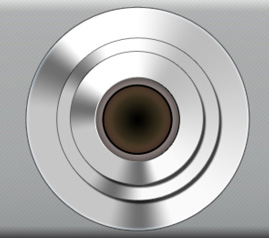
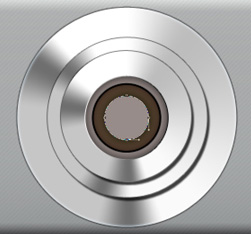
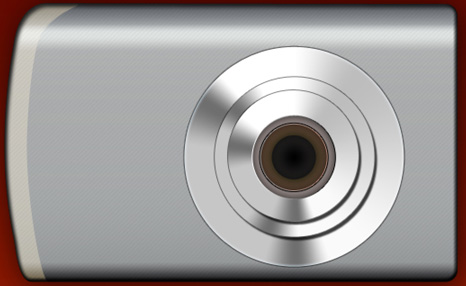
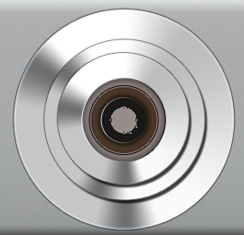
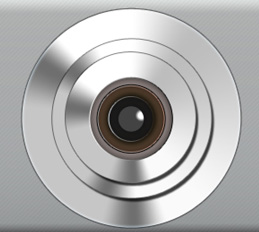
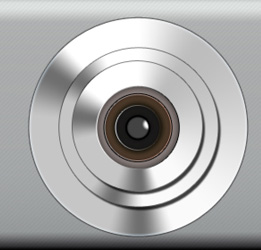
The next roundness should be represented now:
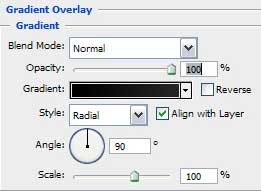
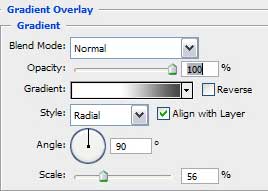
Select now Blending Options>Gradient Overlay:
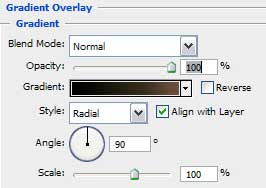
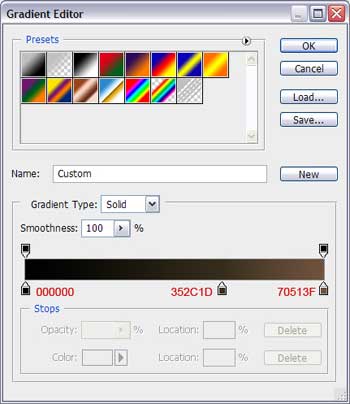
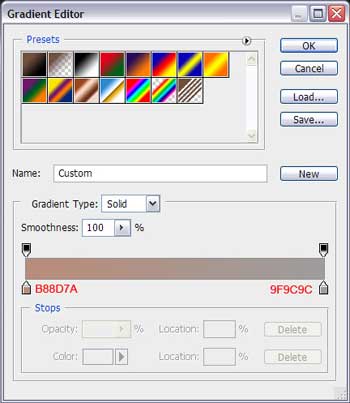
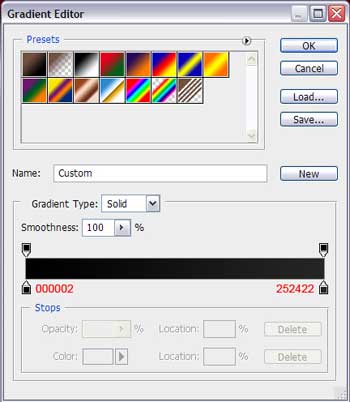
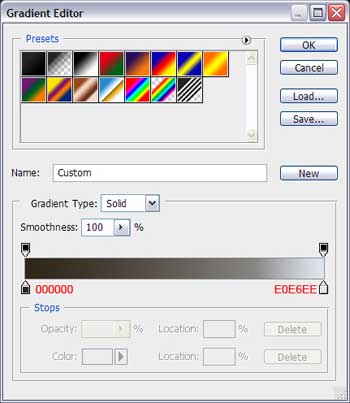
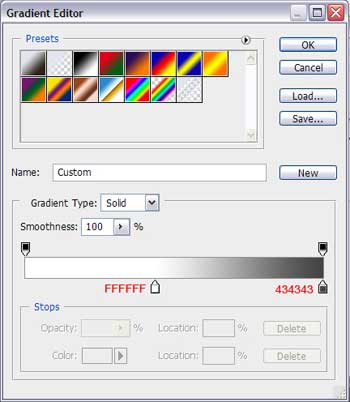
Set the gradient’s colors:
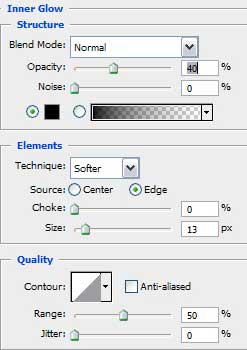
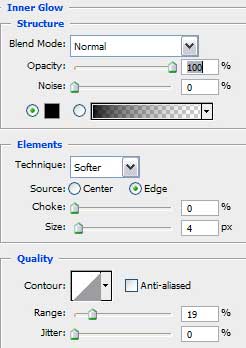
Apply now Blending Options>Inner Glow:
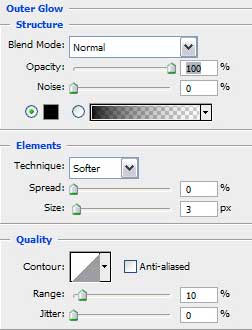
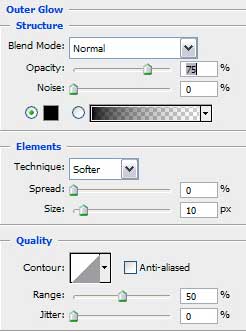
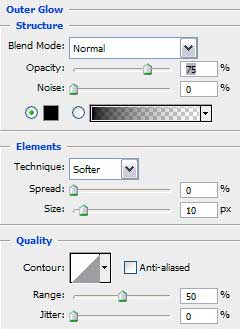
Blending Options>Outer Glow:
Blending Options>Stroke:
We have to adjust the colors, taking care of the codes indicated on the next picture:
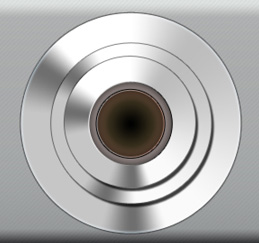
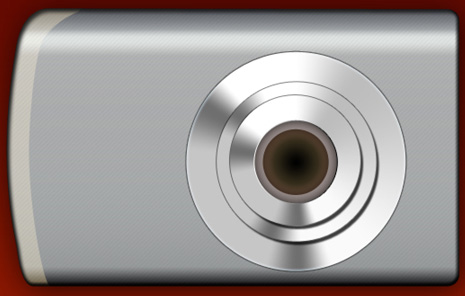
Make a copy of the roundness and make it smaller as the picture shows it below, applying for it several effects:
Blending Options>Gradient Overlay:
Blending Options>Inner Glow:
Blending Options>Outer Glow:
 Blending Options>Stroke:
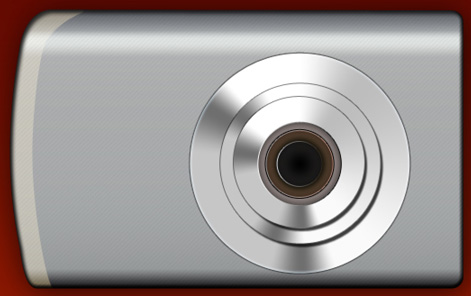
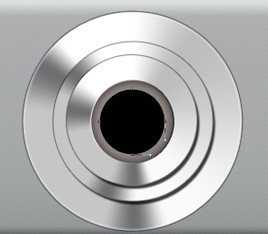
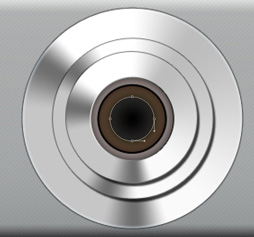
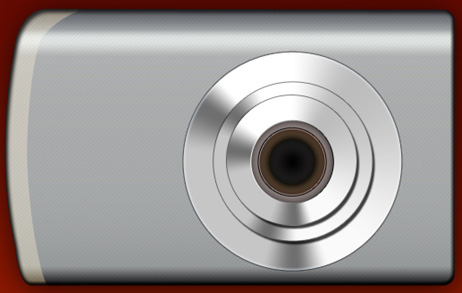
It’s time to represent another roundness that should be placed inside the previous ones:
Select Blending Options and apply the Gradient Overlay:
Blending Options>Inner Glow:
Blending Options>Outer Glow:

Comments