
Designing Canon Digital Camera
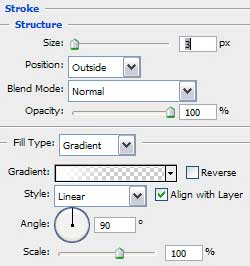
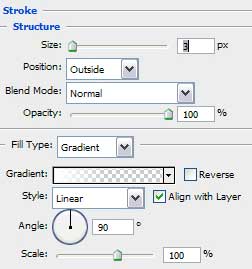
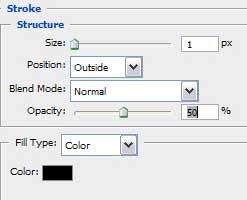
Blending Options>Stroke:

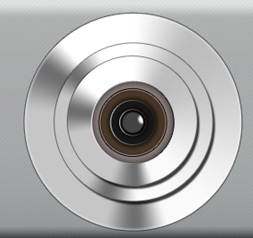
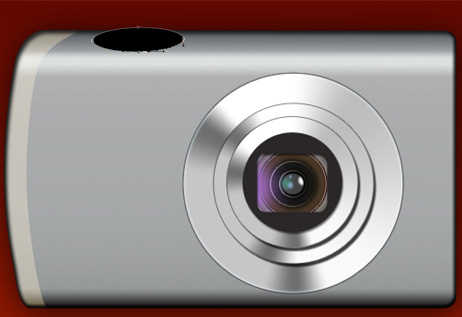
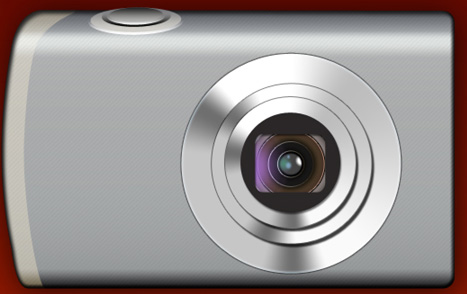
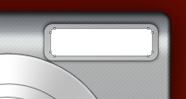
The brush will help us to introduce several flares as it is pictured below and the object glass is almost finished.
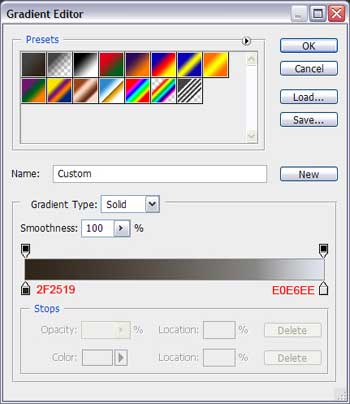
Try to represent the roundness as the picture indicates it:

Now we should choose the Rounded Rectangle Tool (U) and press Alt button to represent a rectangle coming from the central part of the roundness:

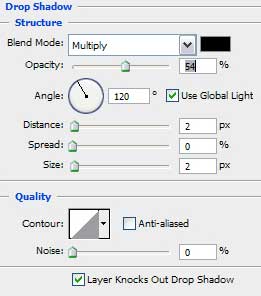
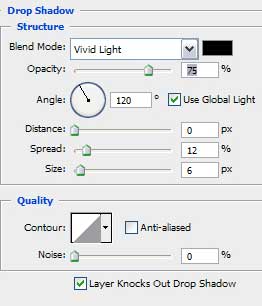
Try to make a shadow, using the Blending Options>Drop Shadow and the objective glass is finished!
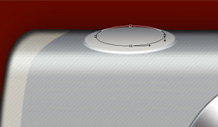
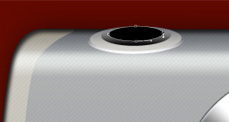
Start representing the button on our photo camera. It’s necessary to select the Ellipse Tool (U) and draw an ellipse as the picture demonstrates it:
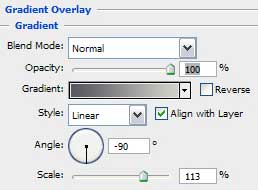
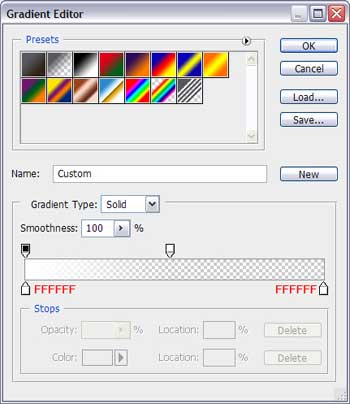
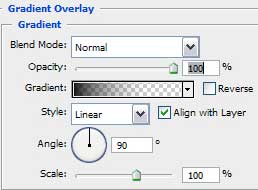
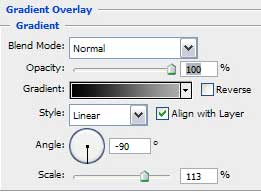
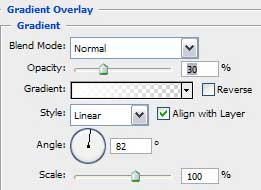
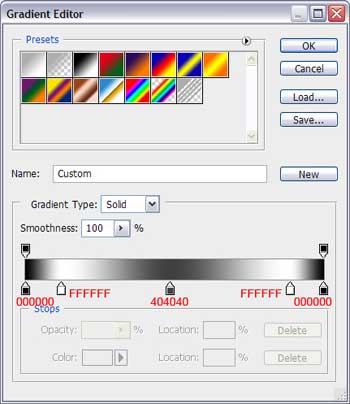
Apply Blending Options>Gradient Overlay:

Give it volume effect with Blending Options>Stroke:

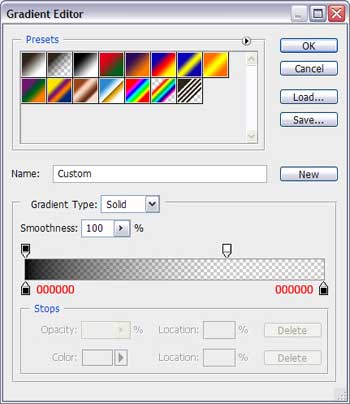
It’s time to represent now inside the first ellipse another one, setting the layer’s adjustments: Fill 0%.
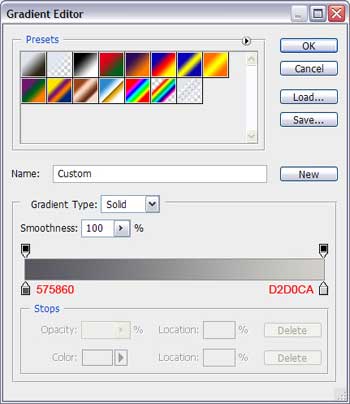
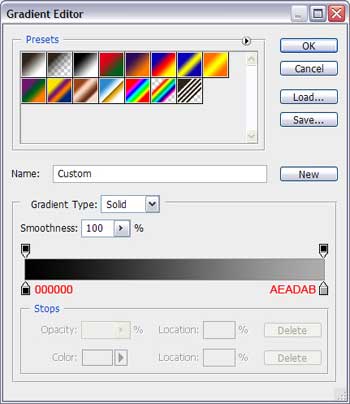
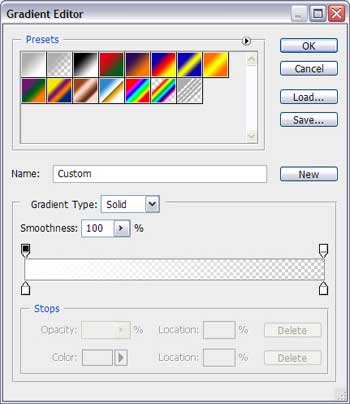
Select for it Blending Options>Gradient Overlay:

Represent one smaller ellipse, as it is pictured below:
Select for it Blending Options>Gradient Overlay:

Blending Options>Stroke:
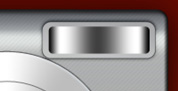
The button is finished. It’s necessary now to represent the camera’s flash effect. Take the Rounded Rectangle Tool (U) and the color #A8AAB to picture the basic element for our flash effect.
 Select Blending Options>Gradient Overlay:

The shadow may be represented with Blending Options>Drop Shadow:

Blending Options>Stroke:

The layer must be copied and minimized as it is shown below:
Select for it Blending Options>Gradient Overlay:

Comments