
Designing a Black Audio Player Interface
In this tutorial we will learn how to create a cool music player design. We will use vector shapes and layer styles.
For the beginning, let’s create a new file (File>New), having 1280×1024 px and 72 dpi.
Select then the Rectangle Tool (U) that should be used for representing the background of the picture to be on the final stage.
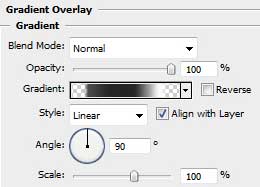
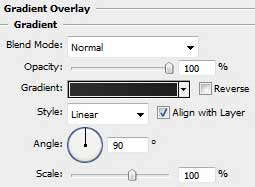
Set the next demonstrated parameters by making a mouse click on the layers’ panel, to be more exactly, on the layer we work with. Blending Options>Gradient Overlay
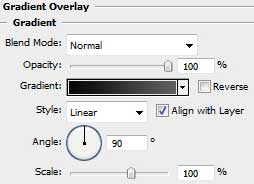

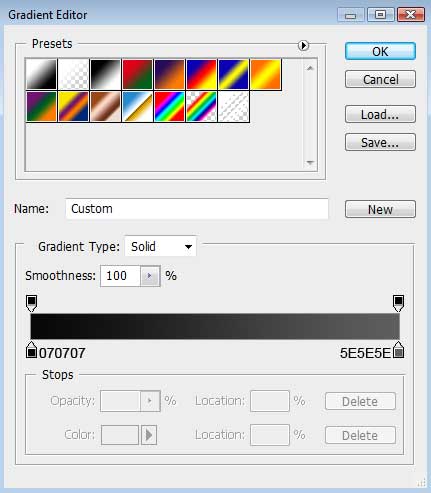
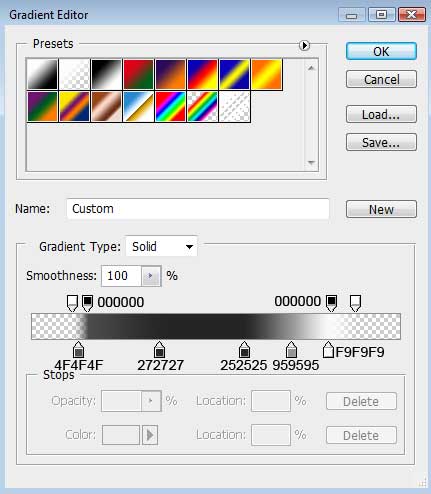
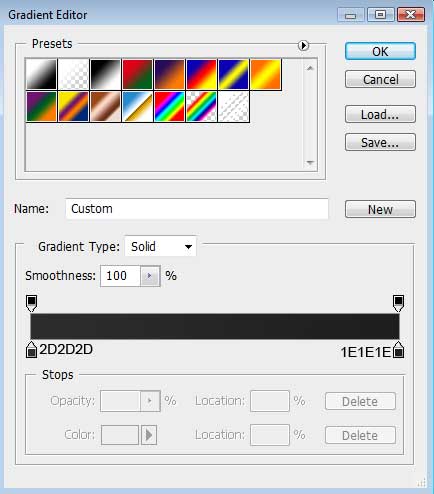
Gradient’s parameters:

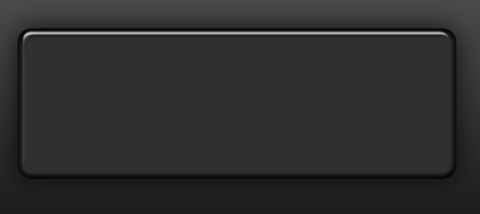
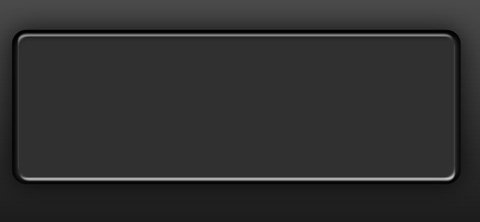
Now we should choose the Rounded Rectangle Tool (U) with a radius of 35 px to draw the primary layer of the media player’s panel. The layer’s color is #303030
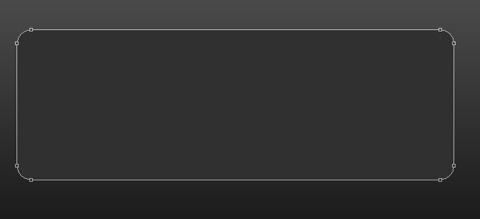
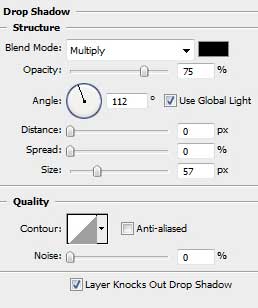
The layer’s parameters: Blending Options>Drop Shadow
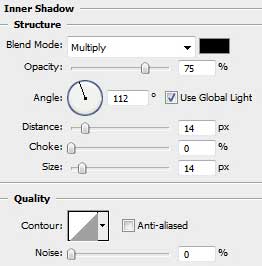
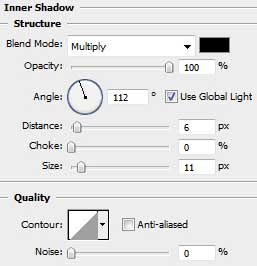
Blending Options>Inner Shadow
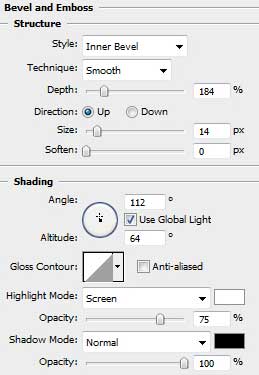
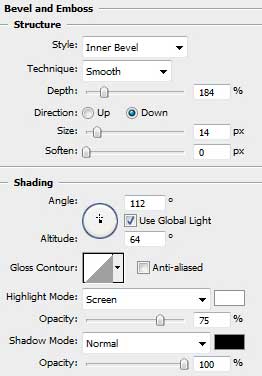
Blending Options>Bevel and Emboss
Make a copy of the last made layer and then change the copied layer’s parameters with those indicated below:
Fill 0%
Blending Options>Bevel and Emboss
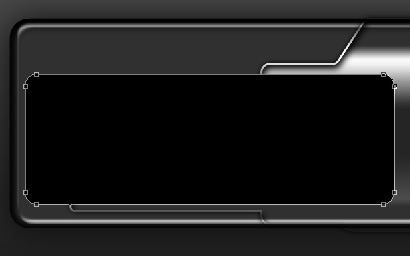
Next we shall represent the next layer belonging to the same media player. In this case we shall use the Rounded Rectangle Tool (U) and the Free Transform option for the layer’s small inclining.
The layer’s parameters: Fill 0%
Blending Options>Inner Shadow
Blending Options>Outer Glow

Blending Options>Gradient Overlay
Gradient’s parameters:
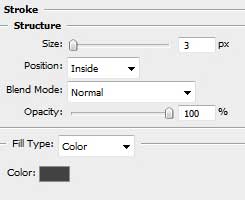
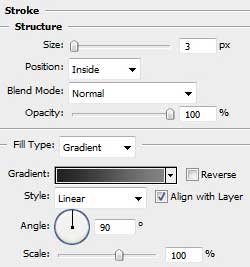
Blending Options>Stroke
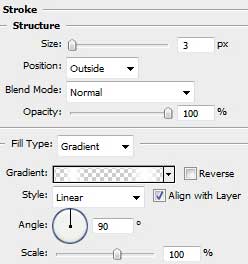
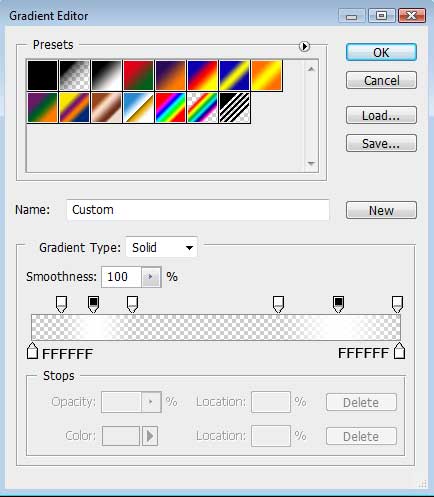
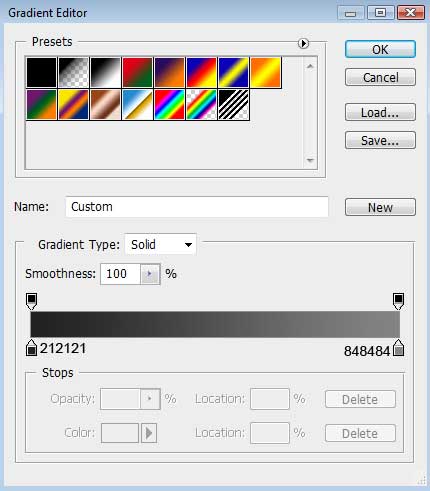
Gradient’s parameters:
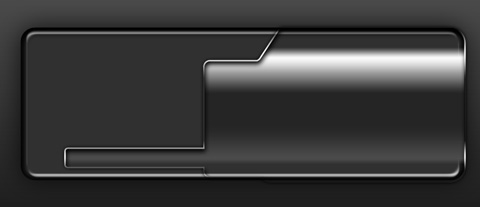
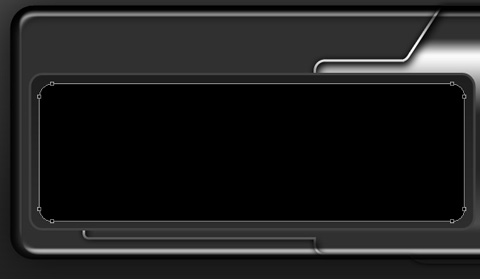
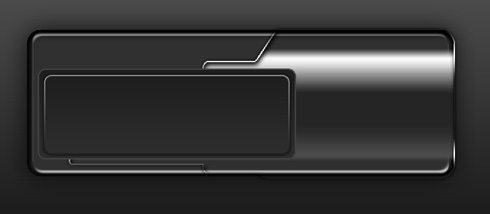
Next we shall represent the screen of the media player, applying the Rounded Rectangle Tool (U) with a radius of 15 px.
The layer’s parameters: Blending Options>Gradient Overlay
Gradient’s parameters:
Blending Options>Stroke
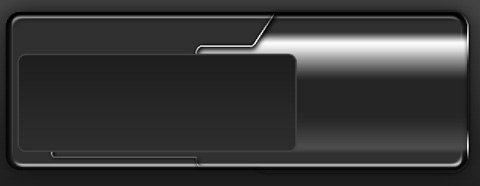
Make a copy of the recently drawn layer and choose again the Free Transform selection to make the copy smaller, placing it as the next picture indicates it. The parameters of the copy – layer should be changed with those from below:
The layer’s parameters: Blending Options>Drop Shadow

Blending Options>Gradient Overlay
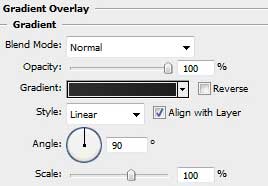
Gradient’s parameters:

Blending Options>Stroke
Gradient’s parameters:
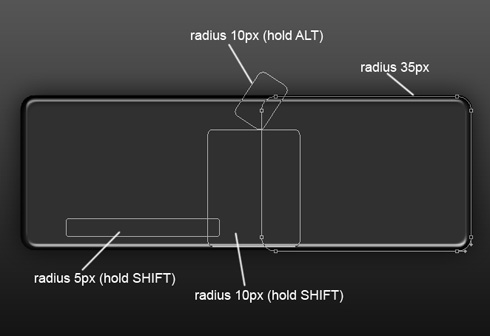
On the next stage we’ll draw the primary layer reserved for the player’s buttons. In this case we should use firstly the Ellipse Tool (U) and then press SHIFT button while using the Rounded Rectangle Tool (U) (radius 10 px) to insert several prominences on the left and right sides, as well as on the top and bottom parts. Press Alt button while using the Rectangle Tool (U) to divide the buttons on special sectors. Make the appropriate changes with the Free Transform option if necessary.
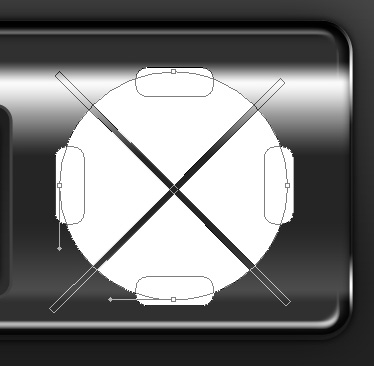
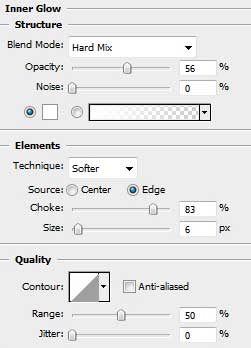
The layer’s parameters: Blending Options>Inner Glow
Blending Options>Gradient Overlay
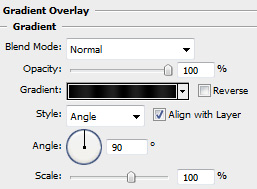
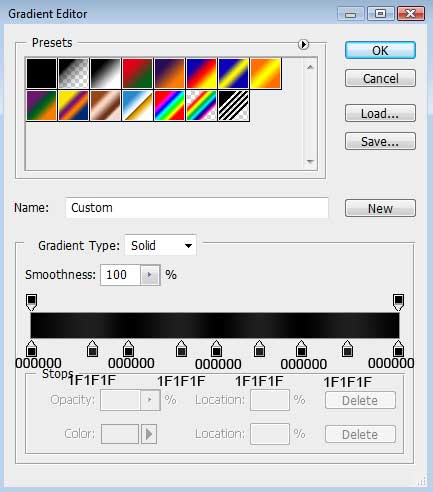
Gradient’s parameters:
Comments