
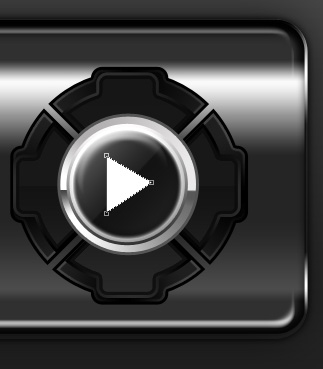
Designing a Black Audio Player Interface
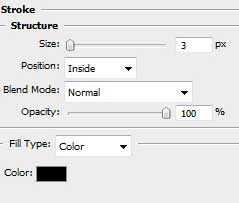
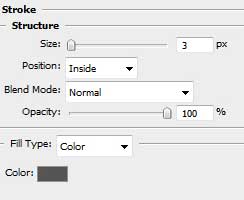
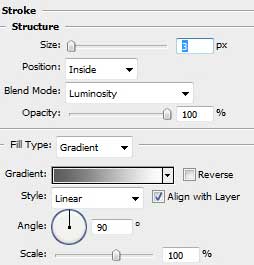
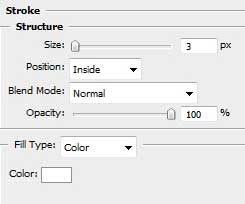
Blending Options>Stroke
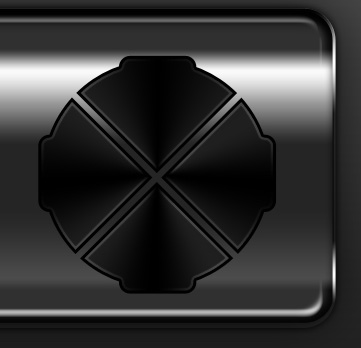
Use the same method, described above to create the next layer belonging to the buttons. The instruments applied are the same as in the previous case.
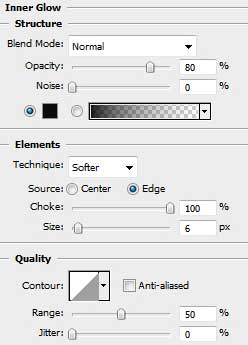
The layer’s parameters: Blending Options>Inner Glow
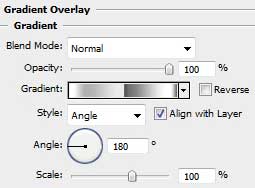
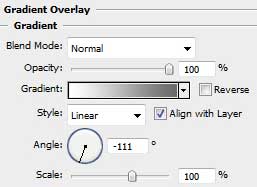
Blending Options>Gradient Overlay

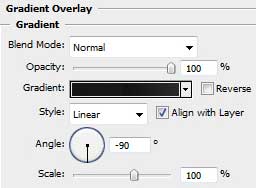
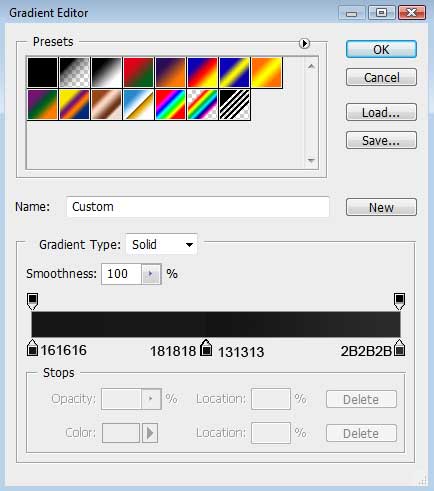
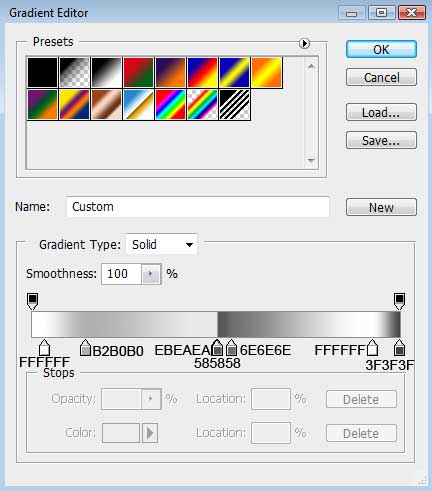
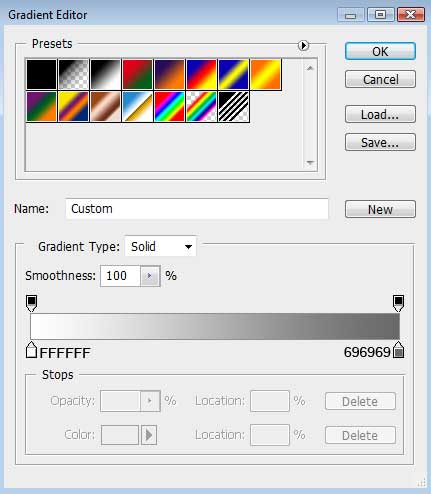
Gradient’s parameters:
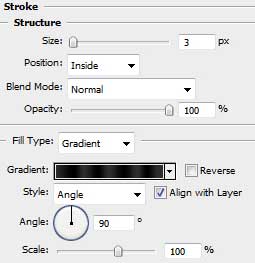
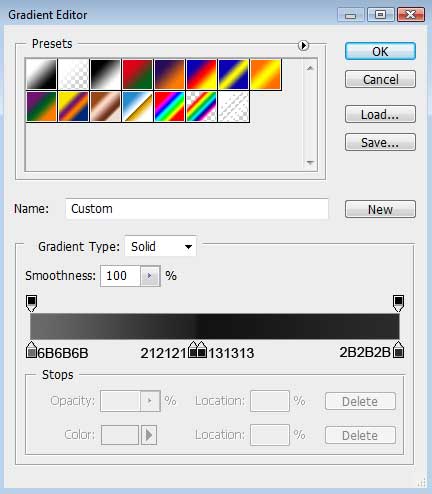
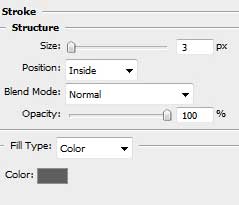
Blending Options>Stroke
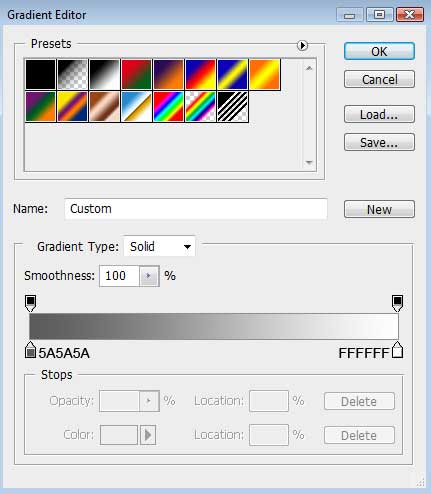
Gradient’s parameters:

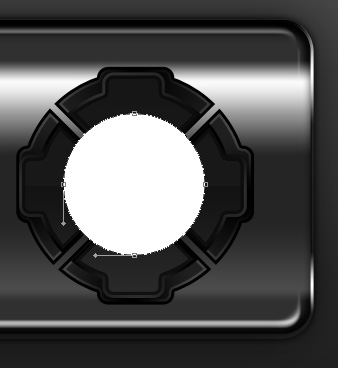
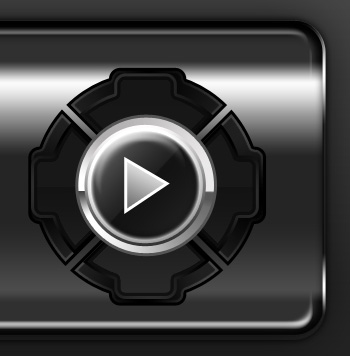
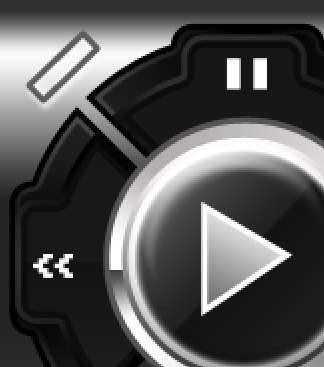
This time we have to use the Ellipse Tool (U) to represent the primary layer reserved for the main play button on the player.
The layer’s parameters: Blending Options>Gradient Overlay
Gradient’s parameters:
Blending Options>Stroke

Choose again the same Ellipse Tool (U), useful for drawing the next layer reserved for the main button on the media player.
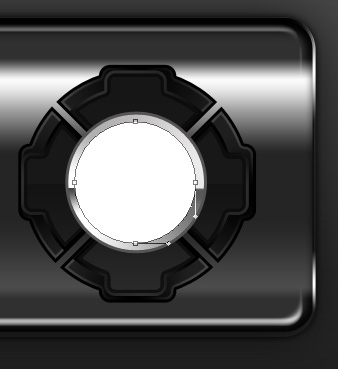
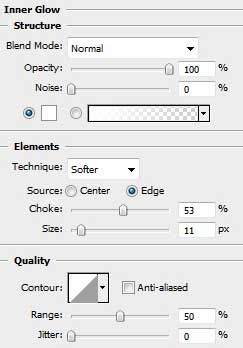
The layer’s parameters: Blending Options>Inner Glow
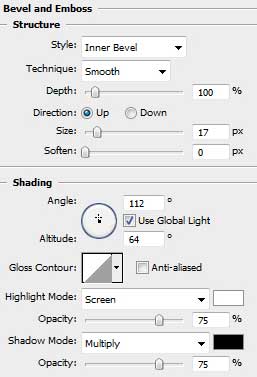
Blending Options>Bevel and Emboss
Blending Options>Gradient Overlay
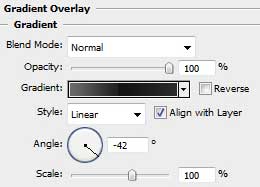
Gradient’s parameters:
Blending Options>Stroke
Gradient’s parameters:
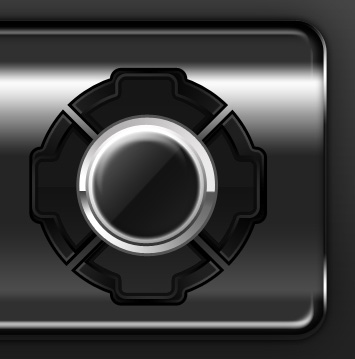
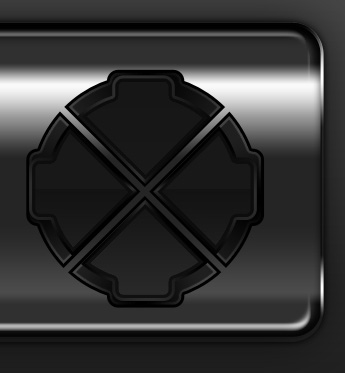
Using the Pen Tool (P), let’s draw the symbol of the Play button.
The layer’s parameters: Blending Options>Gradient Overlay
Gradient’s parameters:
Blending Options>Stroke
Applying the Rectangle Tool (U), it’s possible to create the “STOP” symbol from below and the “PAUSE” symbol from above. Their color is white.
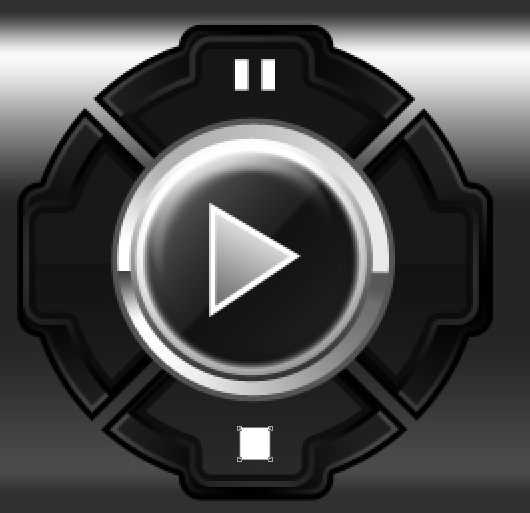
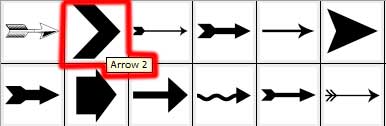
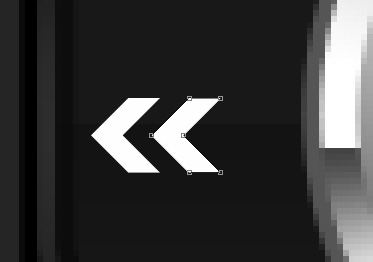
It’s time to represent the symbols indicating the forward and back play. The instrument used in this case is the Custom Shape Tool (U) and white color. Free Transform option should be used if necessary.
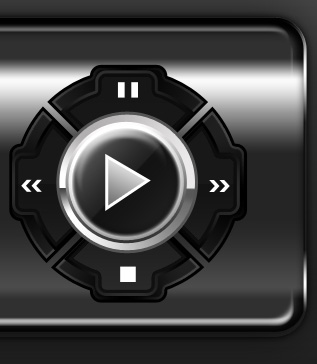
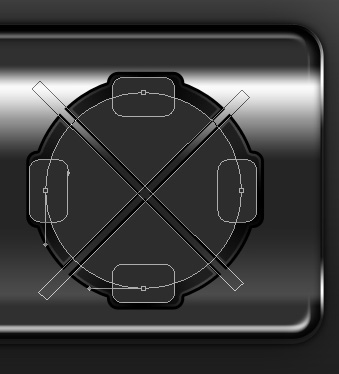
We have to represent now several of the decorative elements between the buttons, applying the Rounded Rectangle Tool (U) with a radius of 2 px. Select then the Free Transform option for the appropriate inclinement.
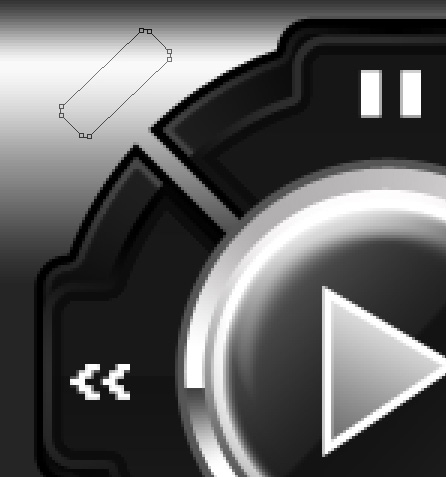
The layer’s parameters: Fill 0%
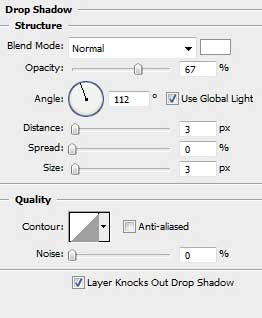
Blending Options>Drop Shadow
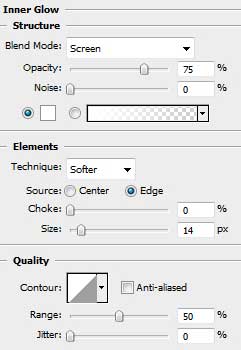
Blending Options>Inner Glow
Blending Options>Stroke
Comments