
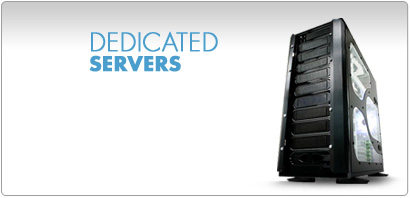
Dedicated Servers banner design
In this free tutorial we will show you how to quickly and easily create this picture that could be used as a web banner or flyer.
Begin by creating a new file (File>New) with 410×198 px and 72 dpi.
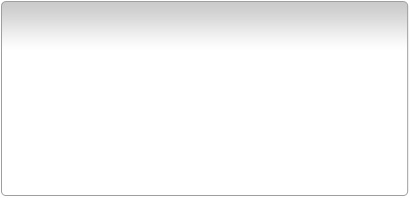
Next choose the Rounded Rectangle Tool (U) (radius 10 px) to represent the background of the banner to be on the final stage.

Select the next demonstrated parameters by making a mouse click on the layer we work with on the layers’ panel: Blending Options>Gradient Overlay 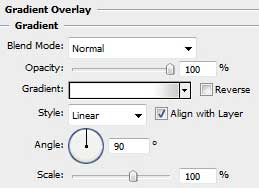
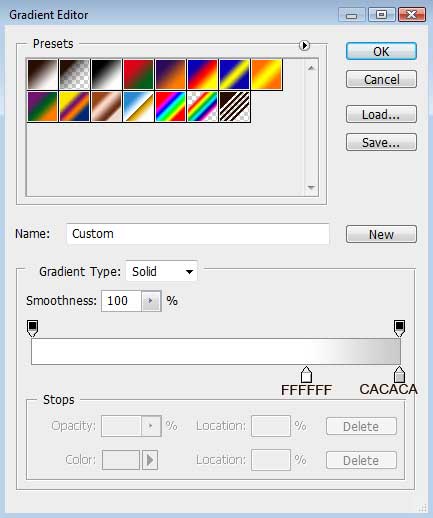
Gradient’s parameters:

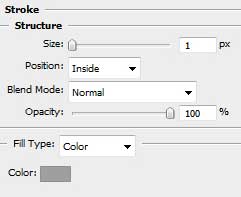
Blending Options>Stroke
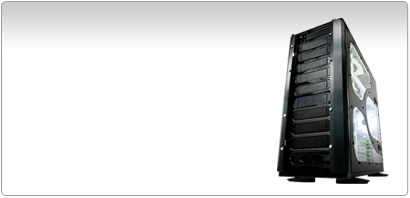
Find out in Internet a picture containing a server, cut it out and insert it on the made banner.
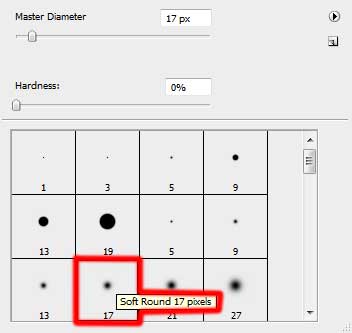
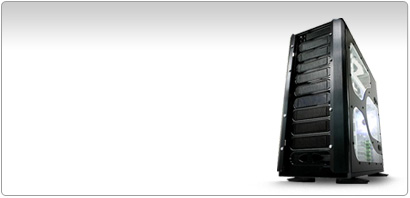
Create a new layer and apply on it the standard Brush Tool (B) (Opacity 10 %) to draw the shadows under the server. The Eraser Tool (E) is helpful when erasing the unnecessary elements of the shadows. Place the shadows’ layer under the layer containing the server’s one (on the layer’s panel).
Write now the banner’s title:

DEDICATED
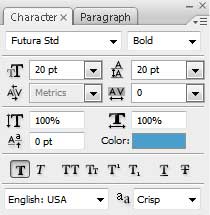
SERVERS
Comments