
Creative car desktop wallpaper
This tutorial will teach you how to create creative desktop wallpaper for your desktop.
Start working by creating a new file (File>New) of 1920x1200px/72dpi with black background.

Insert a picture, having represented on it the sunset.

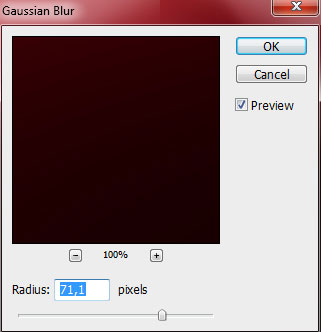
Set the next selection Filter>Blur>Gaussian blur for the picture’s layer.

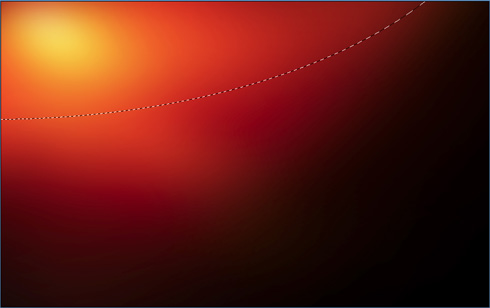
Select the fragment like the one from below, enlarge the picture and displace it with the Move Tool (V).

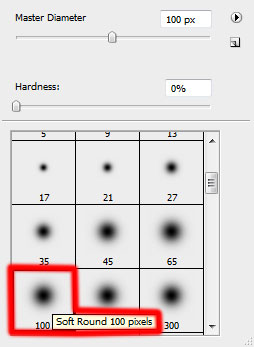
Create a new layer and use on it a standard brush of black color to dark out the right lowest corner.


Create a new layer and try to represent here a line like the one from below. Using the Elliptical Marquee Tool (M), try to draw the zone reserved for the line.
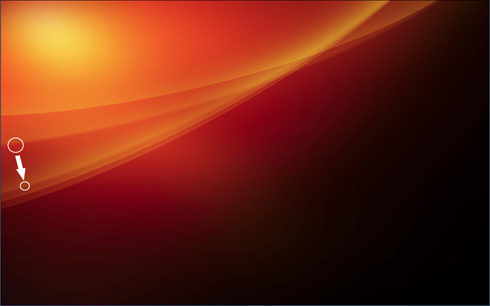
Applying the standard brush mentioned above and white color, we may represent the inside zone of the marked part.

The layer’s parameters: Blending mode-Soft Light

Make a copy of the recently represented layer containing the line and then select the Free Transform option to turn over the copy and move it to the right side. Set the next option for the copy’s layer: Filter>Blur>Gaussian blur


Make two copies of the layer containing the line and choose again the Free Transform option to change the position of the copies’ layer the same way demonstrated below:


Next we’ll make a copy of the layer containing the line which had been processed with the option from here – Filter>Blur>Gaussian blur. Using the Free Transform option, try to place the copy the same way demonstrated next picture:
Next we’ll draw a round highlight on the right top part of the picture. Then we’ll select the Elliptical Marquee Tool (M) and a standard brush to paint the edges of the marked zone the same way we did with the representation of the ornament line.
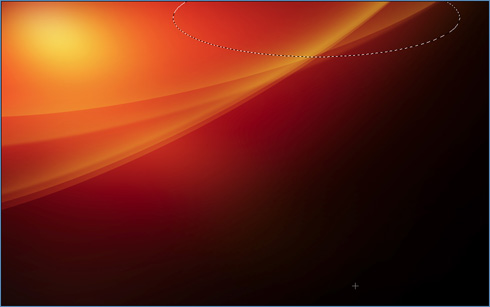
Opacity 30%, Select also: Filter>Blur>Gaussian blur 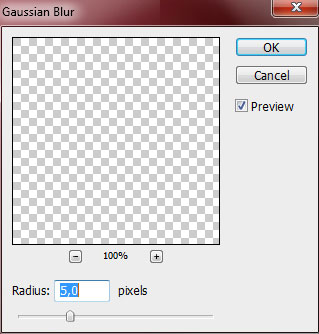

Set the next parameters for the layer: Blending mode-Overlay 
Make a copy of the recently made layer:

Page: 1 2
Comments