
Creative car desktop wallpaper
Use the same method we did with the round highlight’s representation to insert a vertical line on our picture:
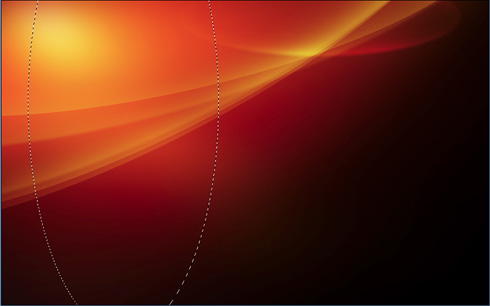
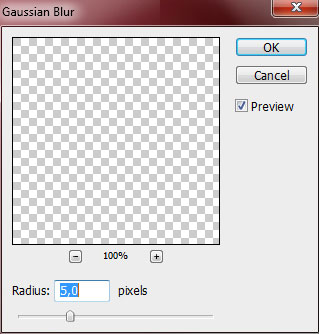
Select a standard brush of white color, Filter>Blur>Gaussian blur (5px), Blending mode-Overlay 
Make a copy of the layer containing the vertical line and choose Free Transform option to change the copy’s placement the same way demonstrated below:

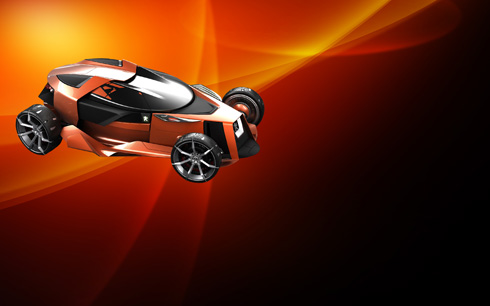
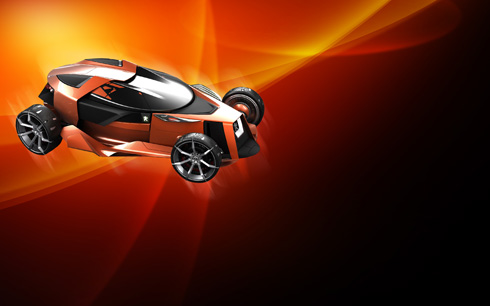
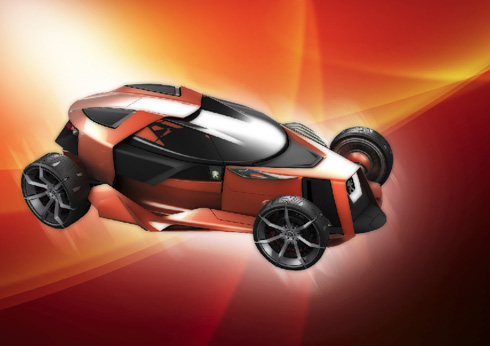
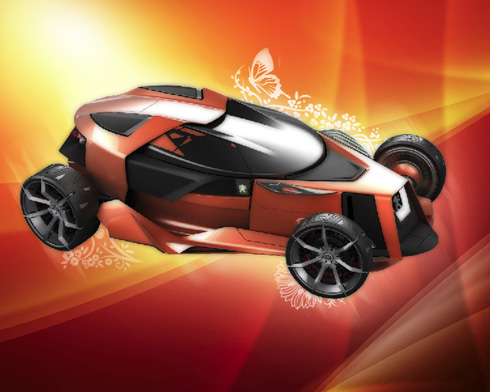
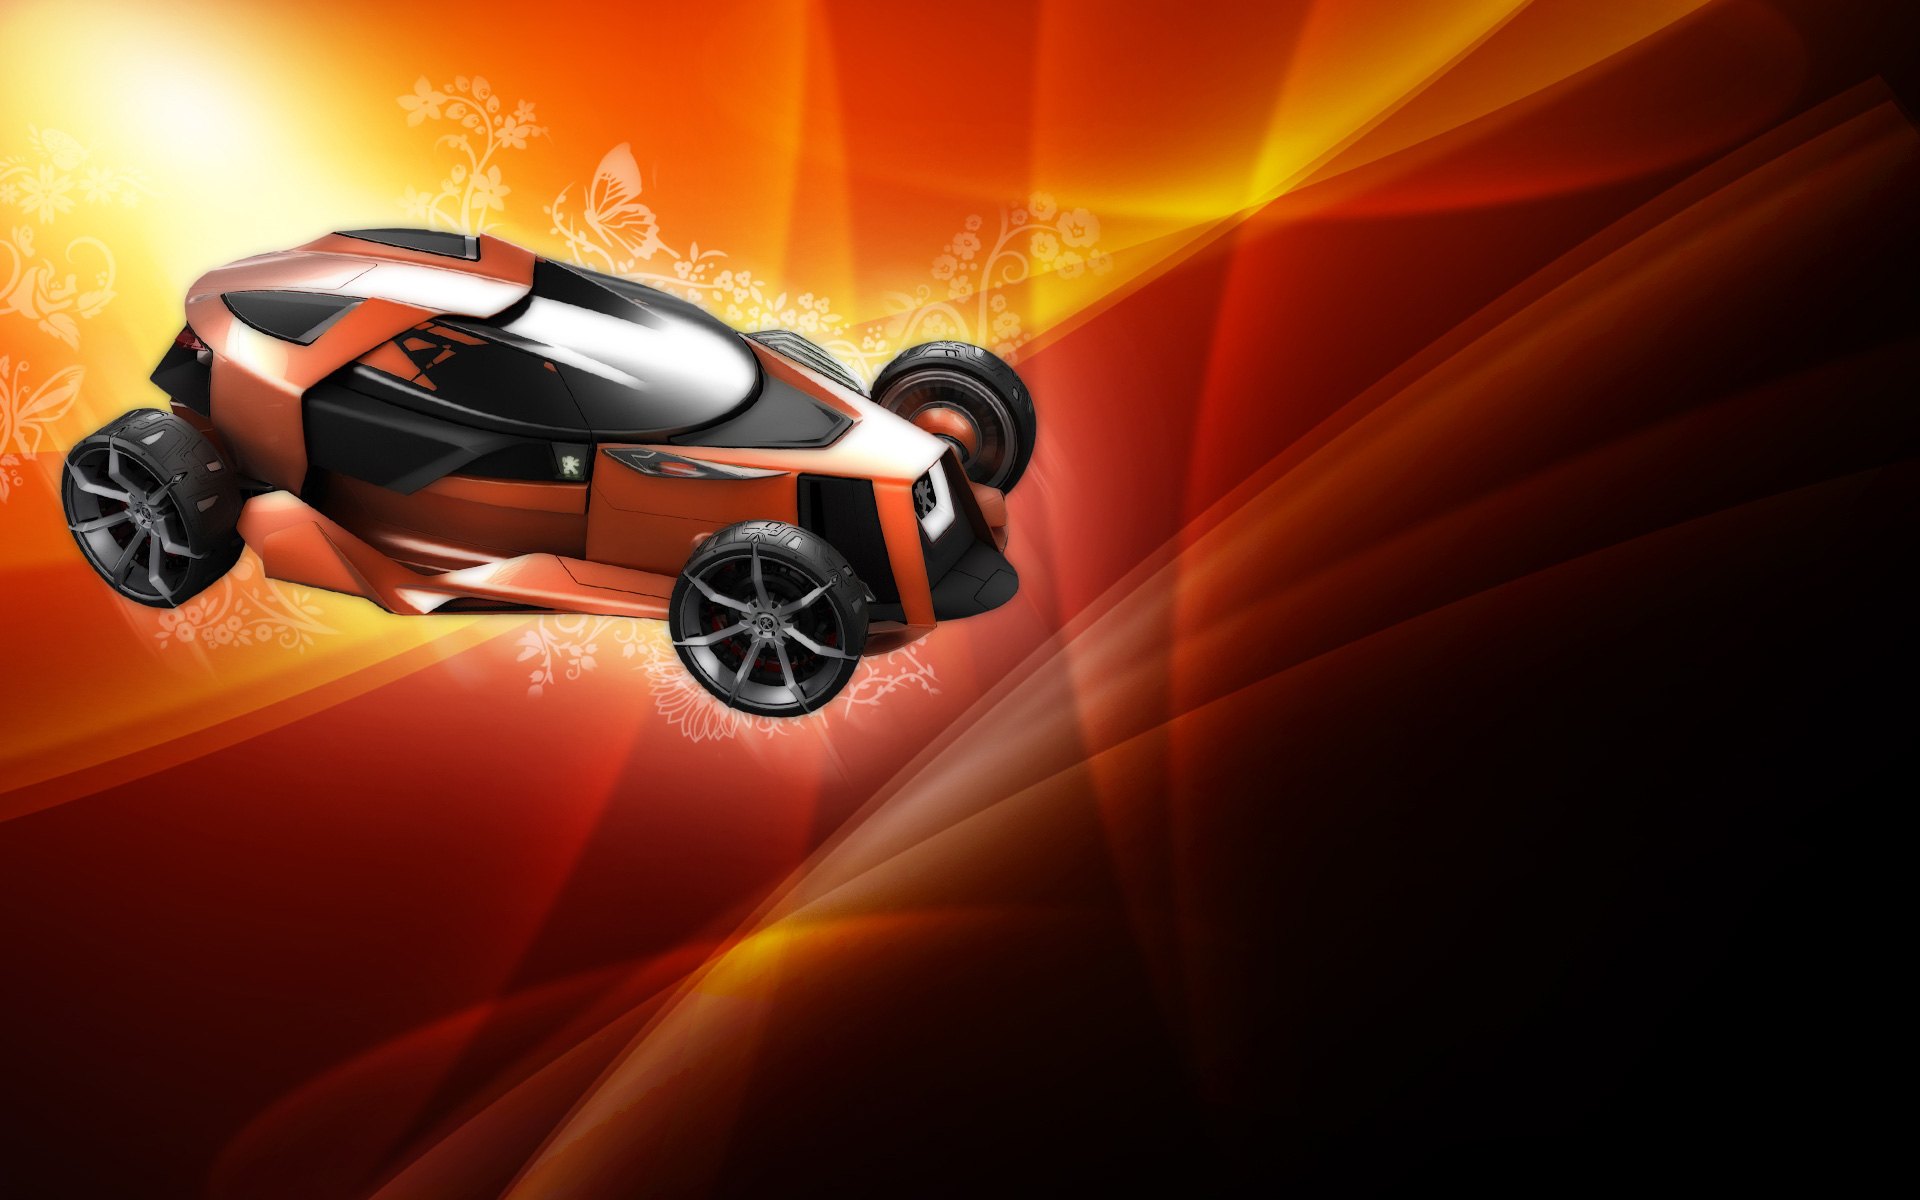
Find in Internet a picture with a car. Cut it out and insert it on our picture.

Make a copy of the layer containing the car. Place the copy’s layer lower and choose for it the next selection: Filter>Blur>Motion Blur 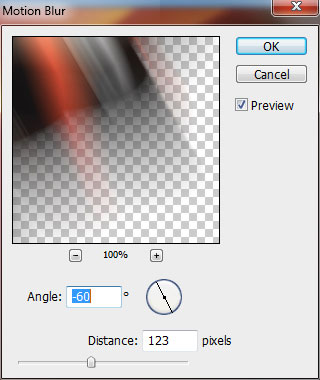
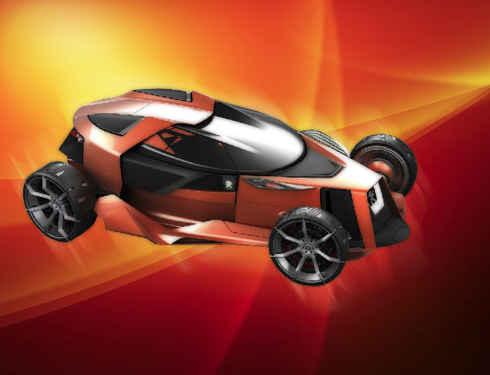
Choose the next parameters for the filter’s layer: Blending mode-Linear Dodge
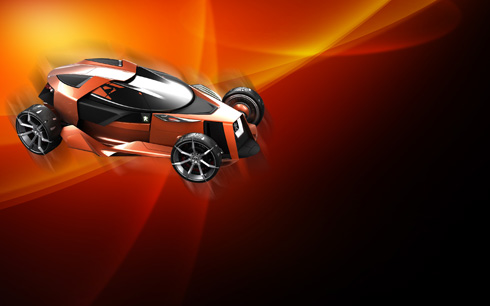
Make another copy of the very first layer containing the car and place it above the other layers with the car. Set for the layer the next selection: Filter>Blur>Gaussian blur
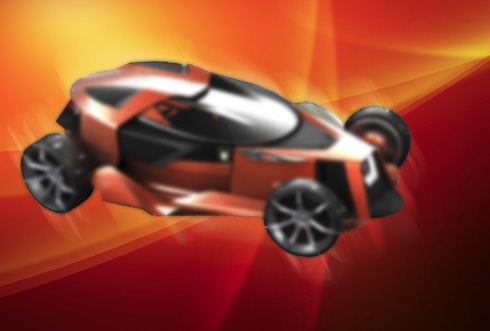
The layer’s parameters: Fill – 68%, Blending mode-Darker
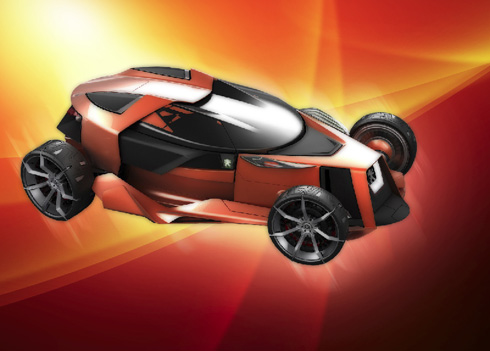
Create a new layer and use on it a standard brush mentioned earlier and use the white color to represent a kind of illuminations behind the car. Place this layer under the car’s layers, on the layers’ palette.
The layer’s parameters: Fill – 48%, Blending mode-Overlay
Make a copy of the last made layer, situating the copy above the previous one and changing the parameters for the copy’s layer. Fill – 55%, Blending mode-Linear light
Combine in a group all the layers containing the lines, being represented before inserting the car’s picture (press Ctrl button to mark out the corresponding layers and hold on the left mouse’s button to take the marked layers on Create a new group option). Make a copy of the group we have got and choose Free Transform option to turn over the group and place it the same way as it is shown below:

Download a set of brushes for Adobe Photoshop, named Swirls.
Create a new layer and use here the brushes out of the mentioned set. They have white color. Place the layer with the brushes lower than the car’s layers (on the layers’ palette).
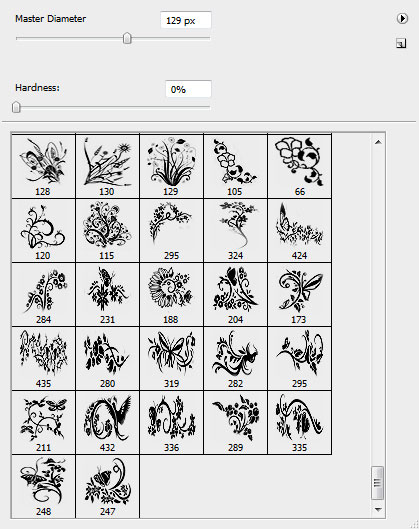
The layer’s parameters: Fill – 61% 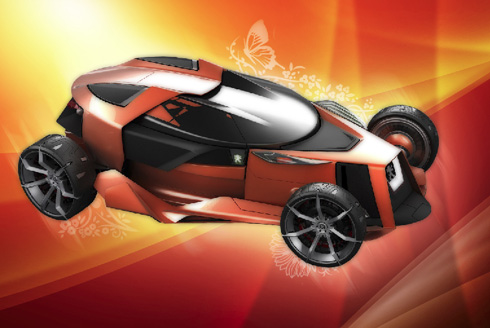
Create a new layer and insert here an ornament made with the earlier downloaded brushes. The layer’s parameters: Fill – 67% 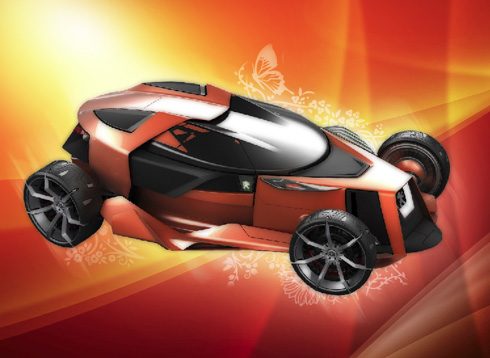
On the next layer we’ll select again the brushes, having white color.
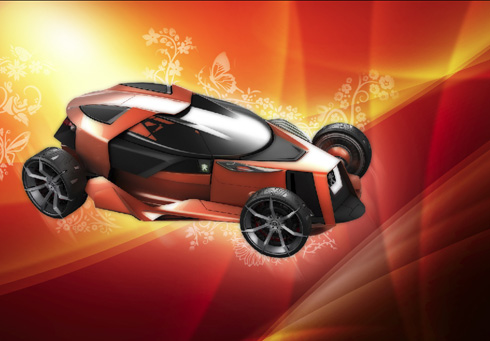
The layer’s parameters: Fill – 65%, Blending mode-Pin light 
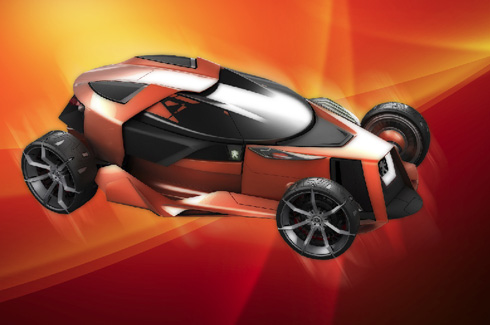
Finished!
View full size here.
Page: 1 2
Comments