
Create Header for Life Insurance Company’s web-site
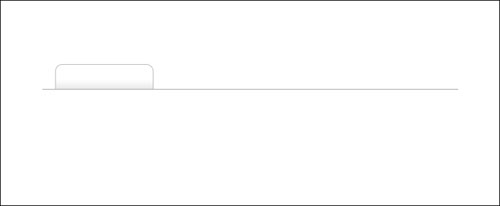
Create a new file with 766x315px and 72 dpi. Take the instrument  to represent a grey stripe having a thickness of 1 px. With the next instrument
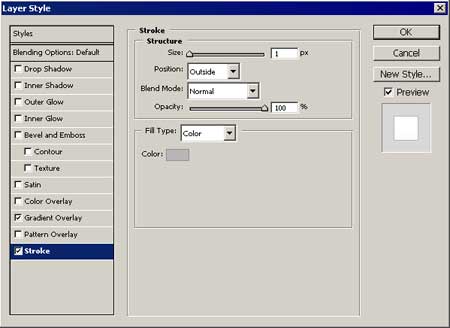
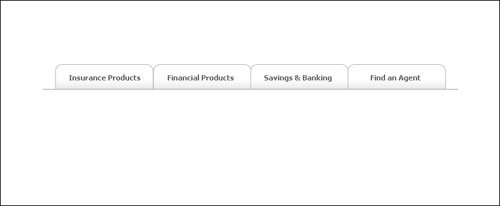
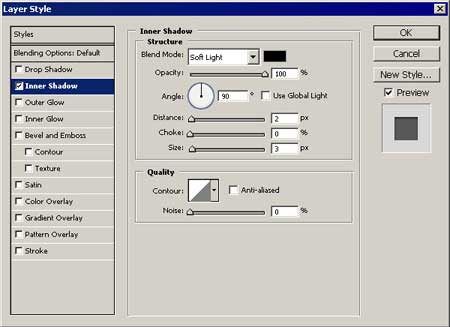
  draw the site’s button. The parameters (Blending Options) are shown in the picture:
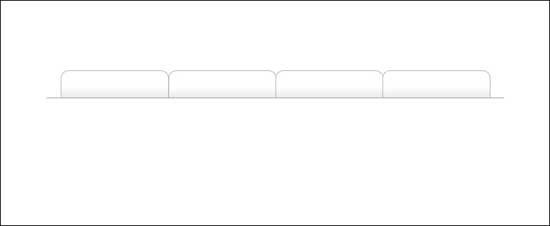
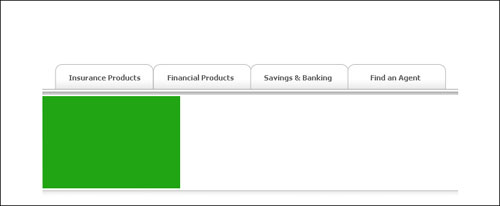
Copy the button three times horizontally.

Use the instrument  to insert the corresponding text. Font Tahoma.
Represent a stripe with the instrument  , but use the stripe’s parameters (Blending Options) shown on the picture.
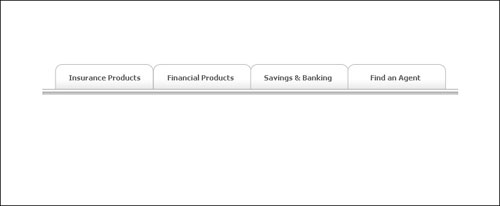
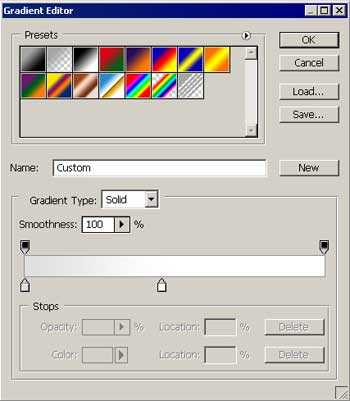
Represent another stripe on the bottom. The first should be thick and grey (Instrument). Then take another instrument  to mark out, like it is demonstrated in the picture. The instrument
  will be helpful for a faint gradient.
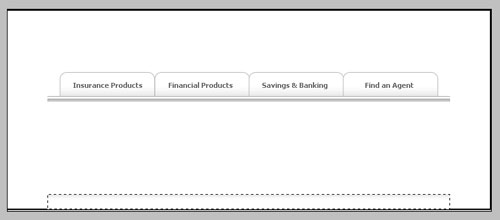
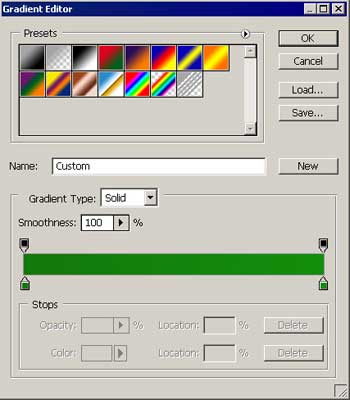
Now create the menu’s banners. Use the instrument and draw a green rectangle.
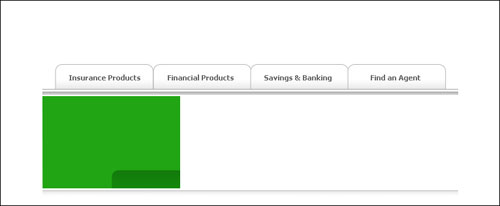
Take the instrument to represent a figure like in the picture. Use the adjustments from the picture. Press on Alt + left mouse’s click on the layers’ window.
Page: 1 2
Comments